Duskfade Desert of the Last Memory All Collectible Locations
This guide will show you where to find every collectible in Desert of the Last Memory. None are missable, and you can return here at any time, even after finishing the main story. It is recommended that you clean up the collectibles after finishing the story, since you will need certain Metroidvania style abilities to reach some areas and collectibles. These abilities are all obtained automatically as you play through the main story.
Echo #1. In plain sight on your left in the sandy area at the start of the level.
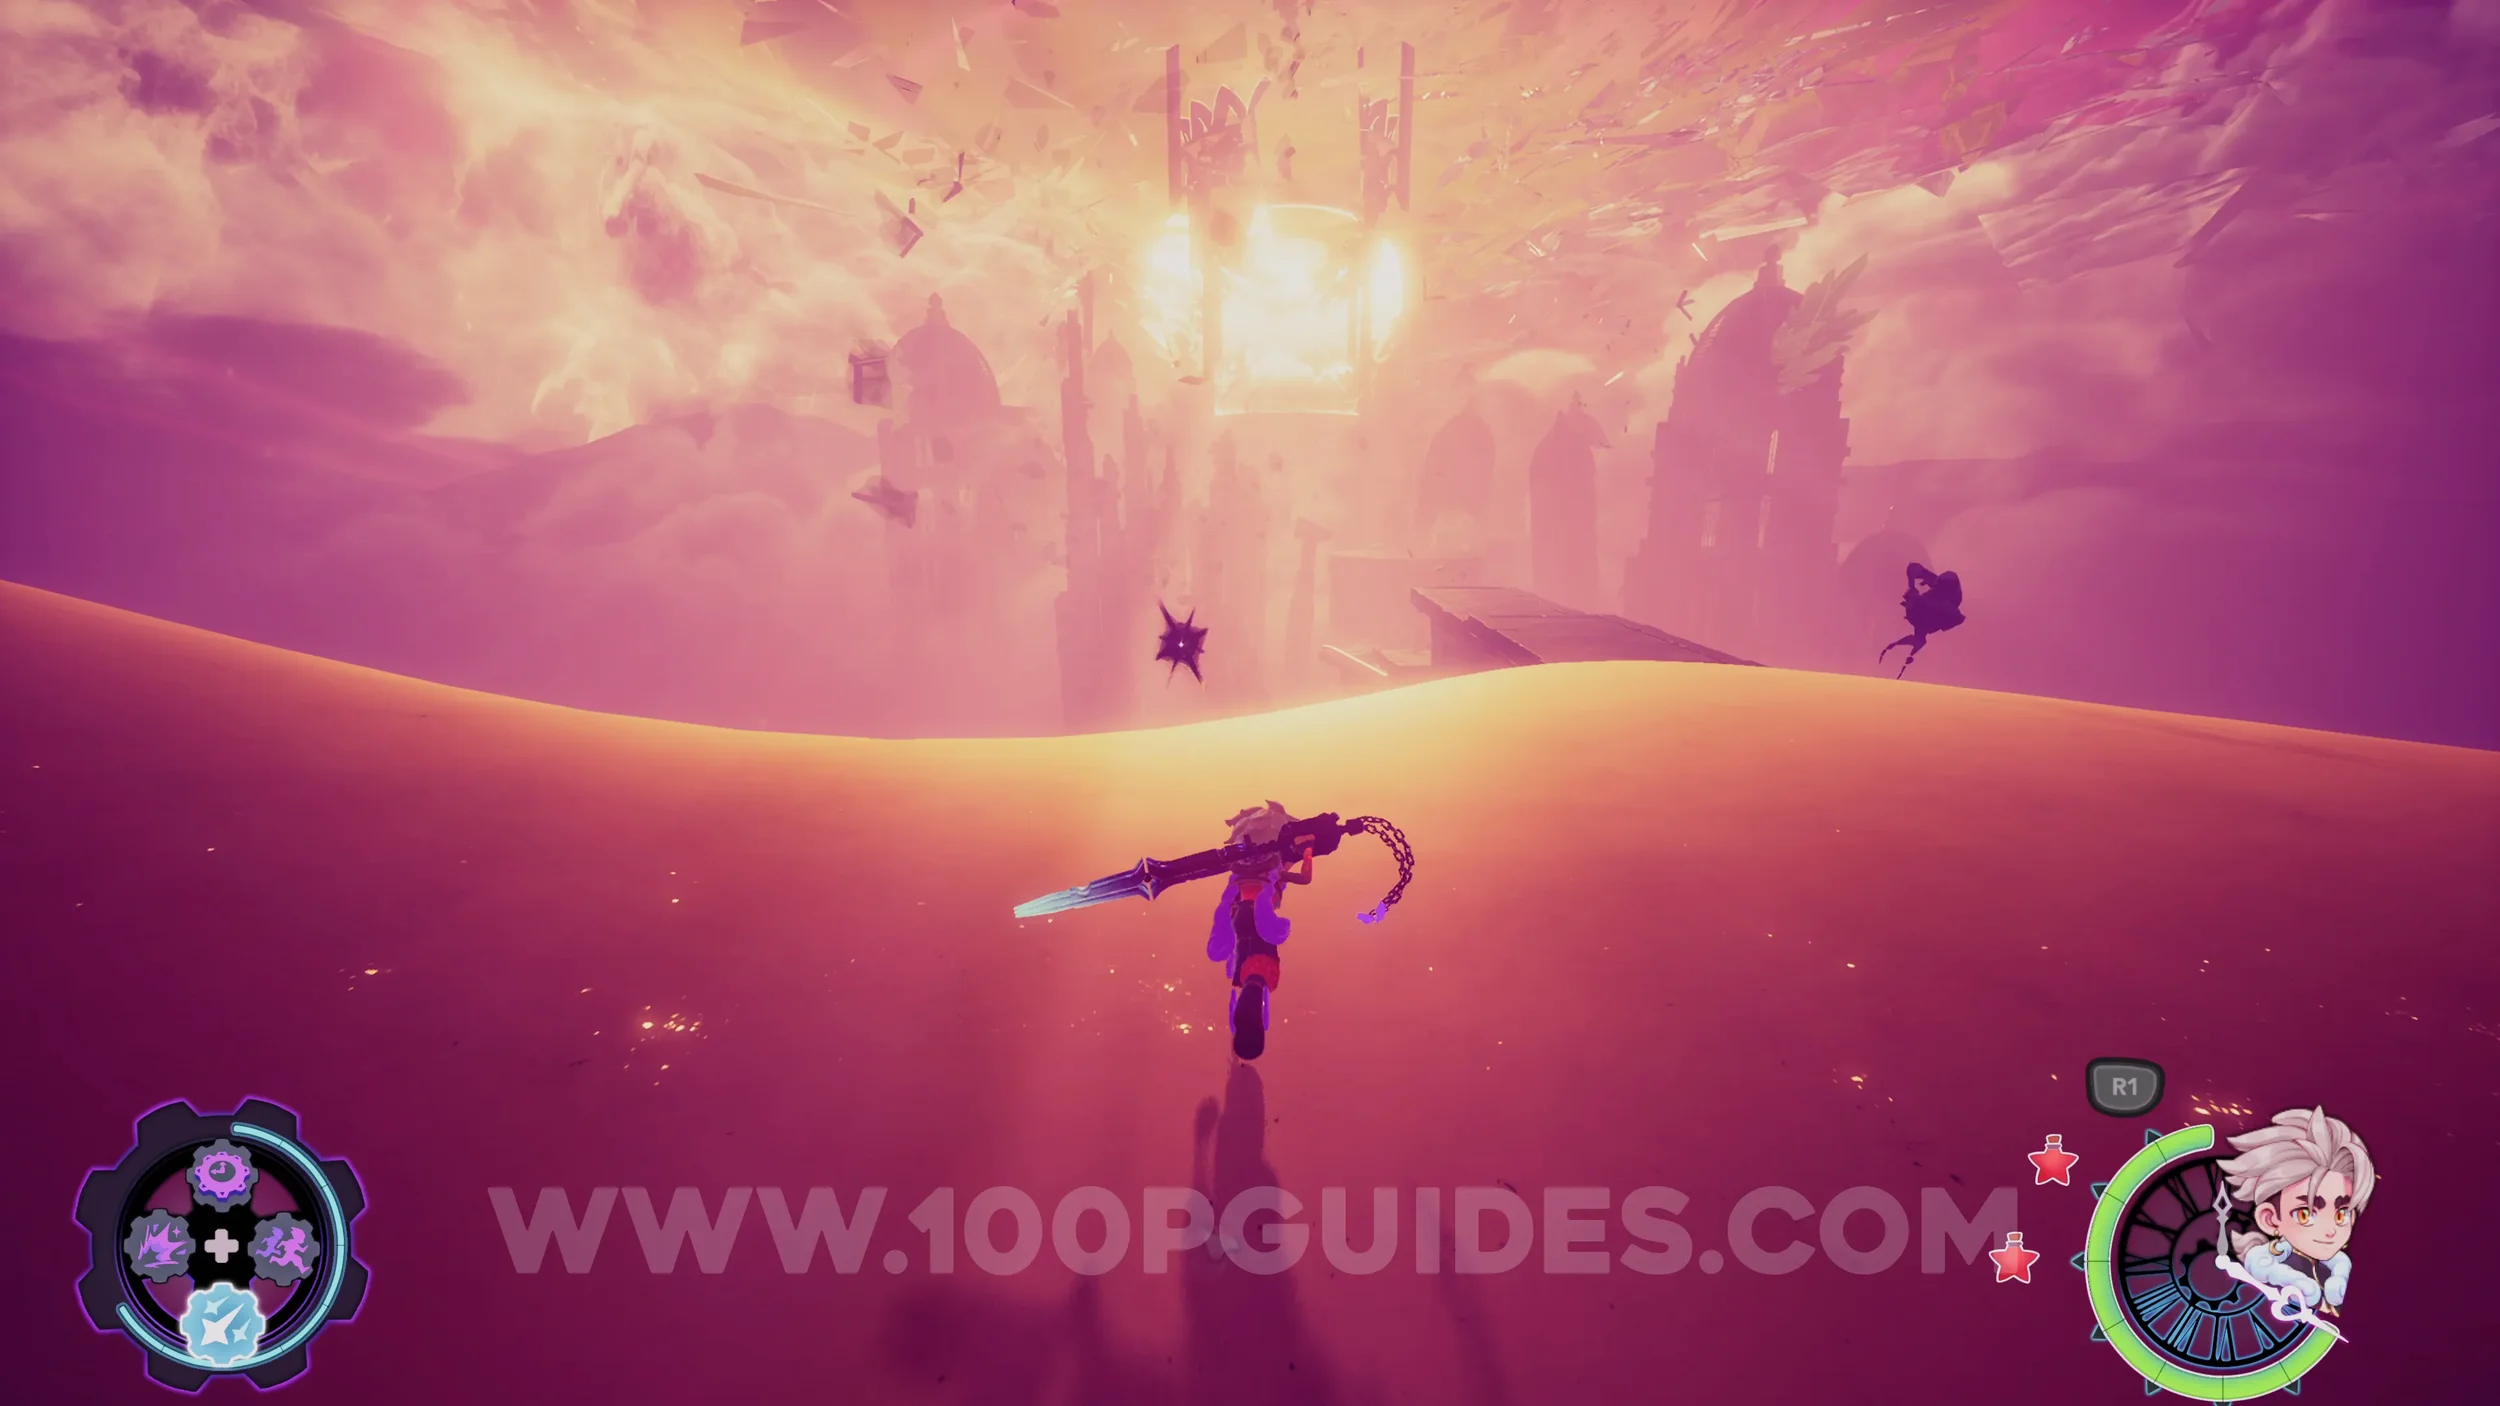
N1-C0in #1. Continue through the level and pass through the next building. After that you'll cross over a circular platform and then over some spinning platforms. Next you'll ride a small rail around the right of a building. On the next circular platform, look left and jump to the floating pocket watch. From there, wait until the glass cubes form and jump to them to get the coin.
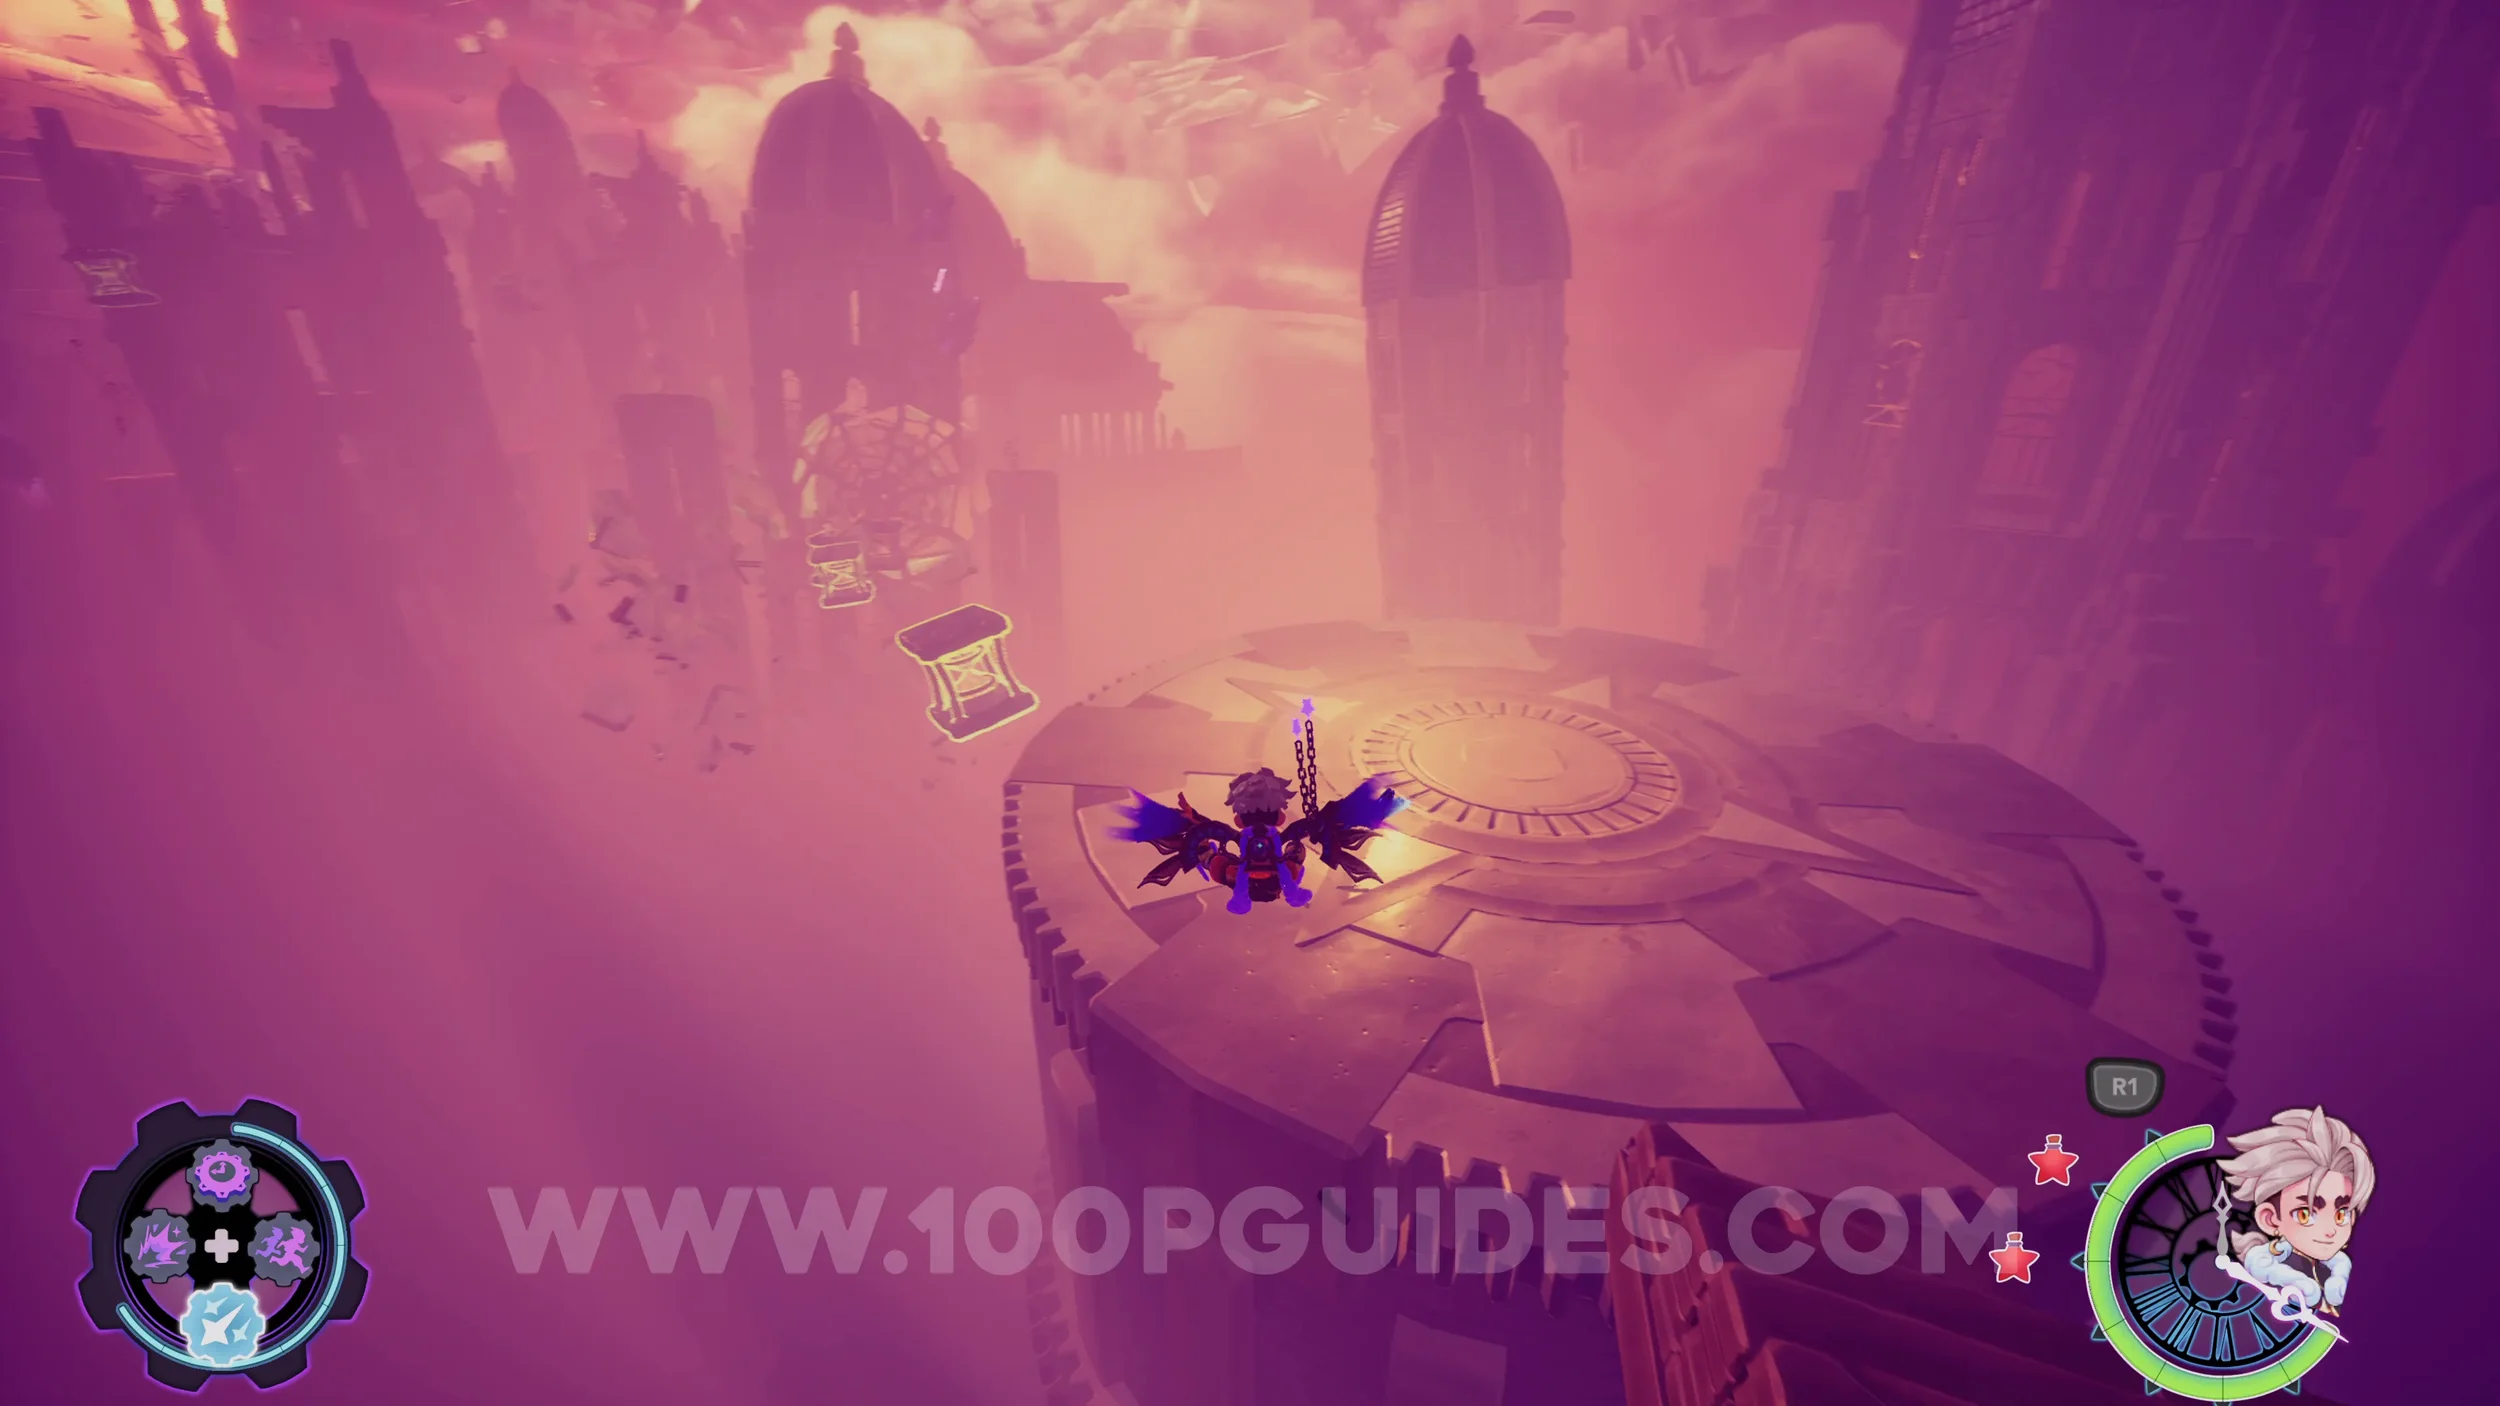
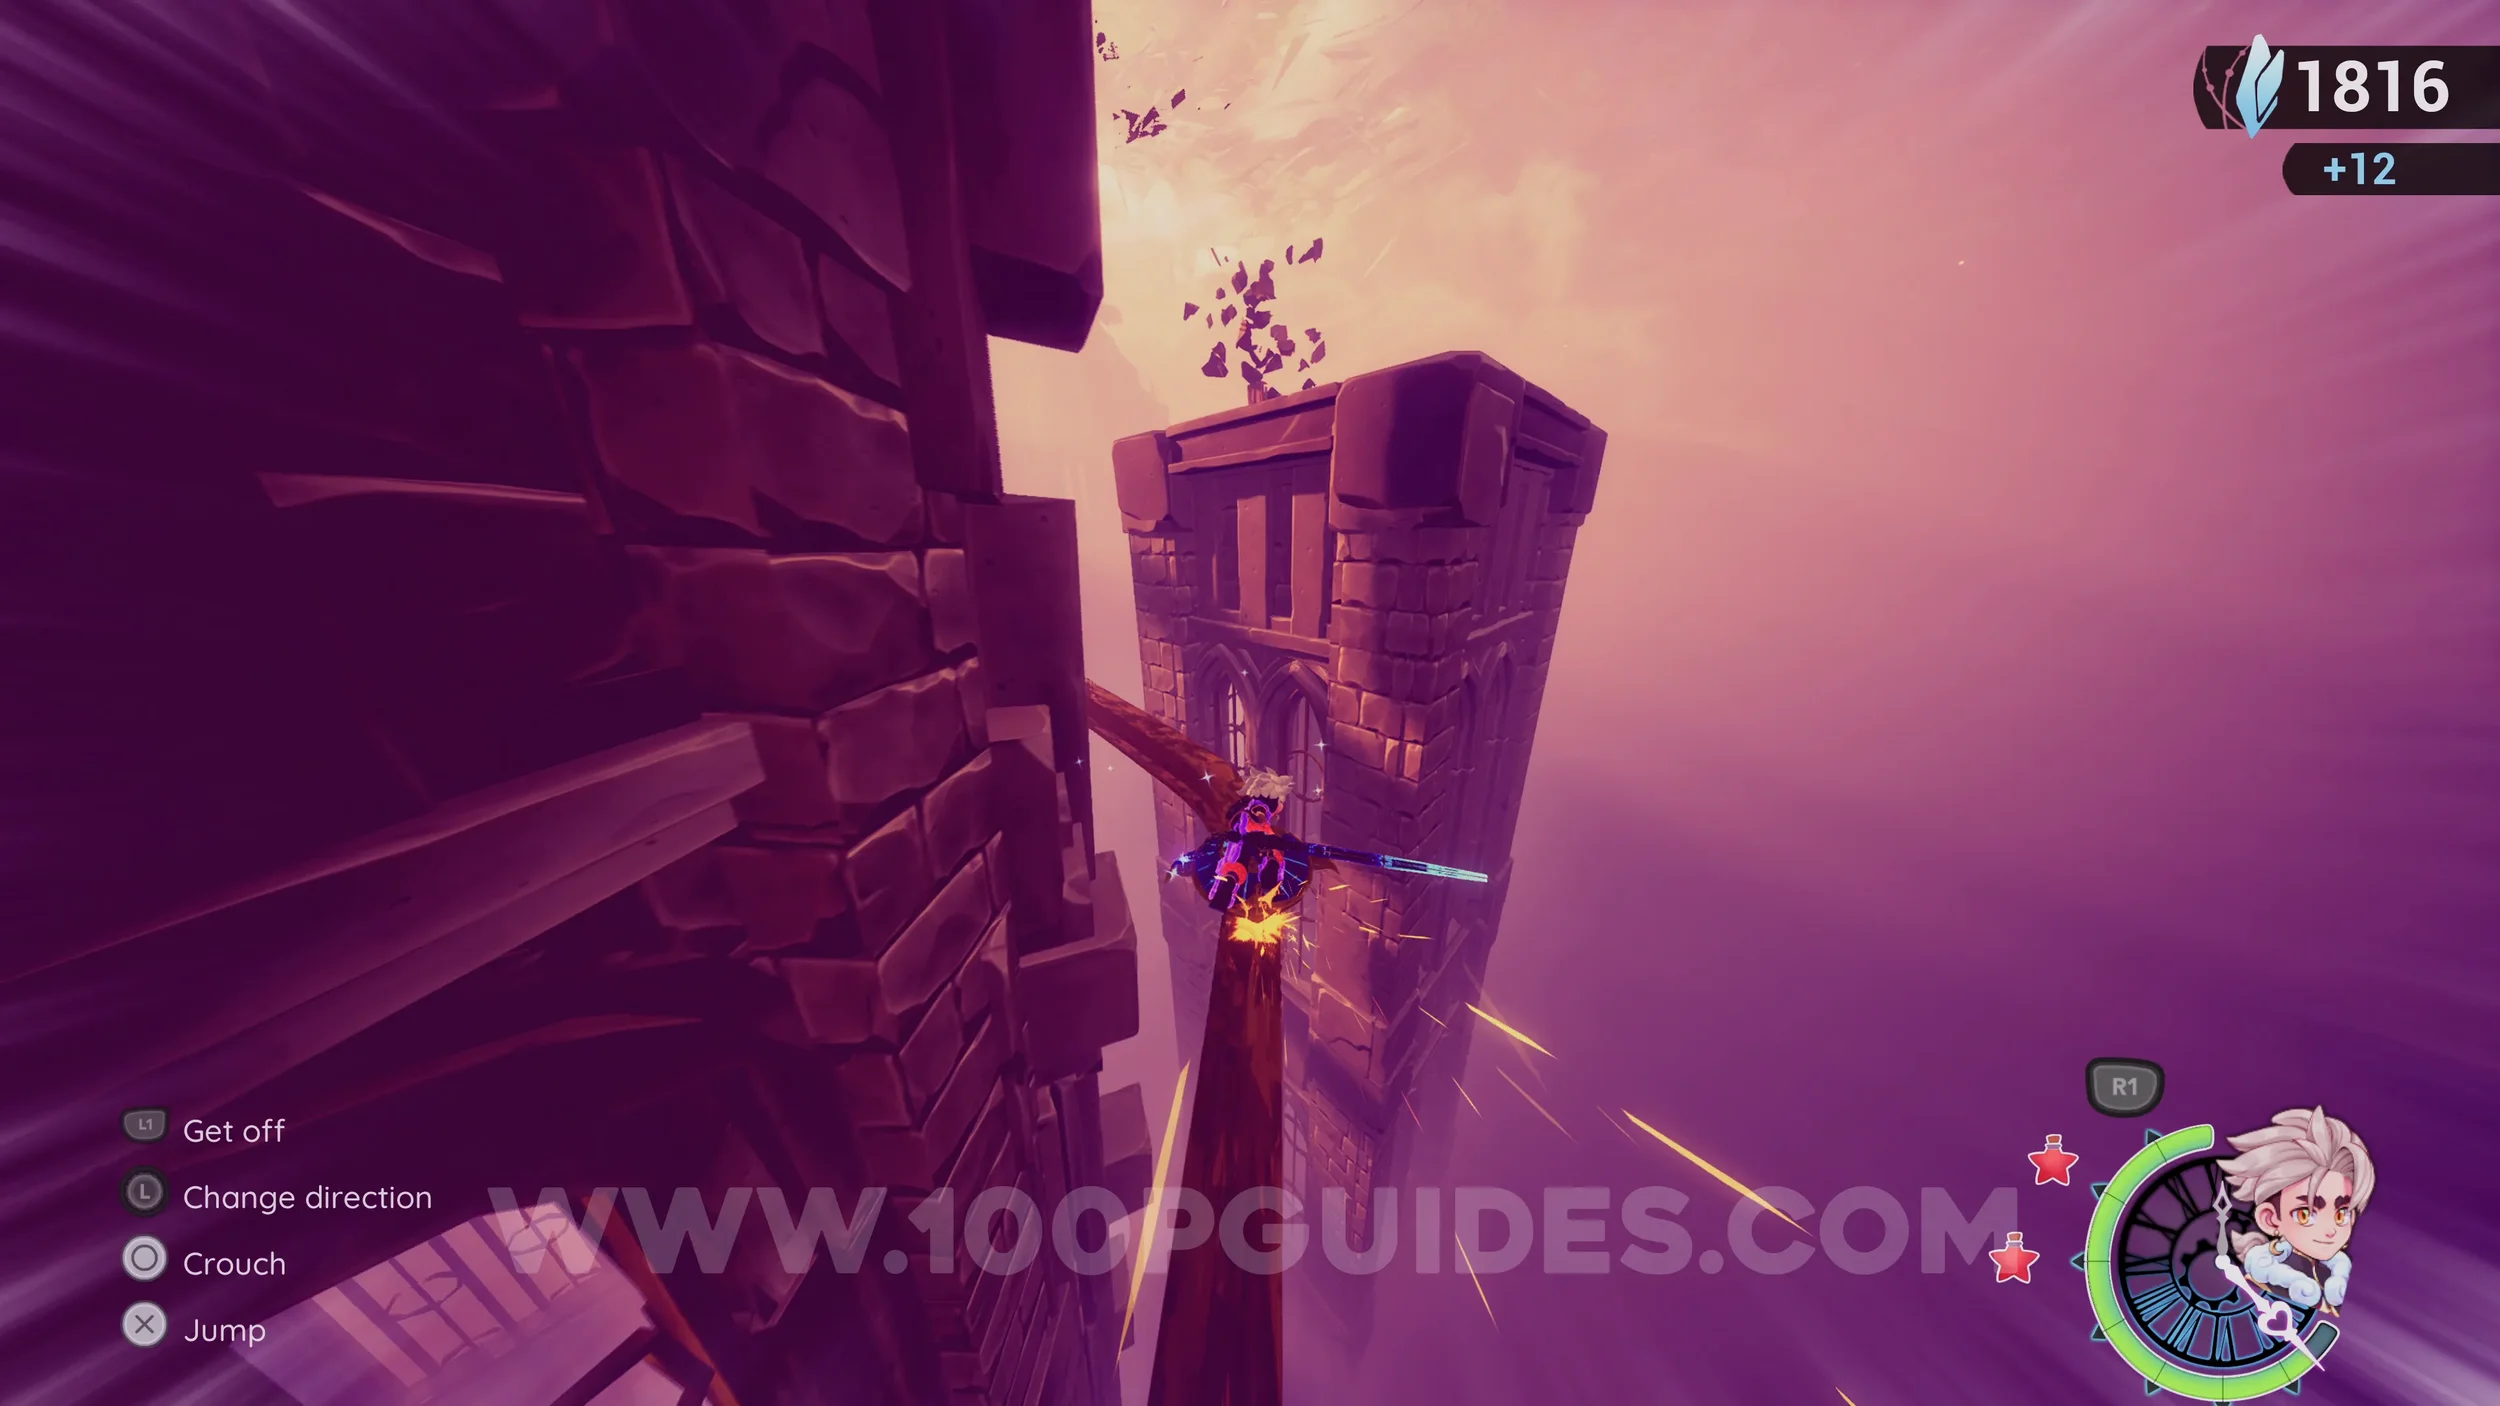
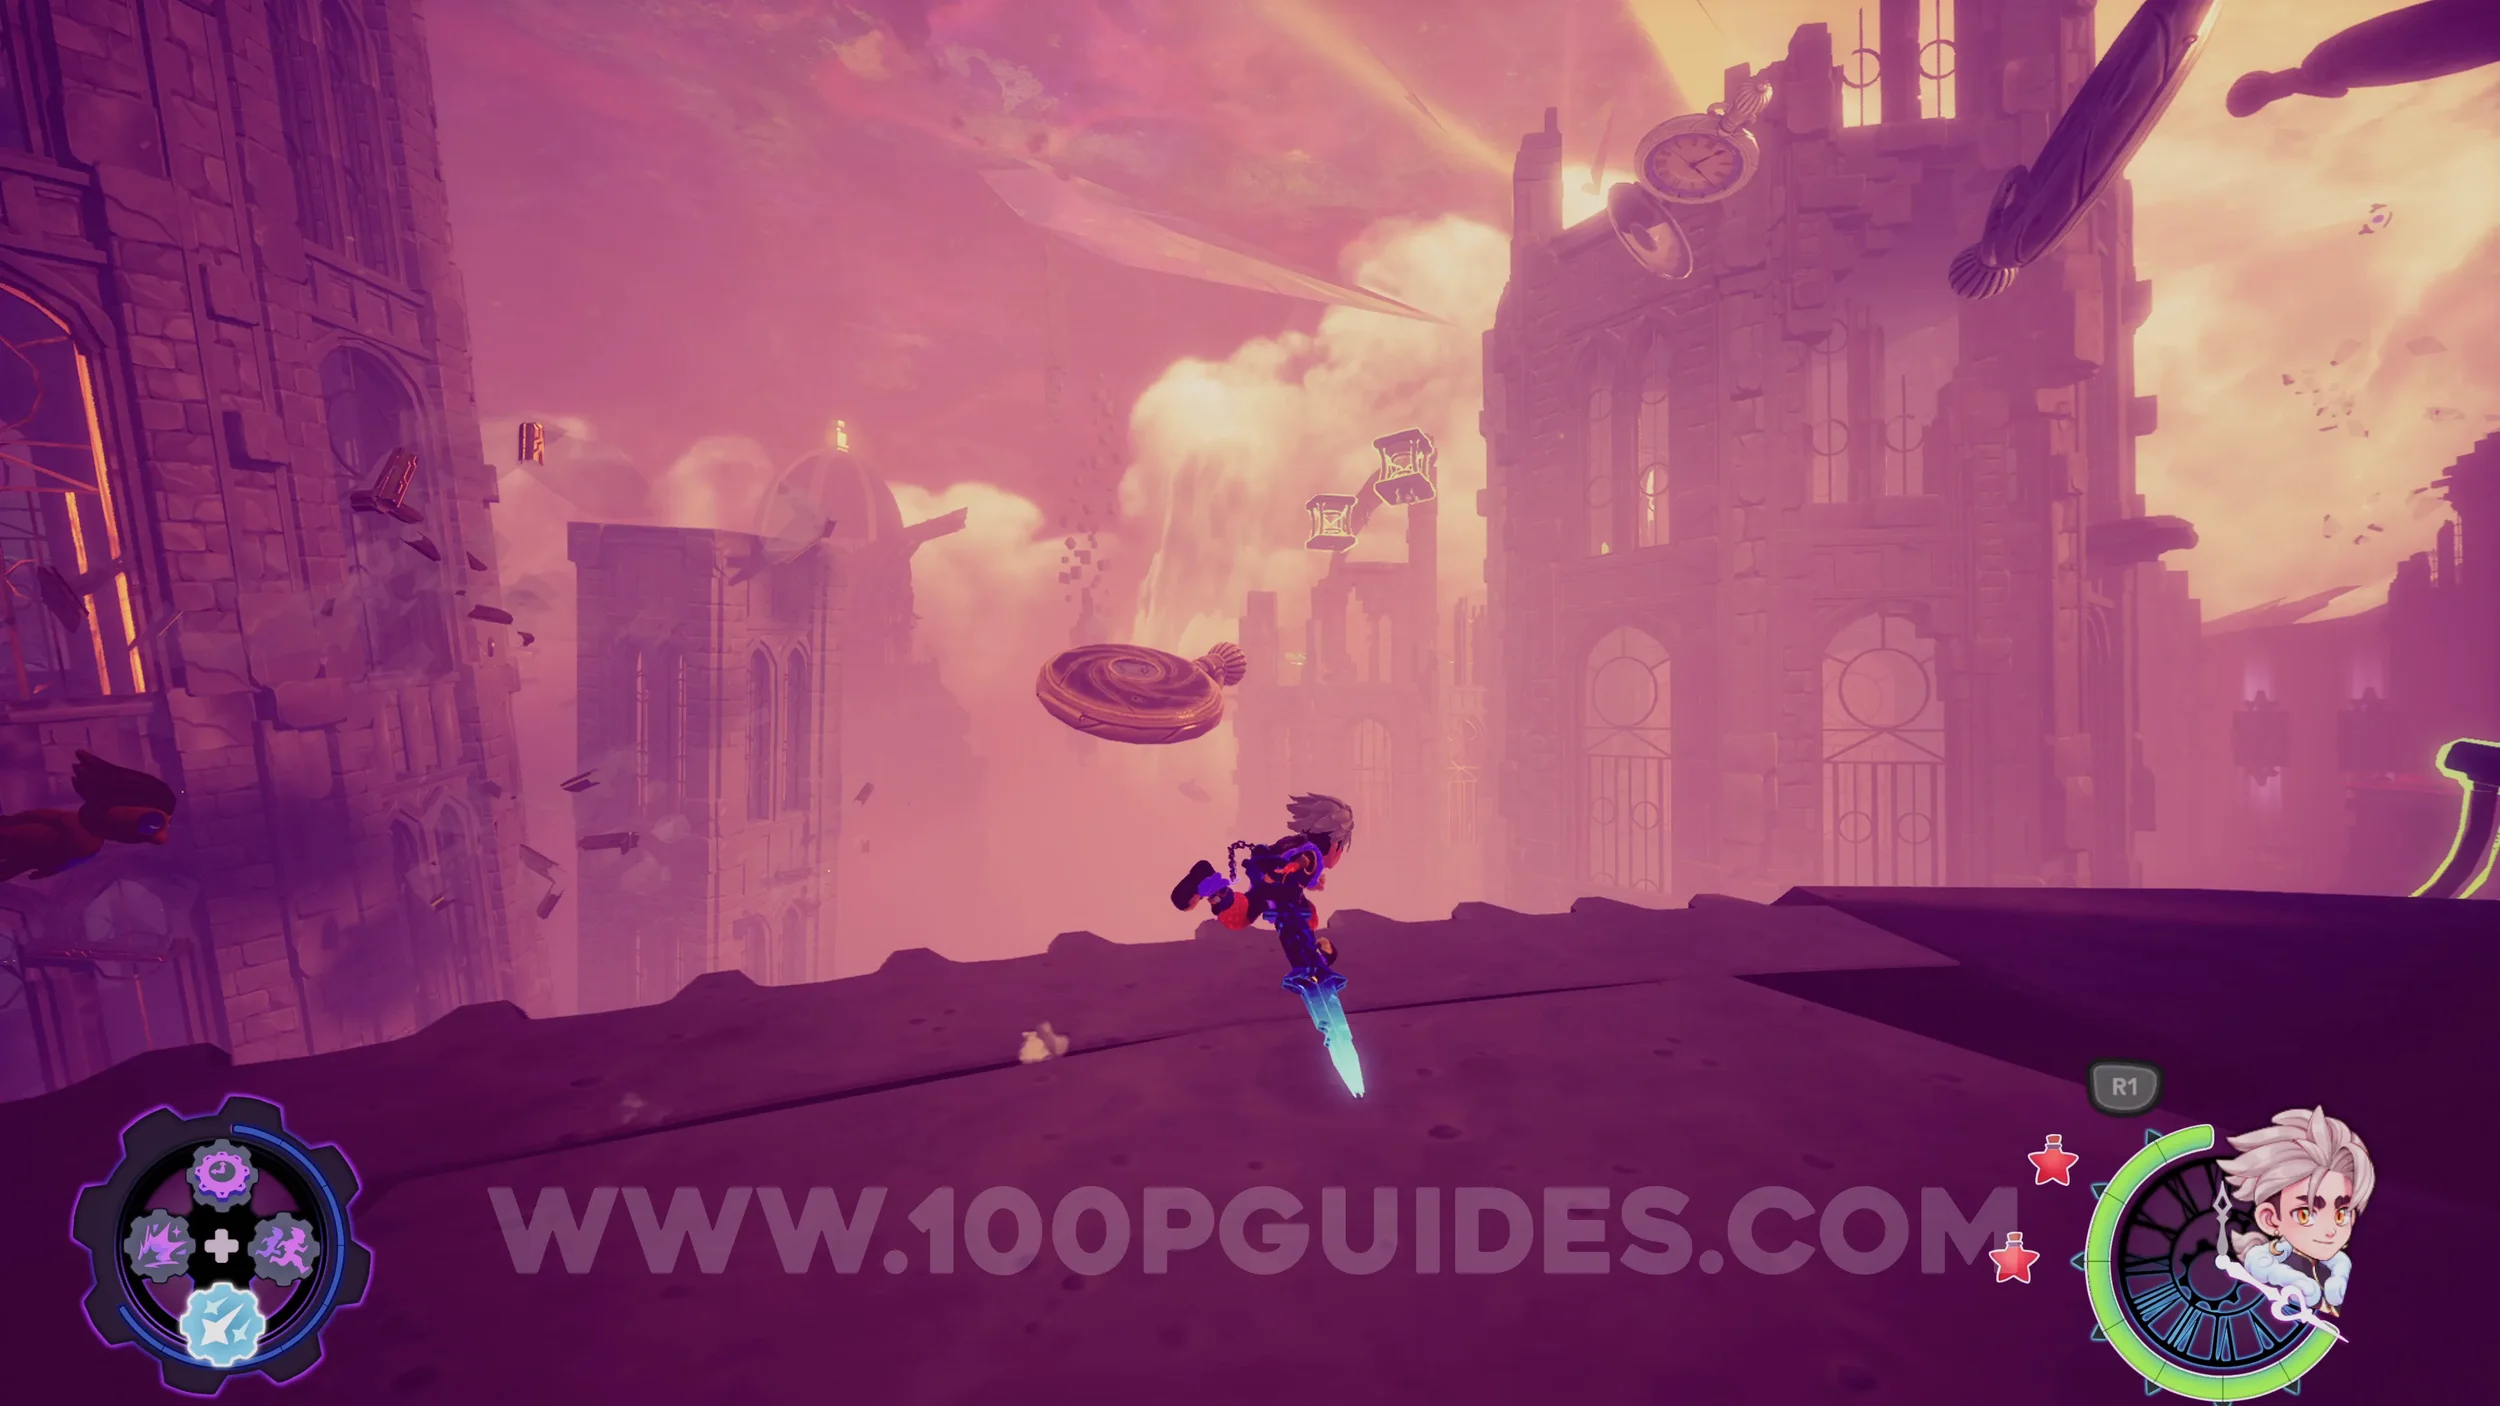
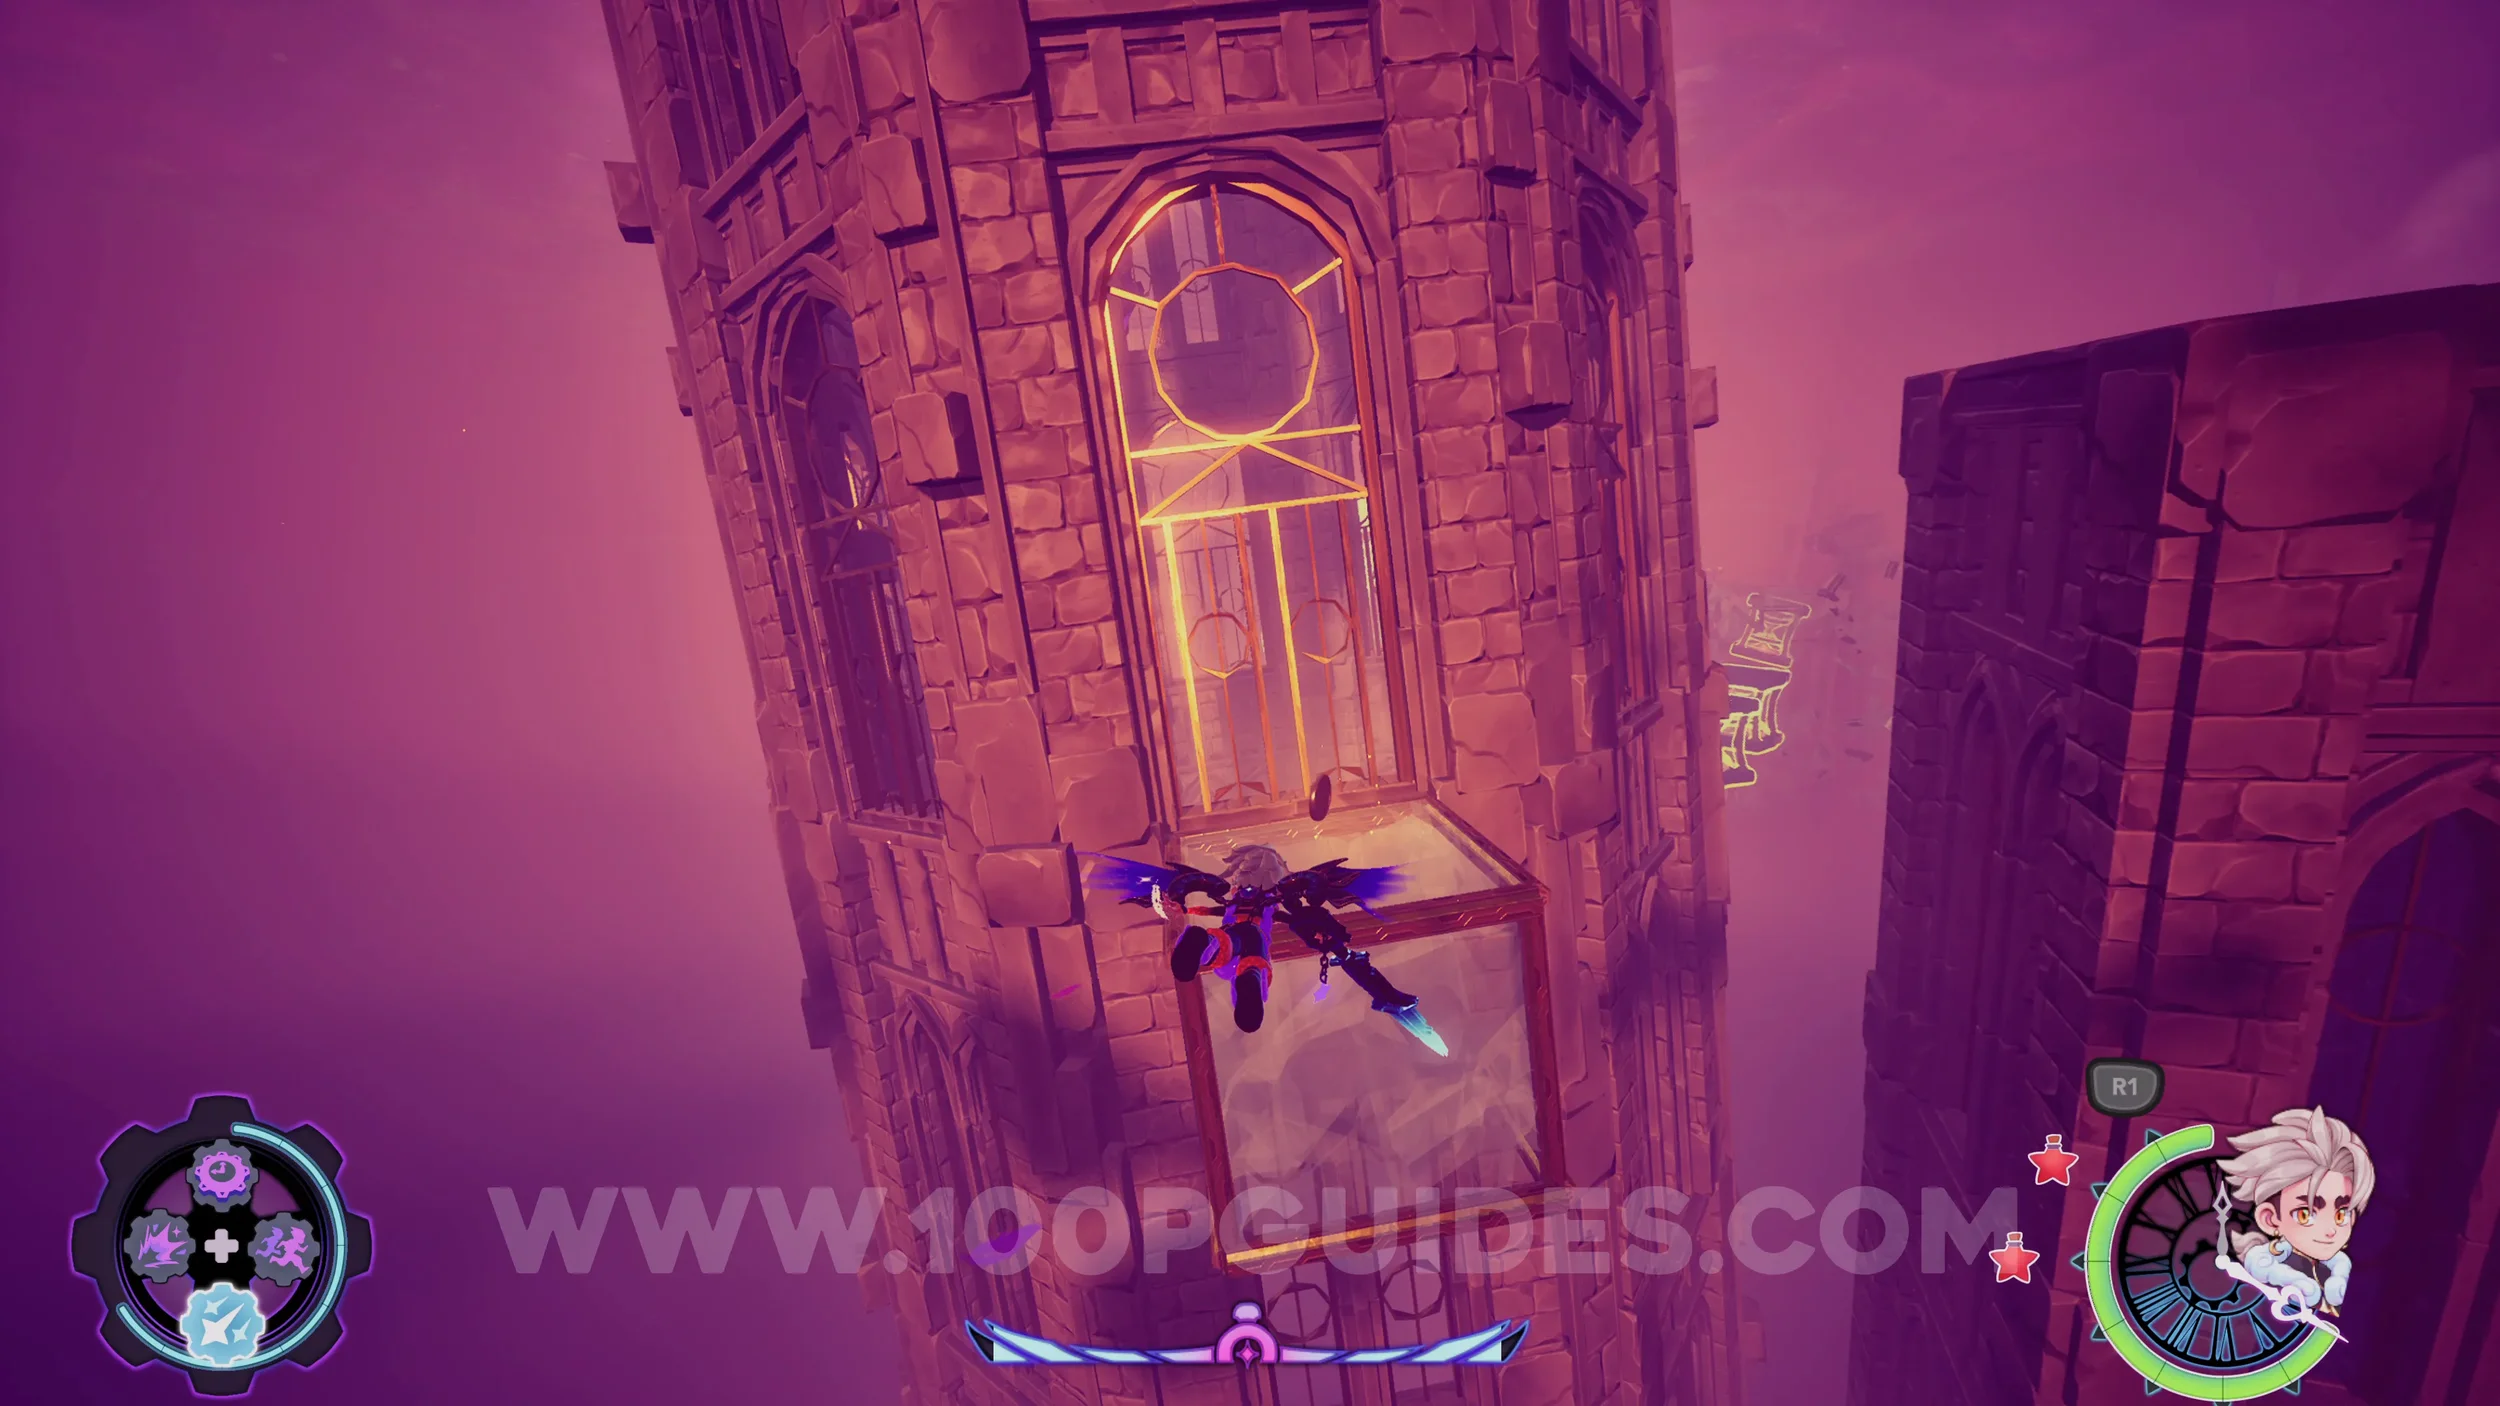
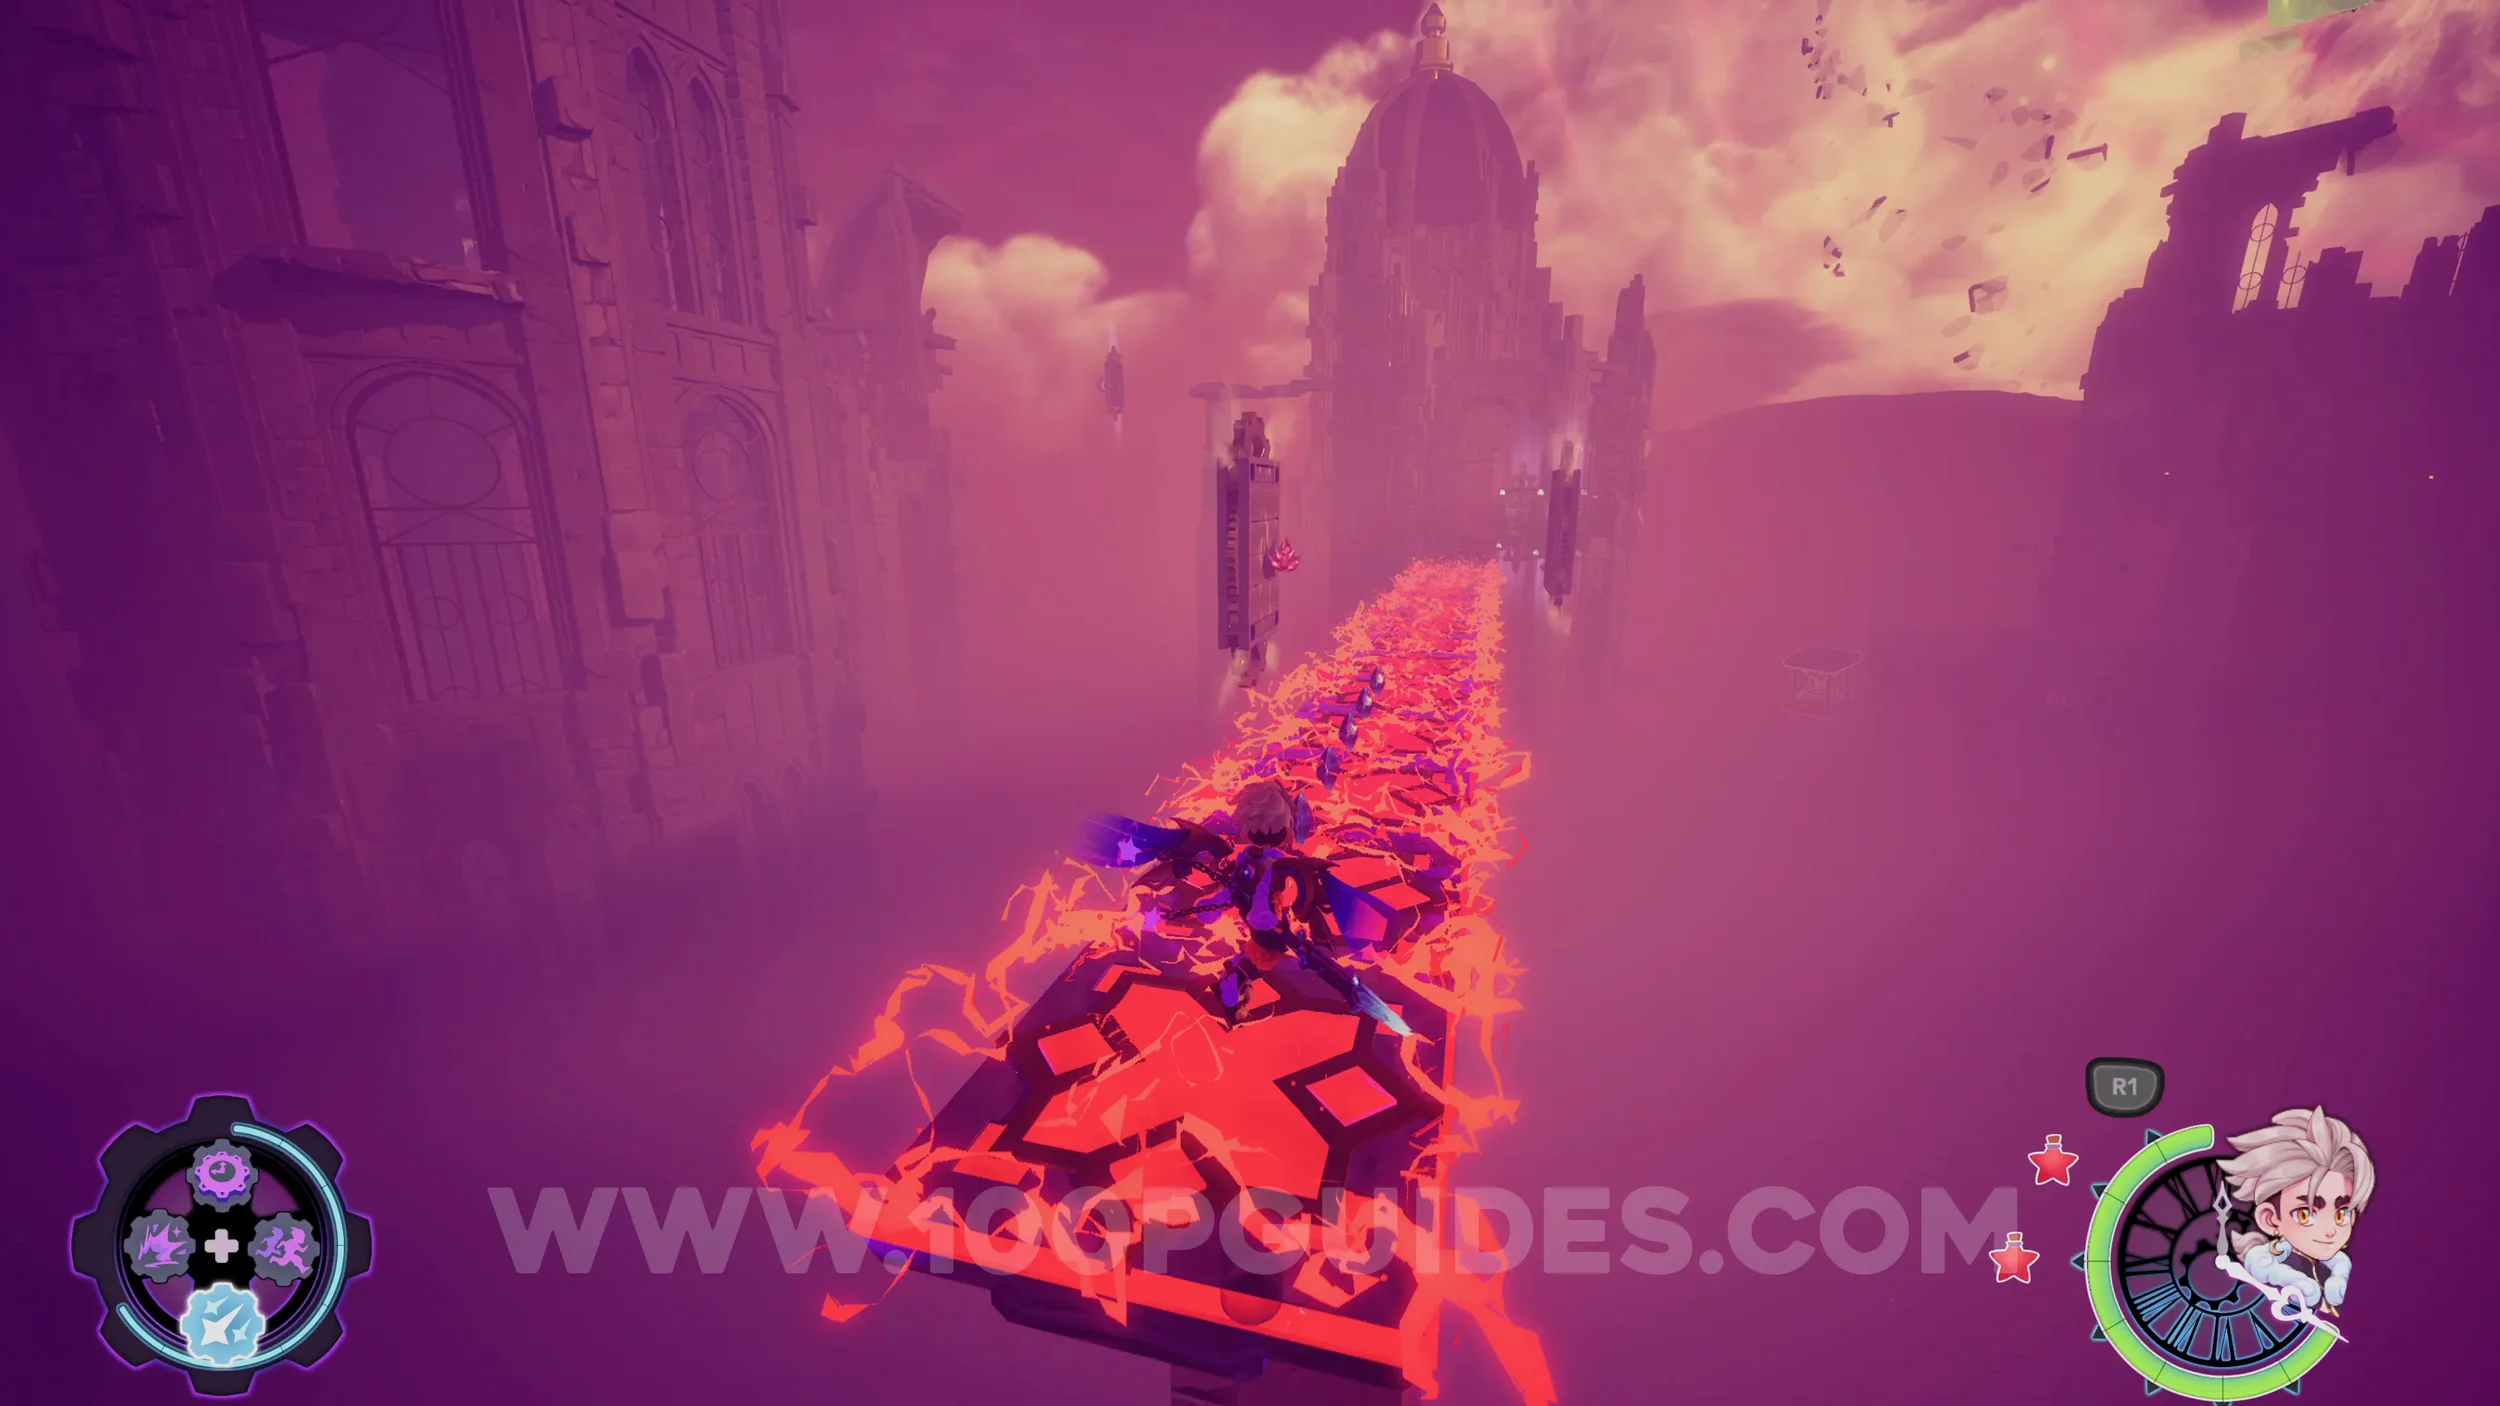
Upgrade Gear #1. Follow the level until you get to the long path with the electrified floor. At the end of the path, enter the building and drop down the hole. Then ride the moving platform to get to the large circular platform outside. Defeat the enemies, then use the jump pad in the next building to reach the gear on the top floor.
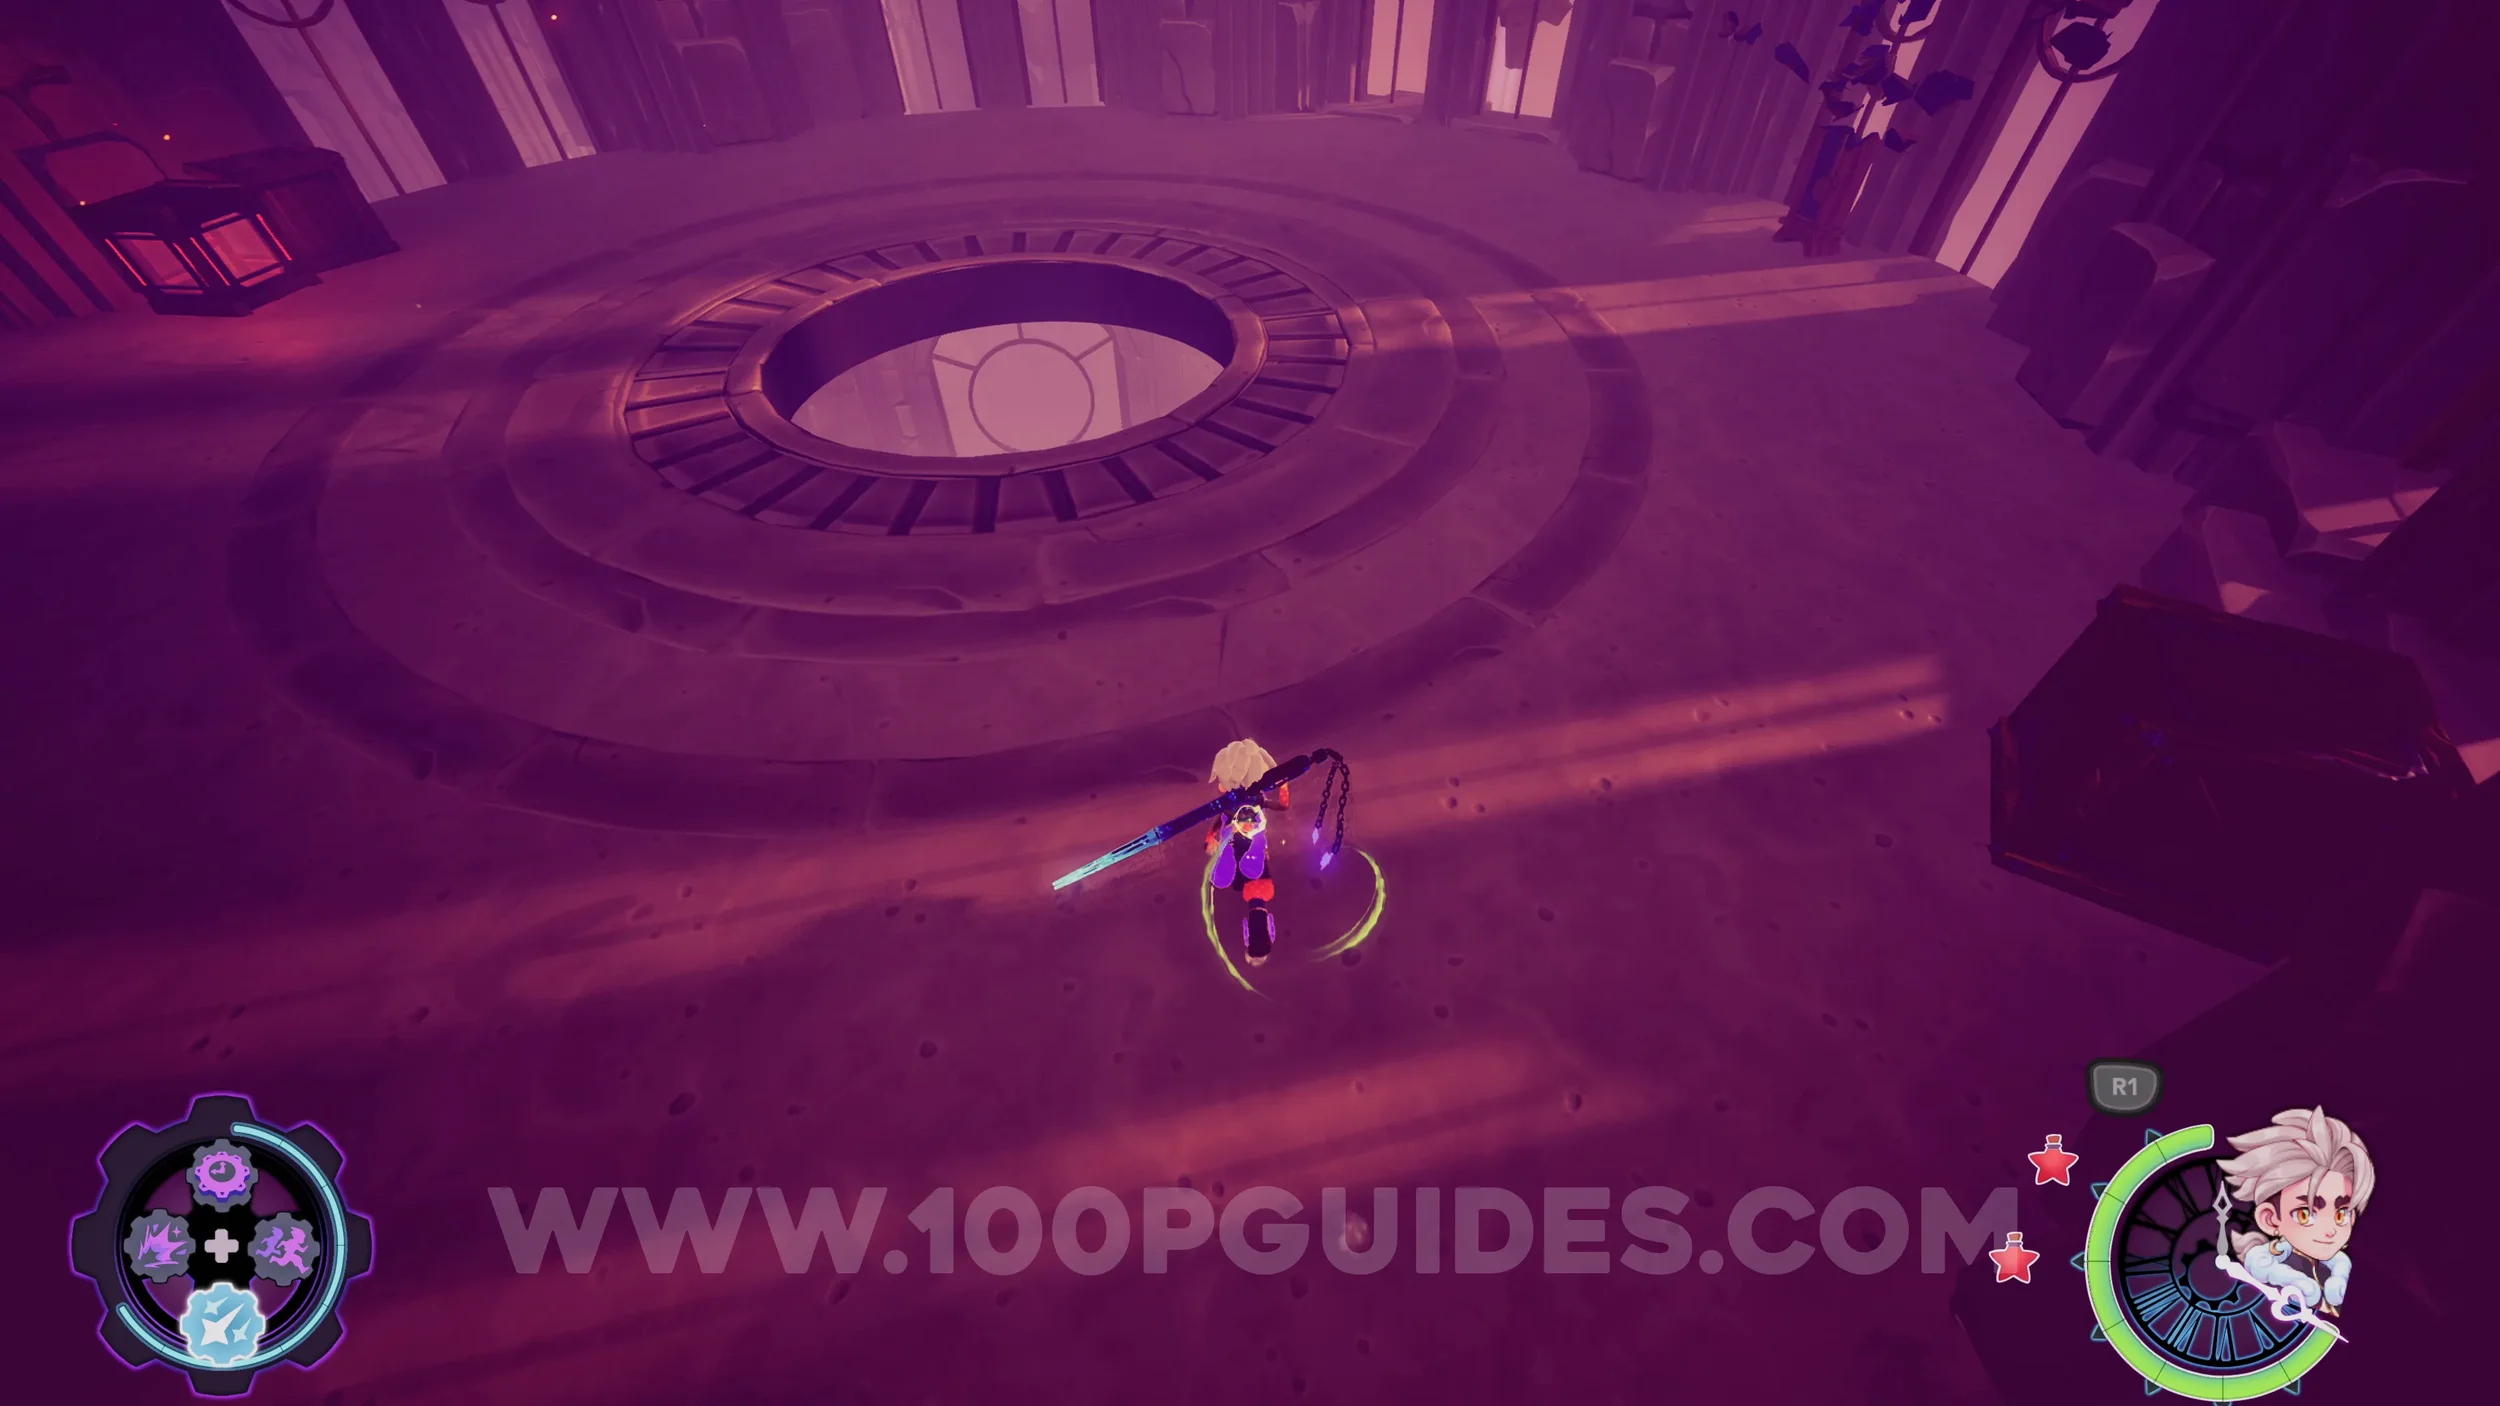
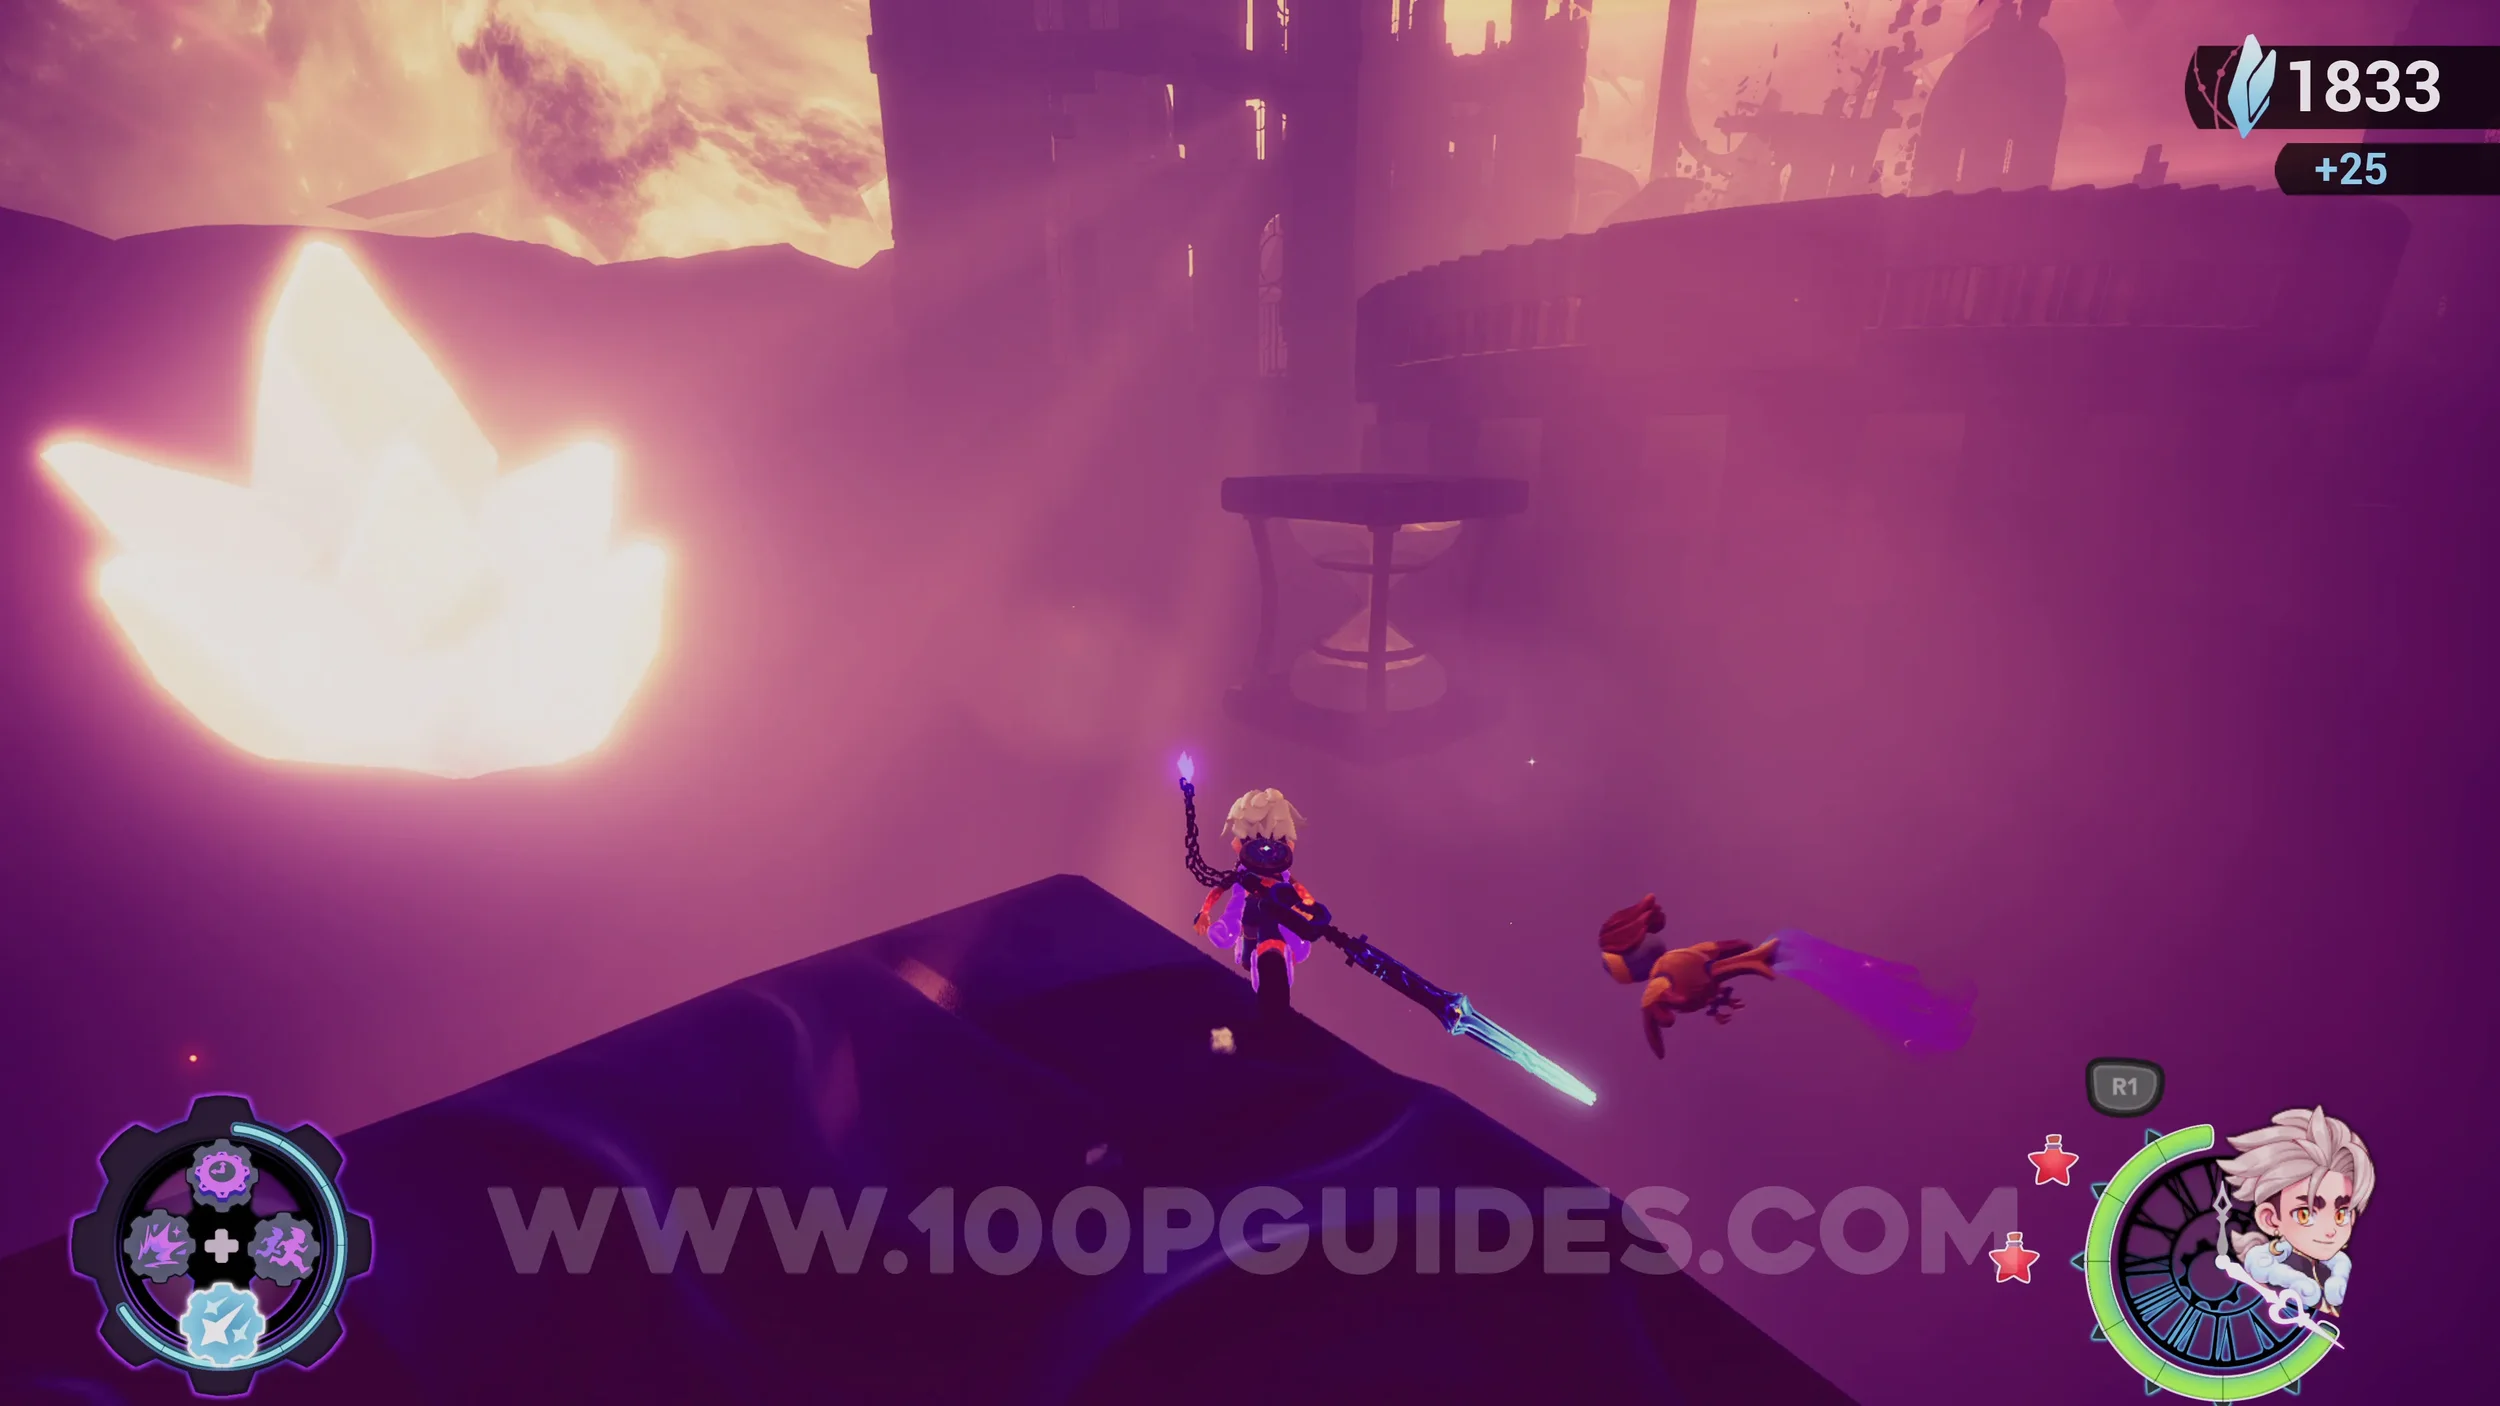
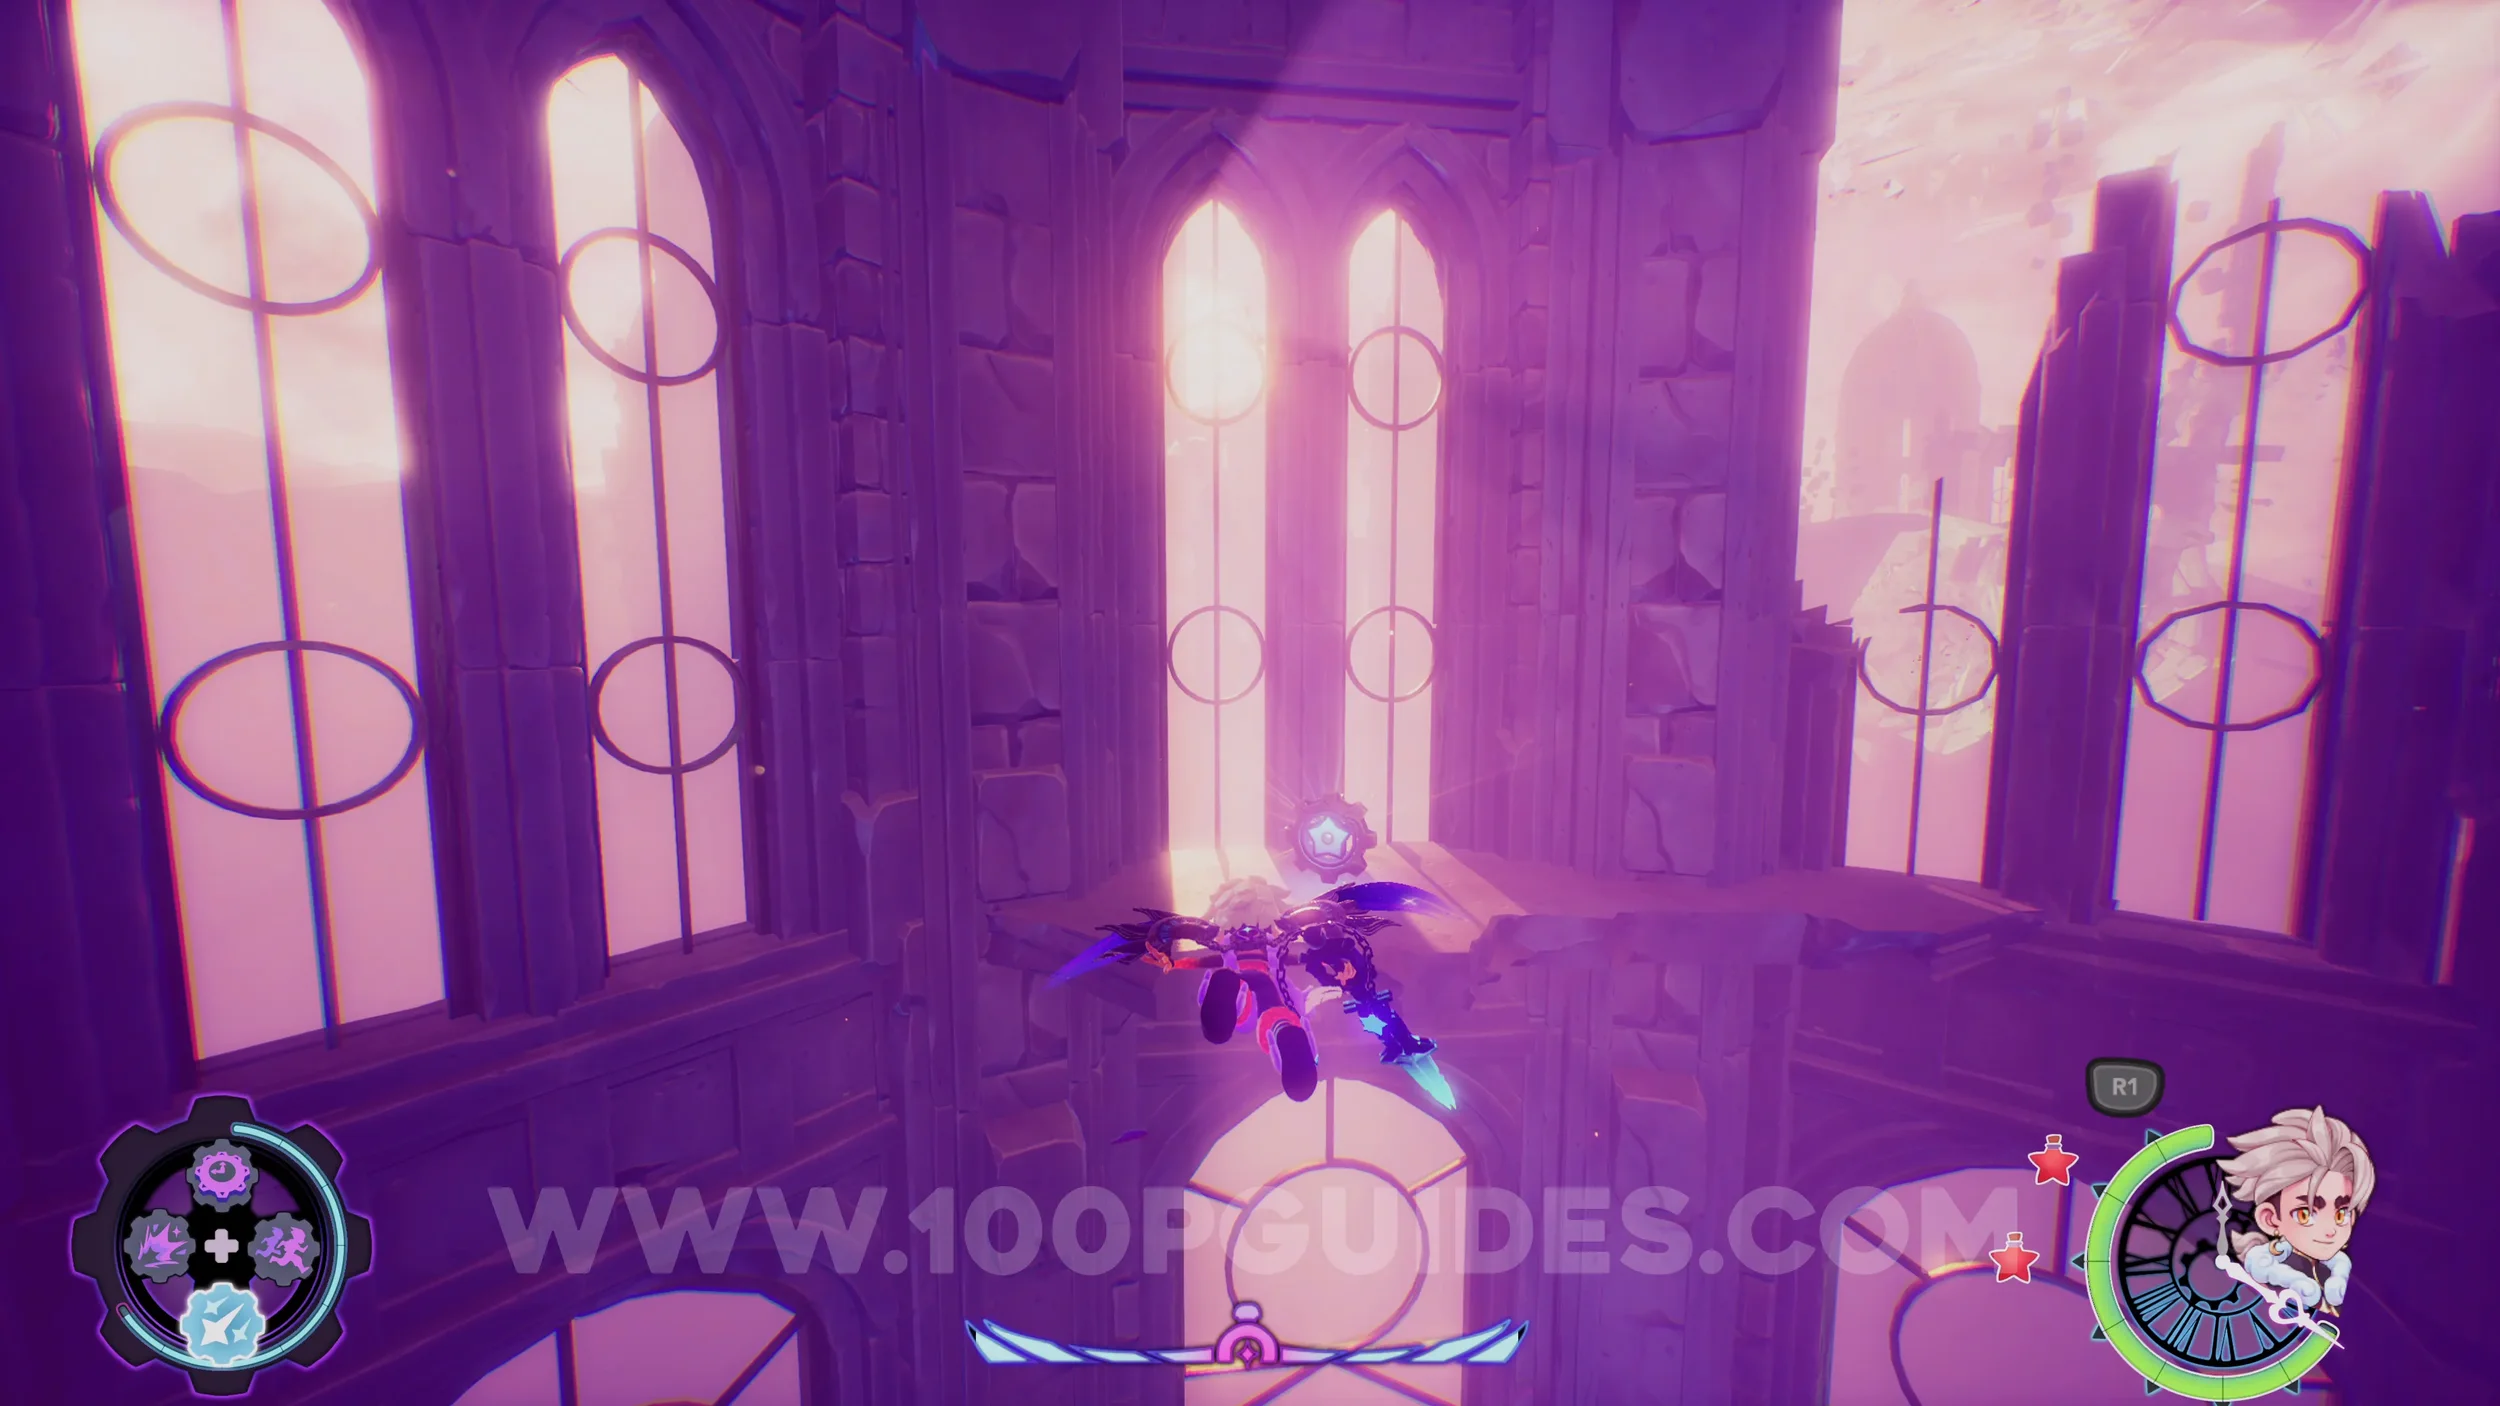
Flask of Dye #1. Return to the building and ride the vertical planks up to the top. Then cross over to the next building with a jump pad in the middle. First, drop down to the right side where the green crystal is to find the flask on the other side of the pendulums.
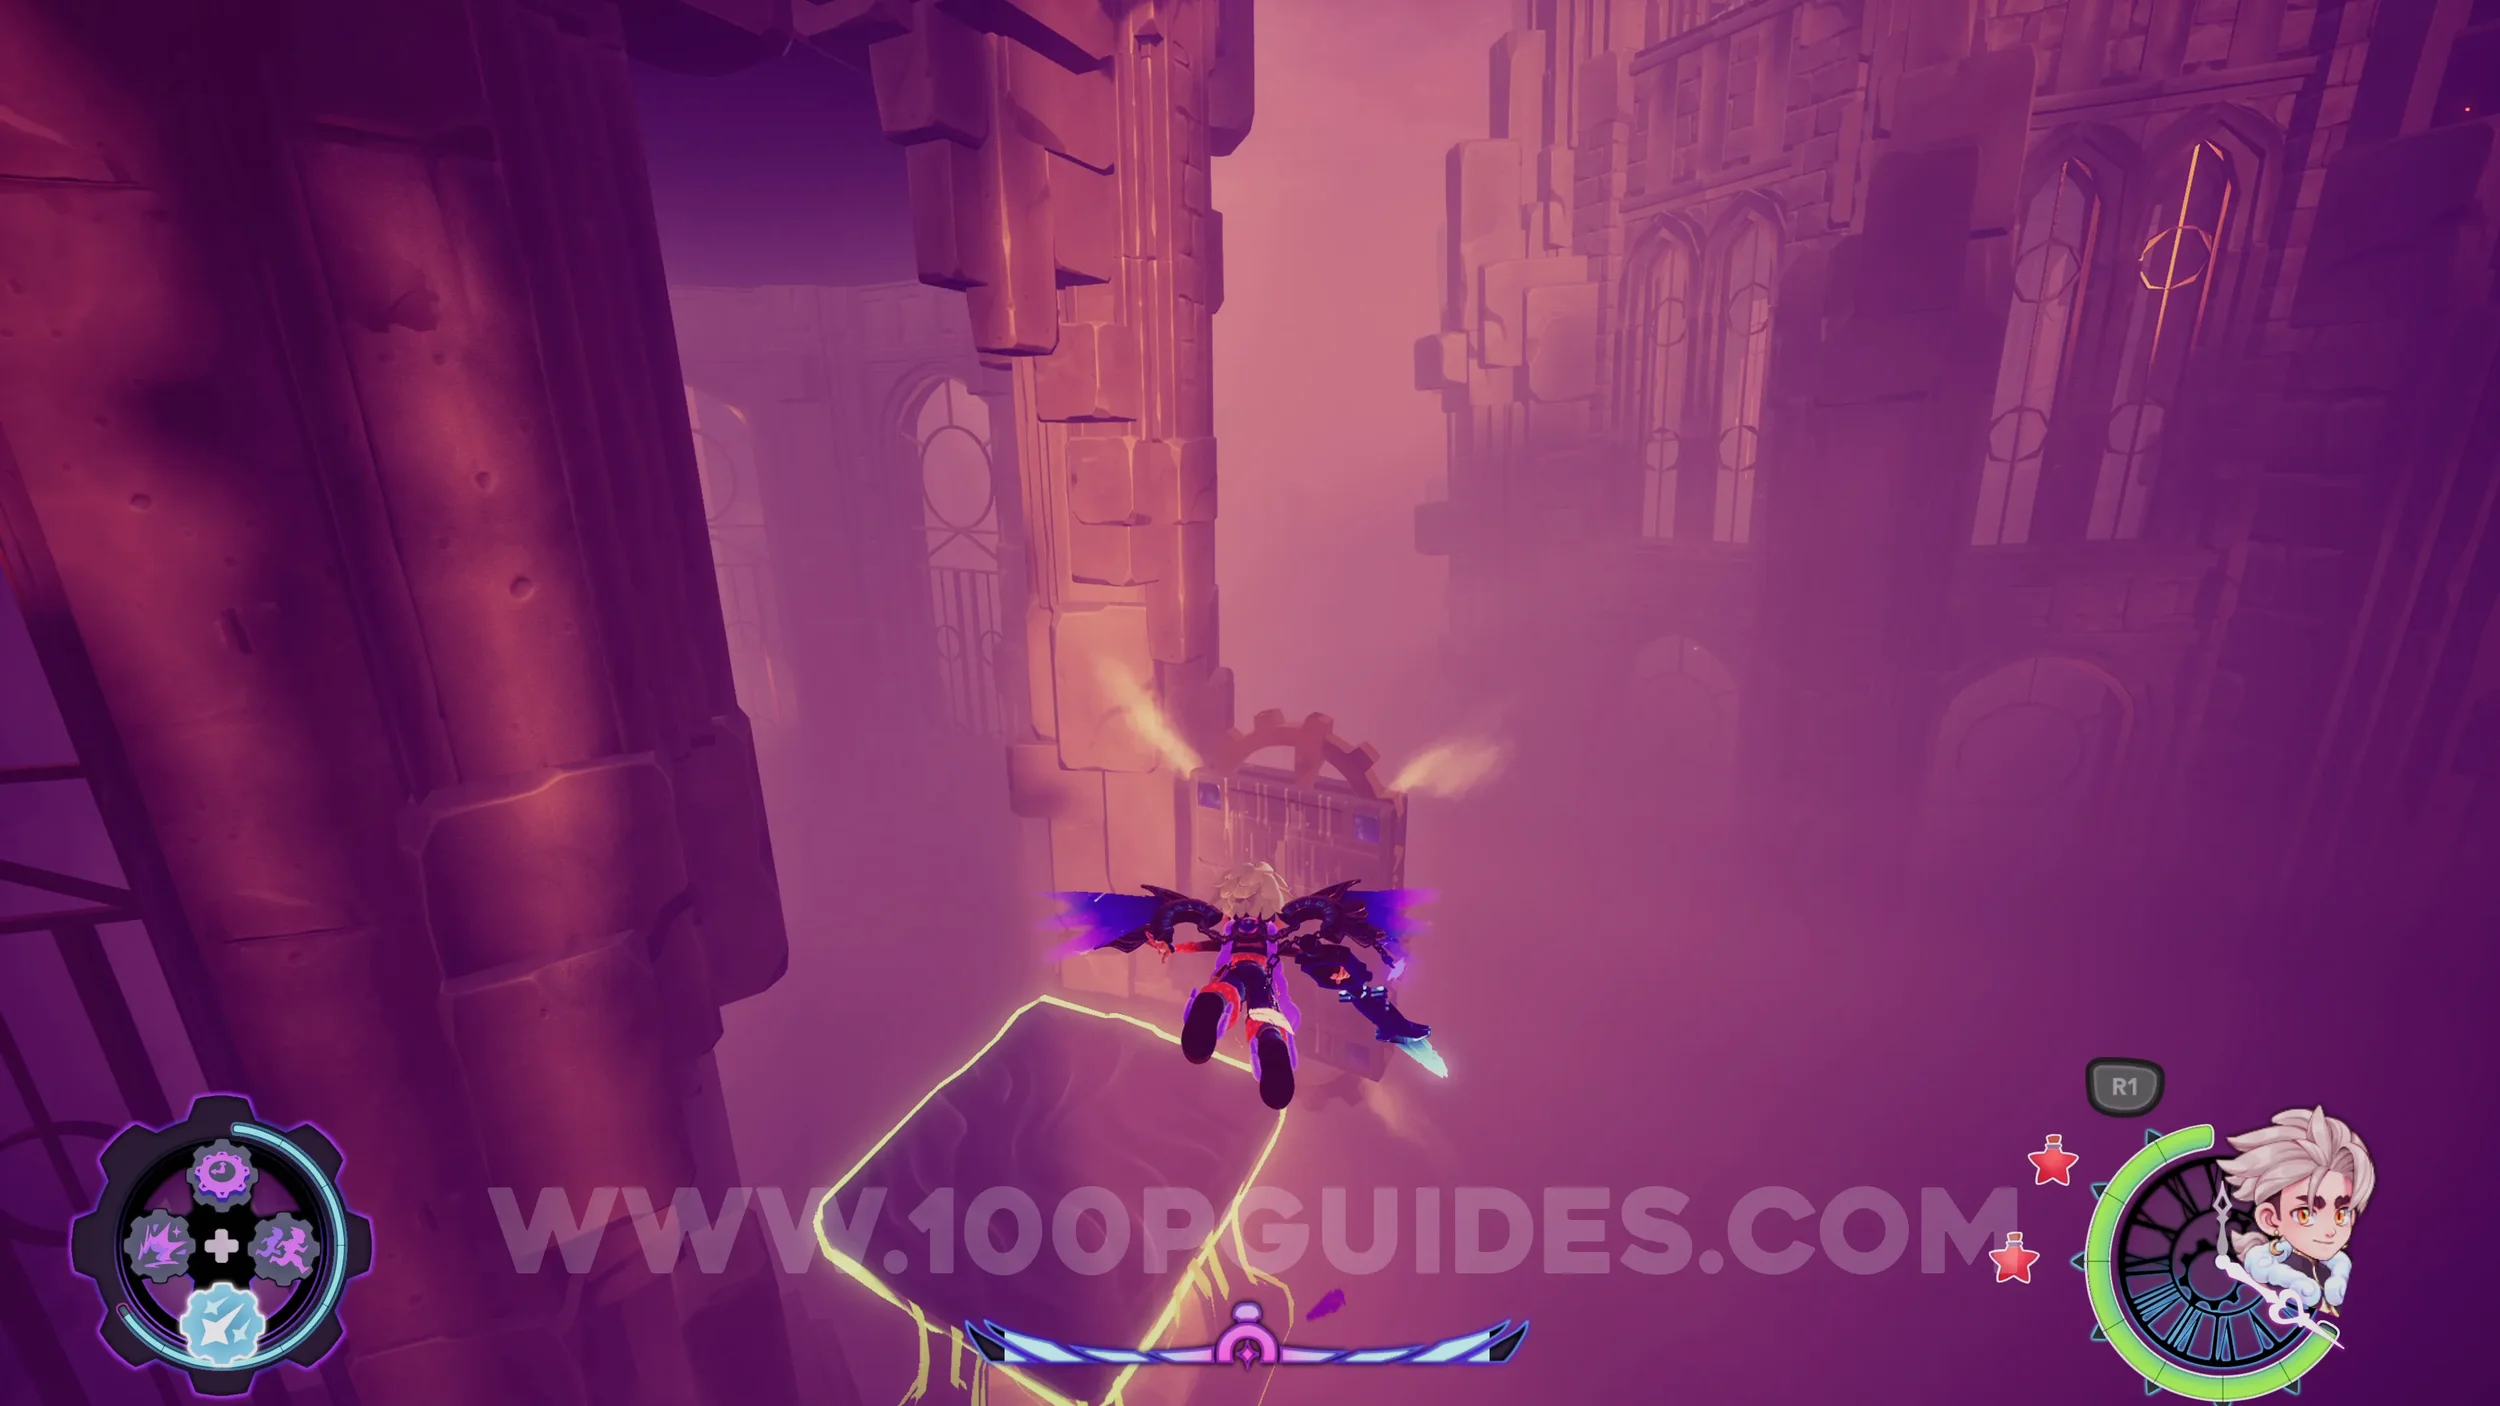
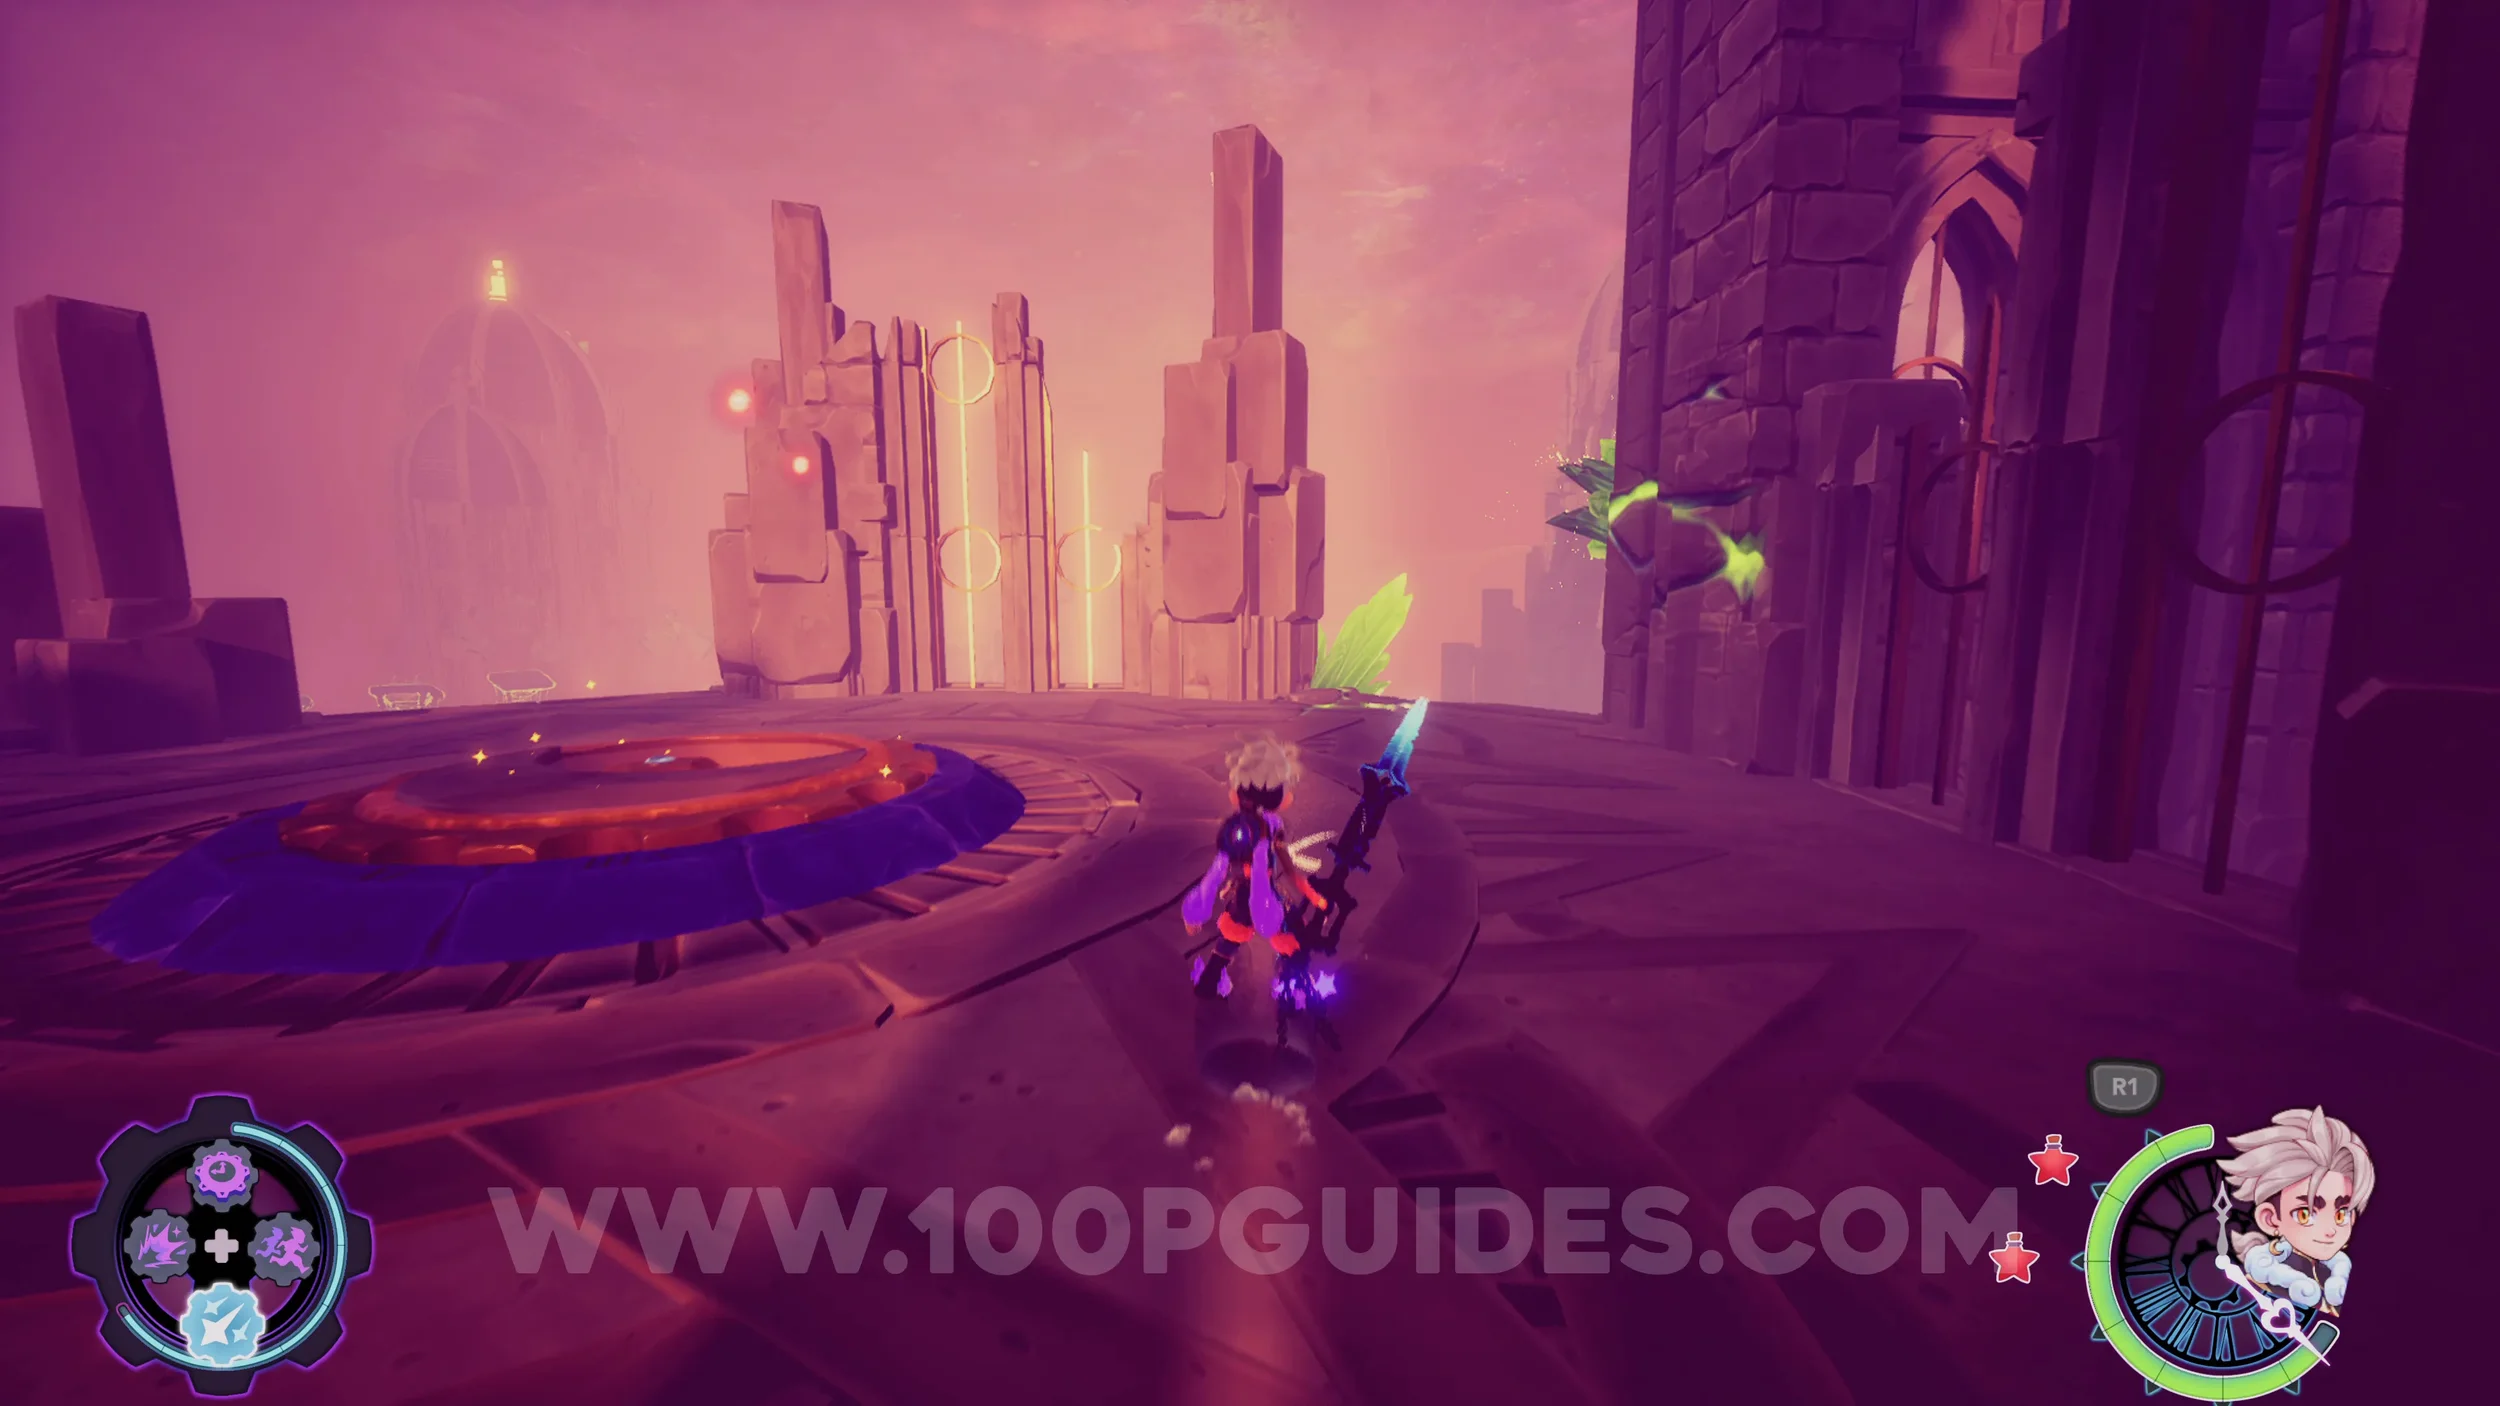
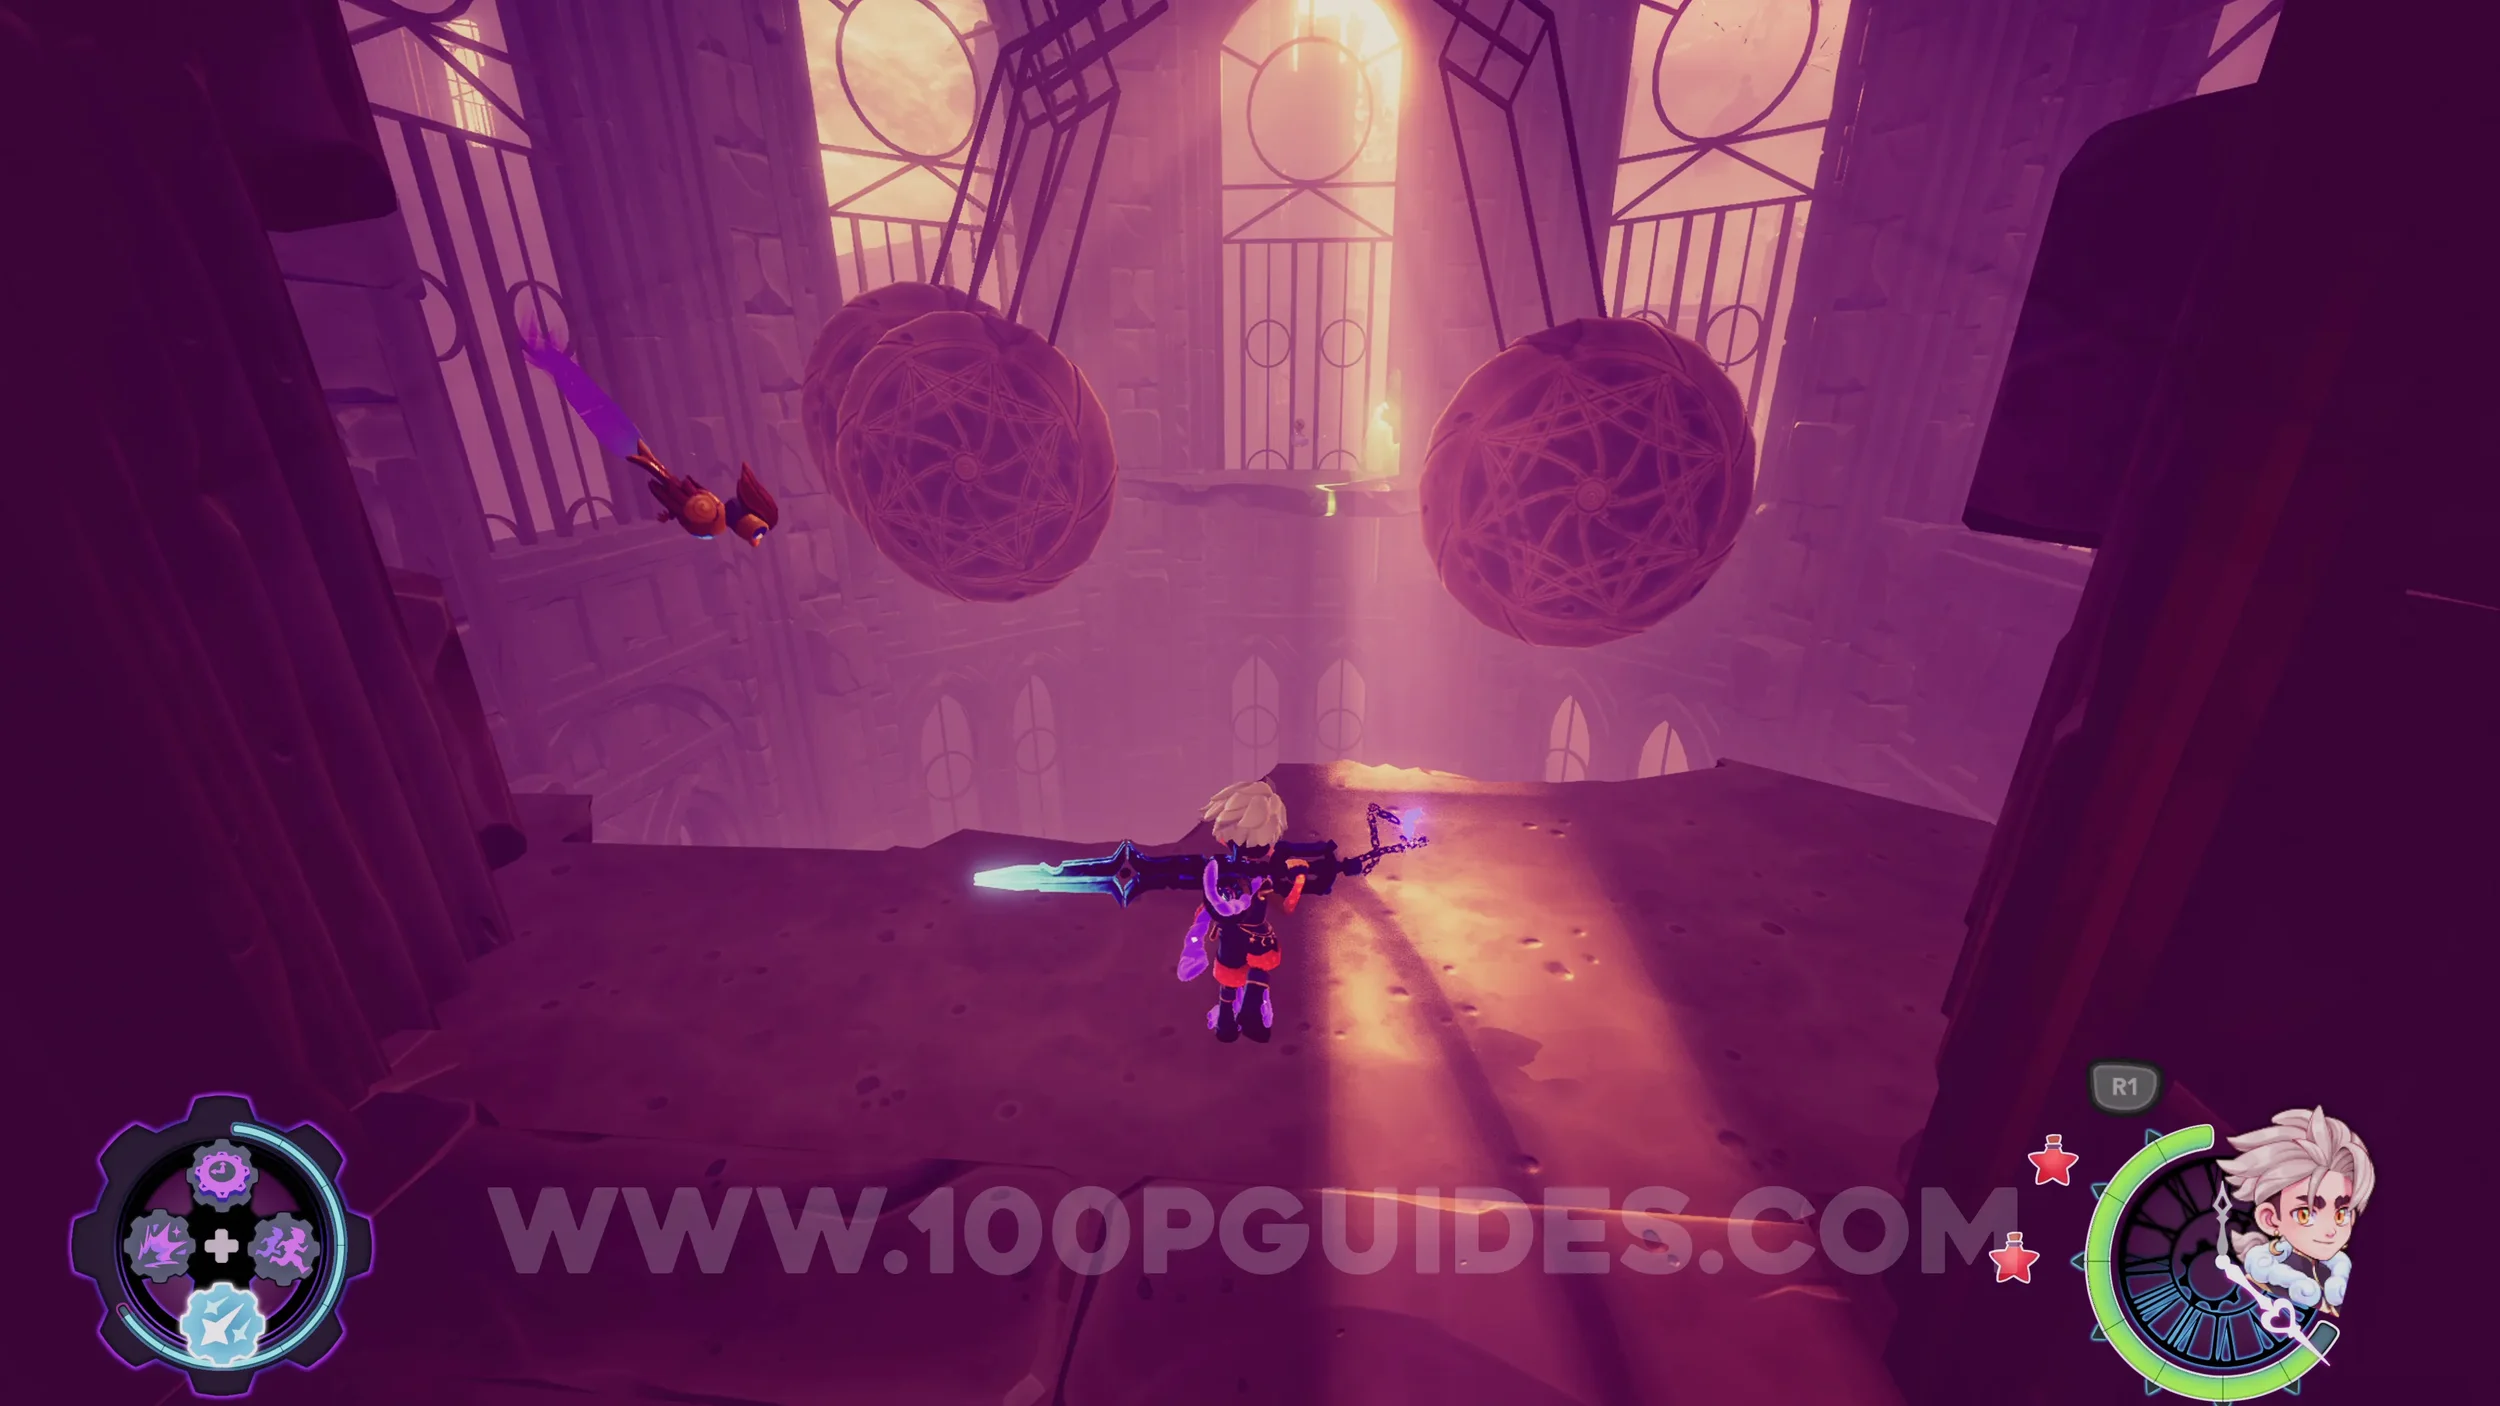
N1-C0in #2. Climb back up to the jump pad, activate it and use the grappling to reach the coin under the half-triangle-shaped roof.
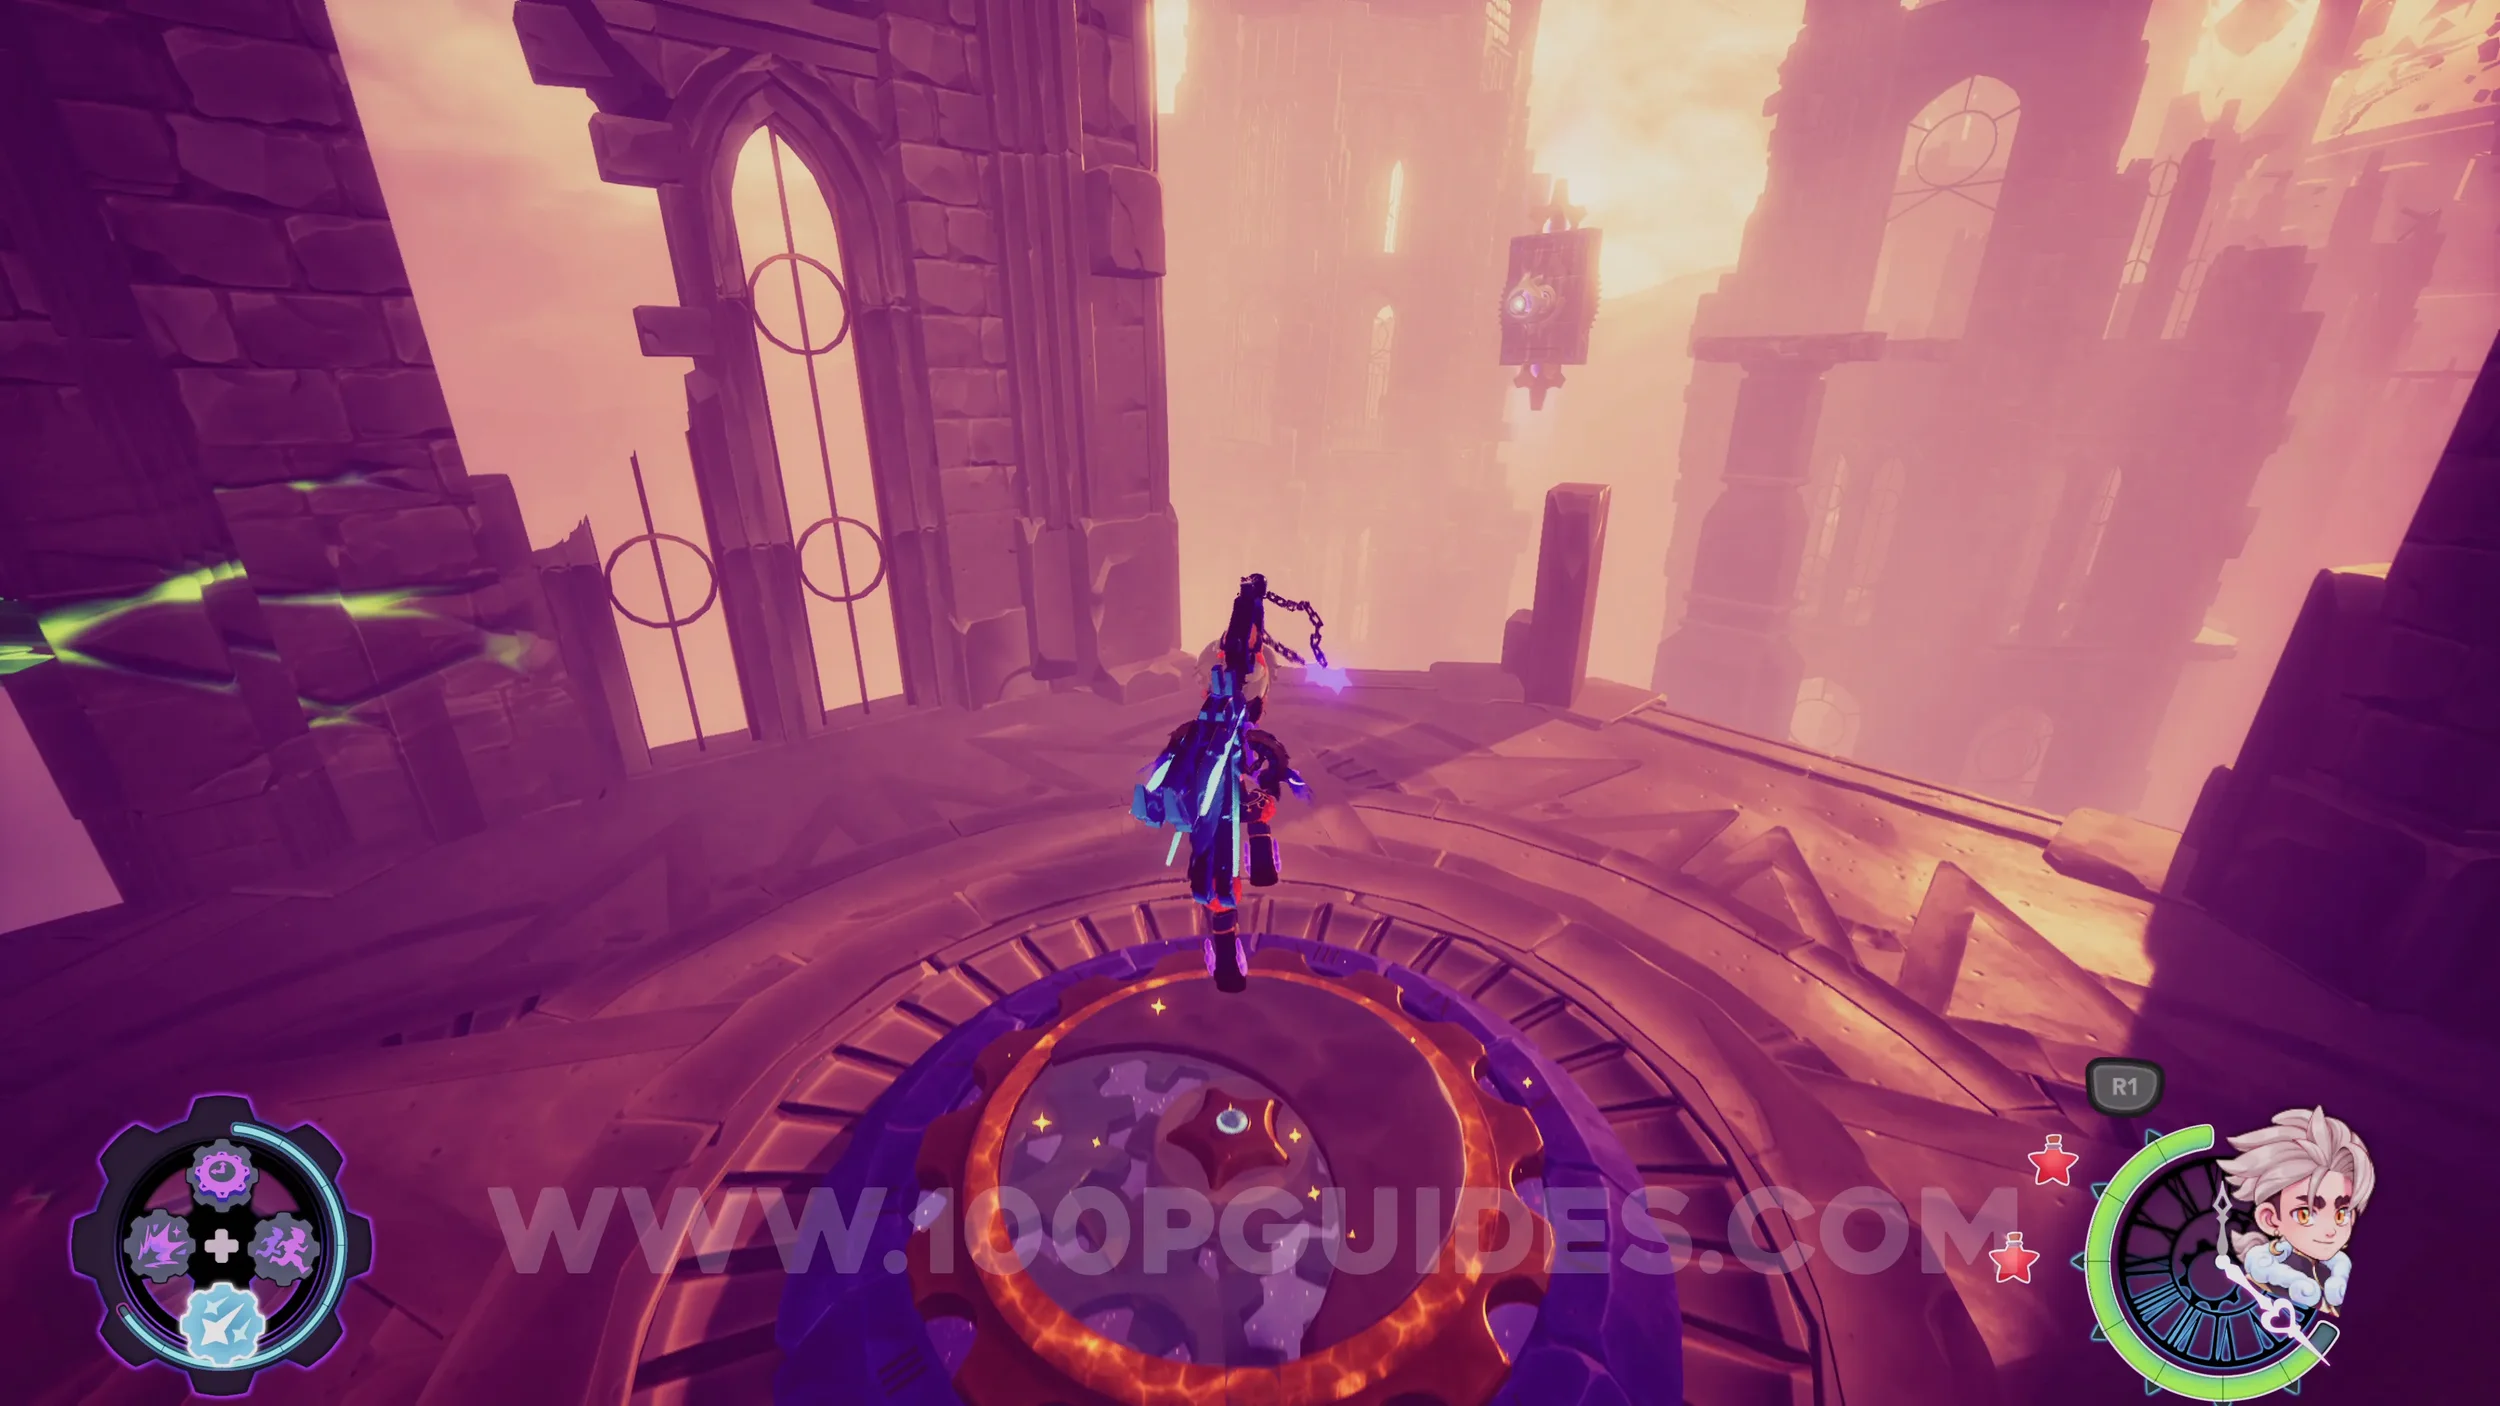
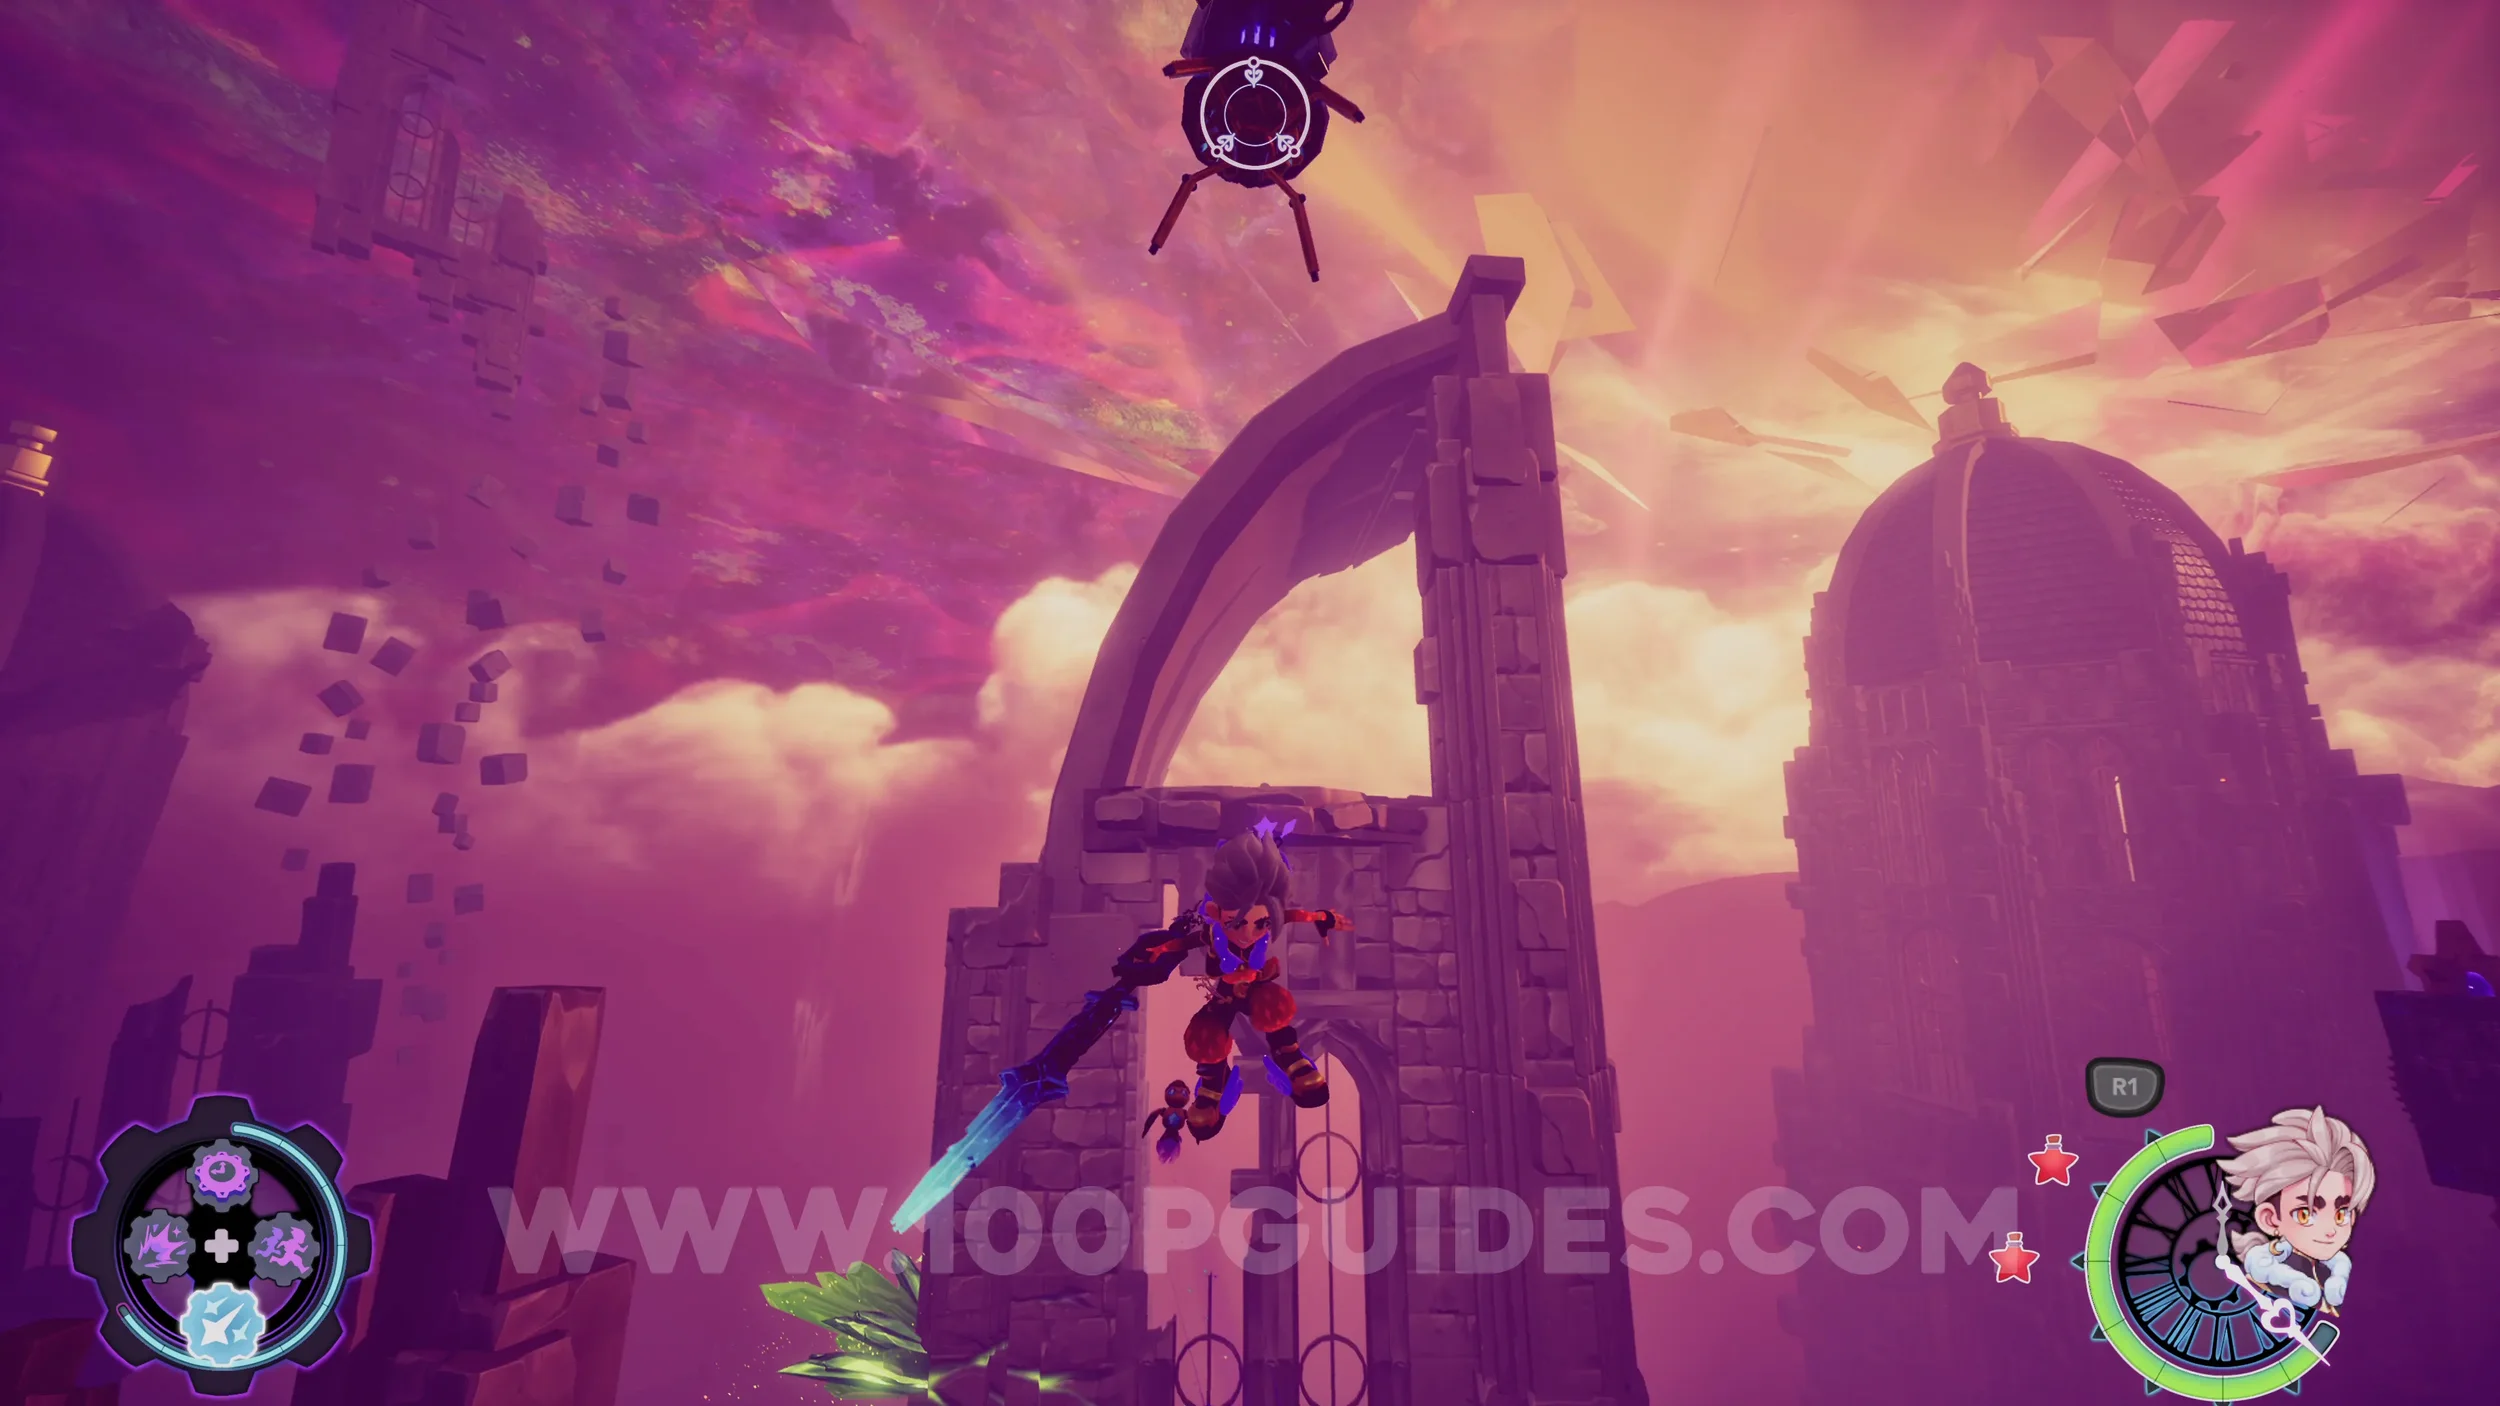
Echo #2. Once you reach the fast travel point, fly down the right side of the building and look for an entrance to the bottom floor of this same tower. Here, hit the gear to activate the jump pad in the nearby tower. Go to it and use it to climb to the top of the tower where you'll find the echo.
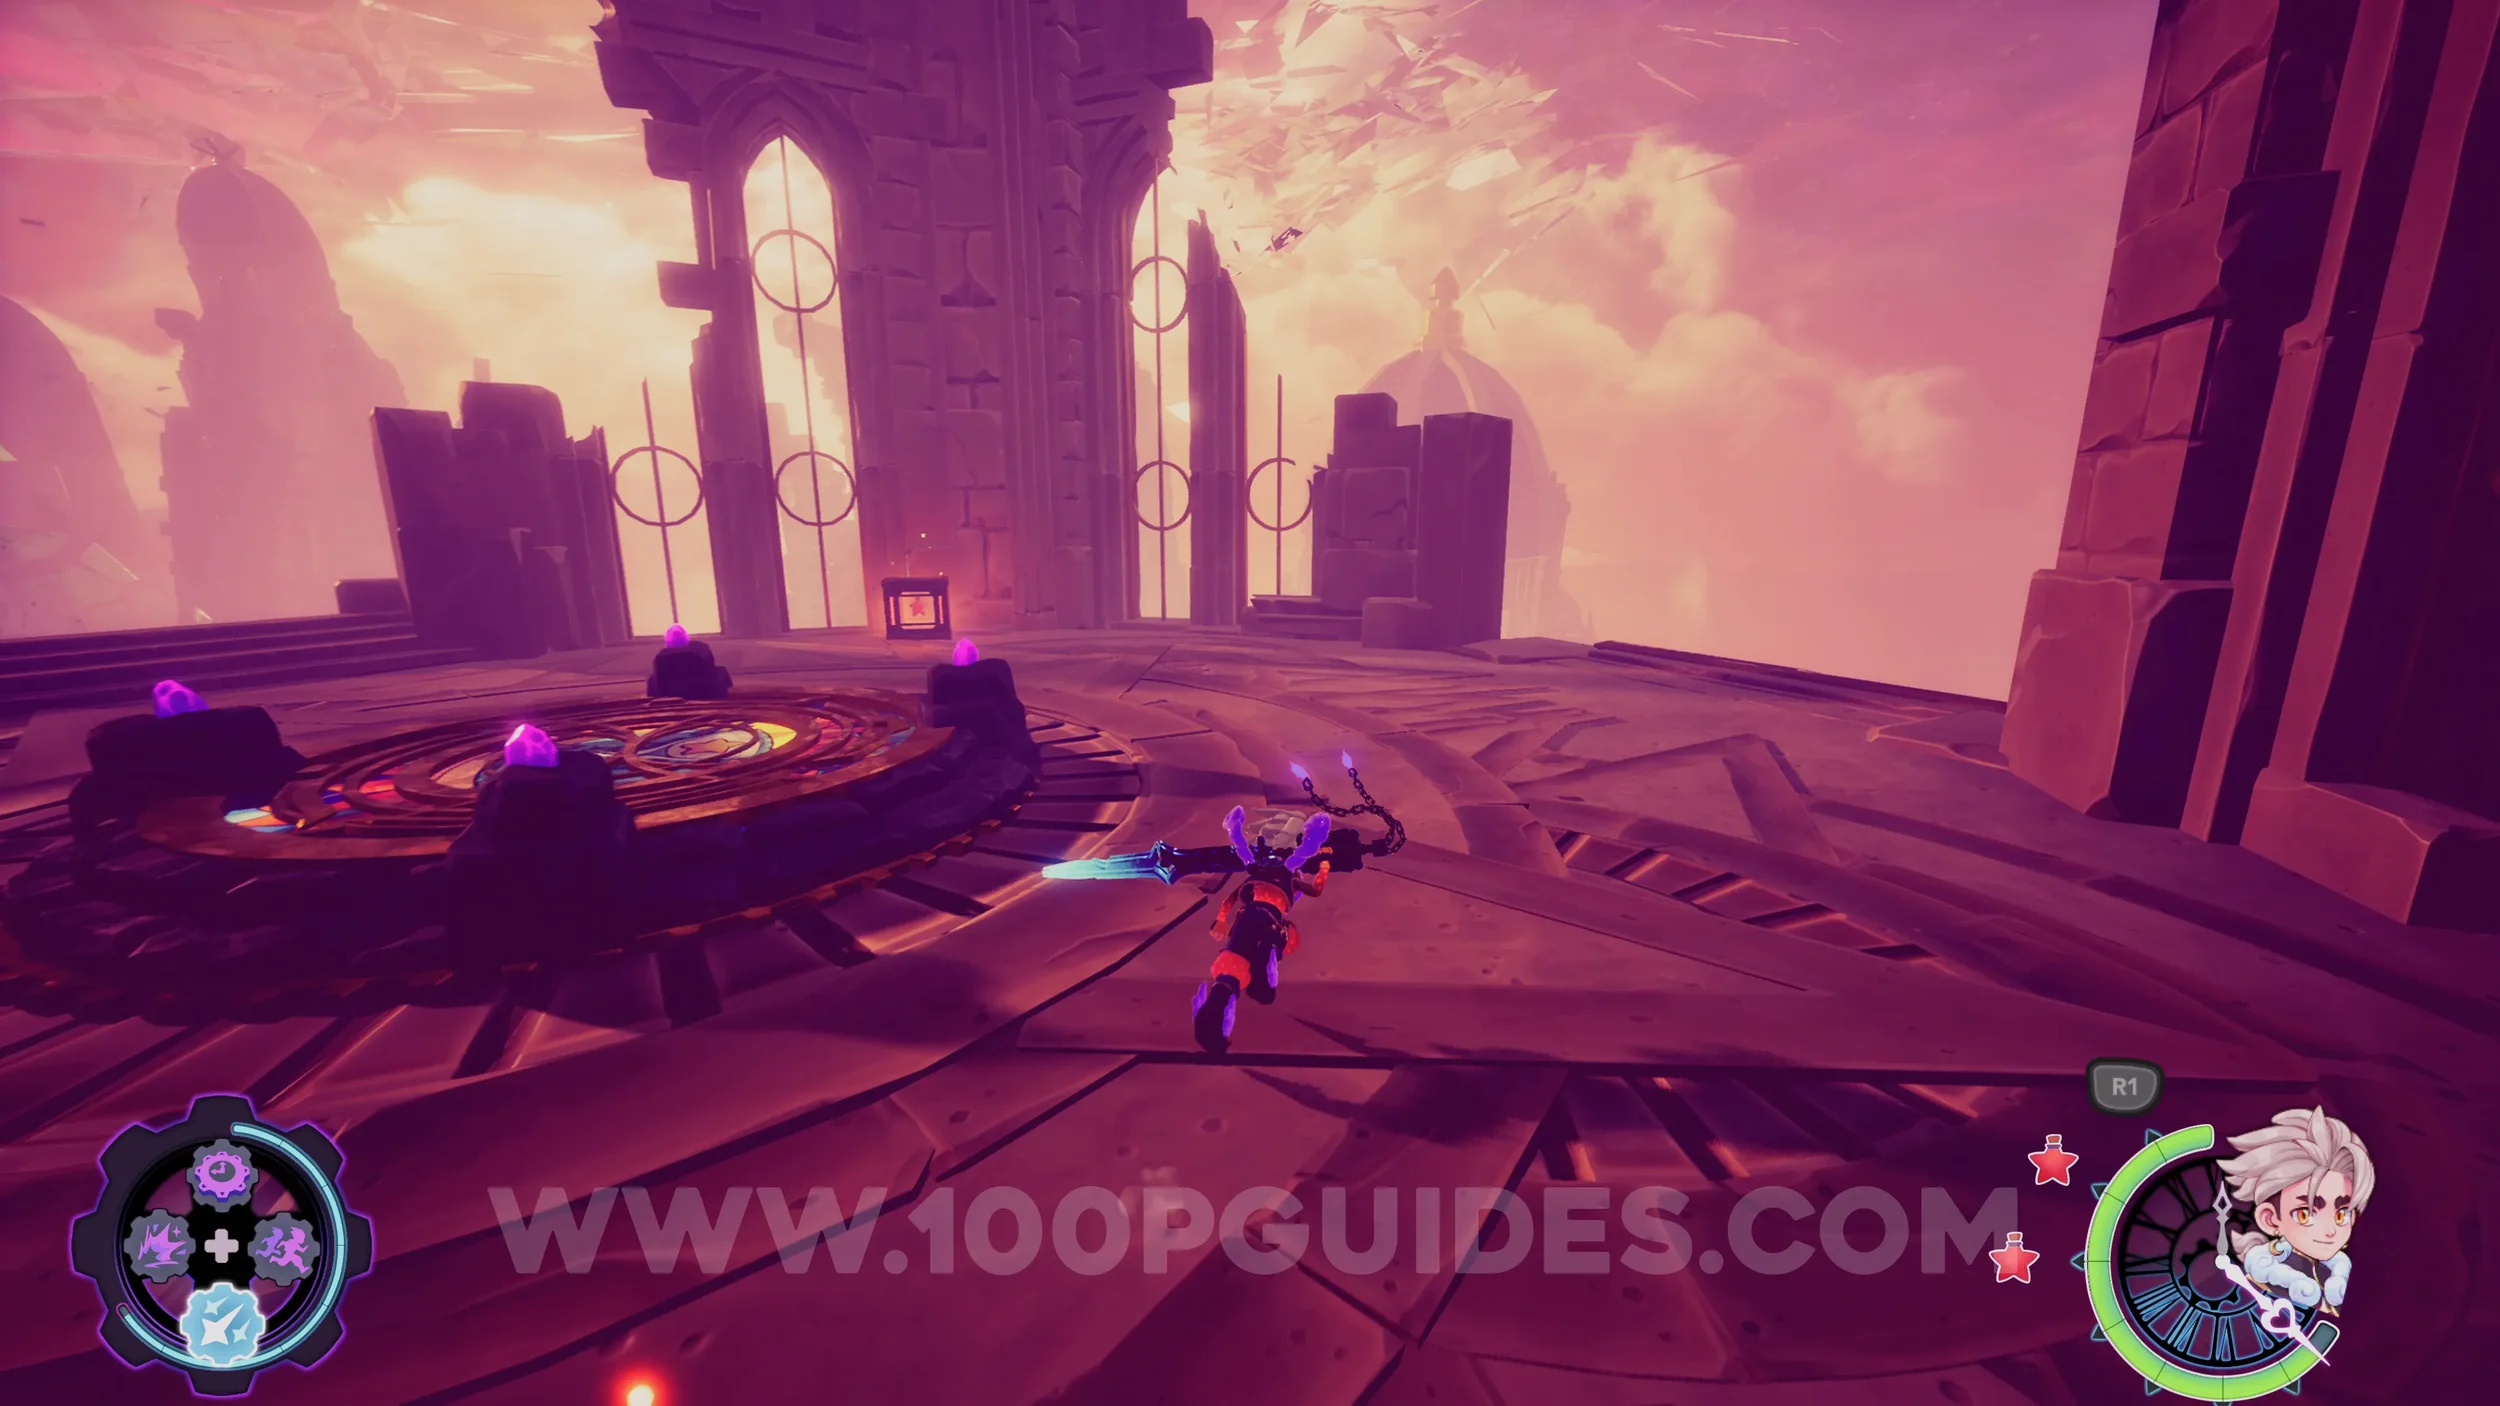
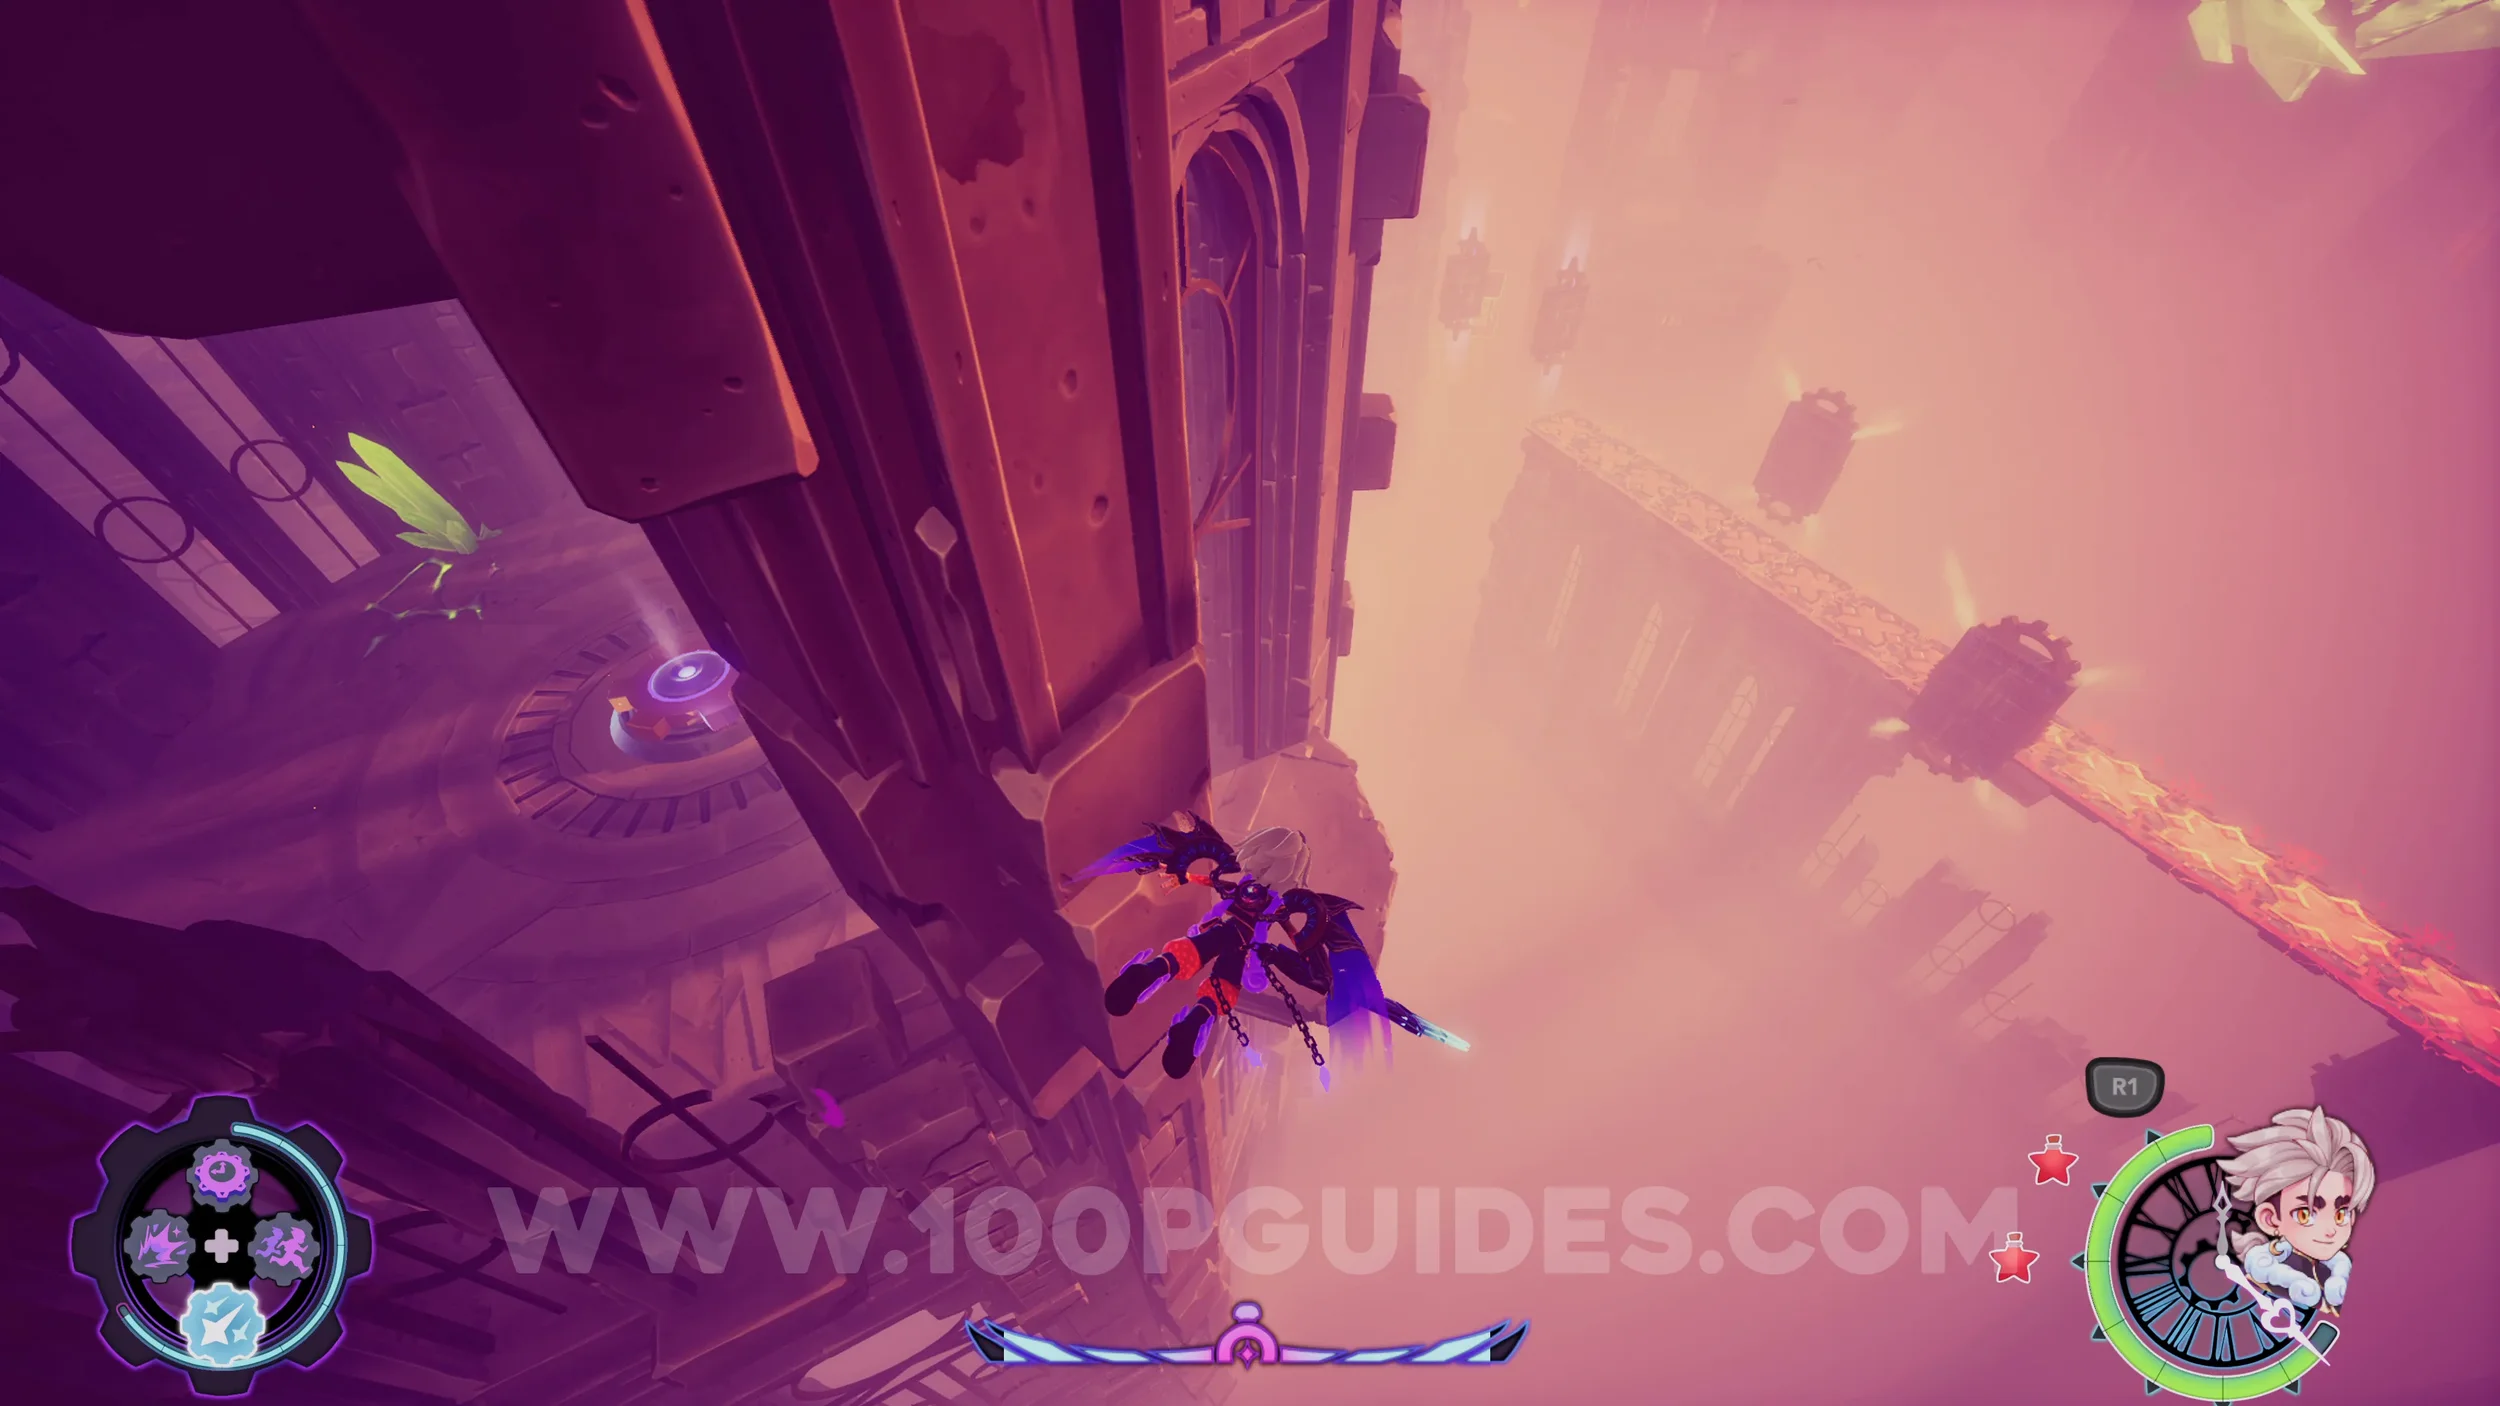
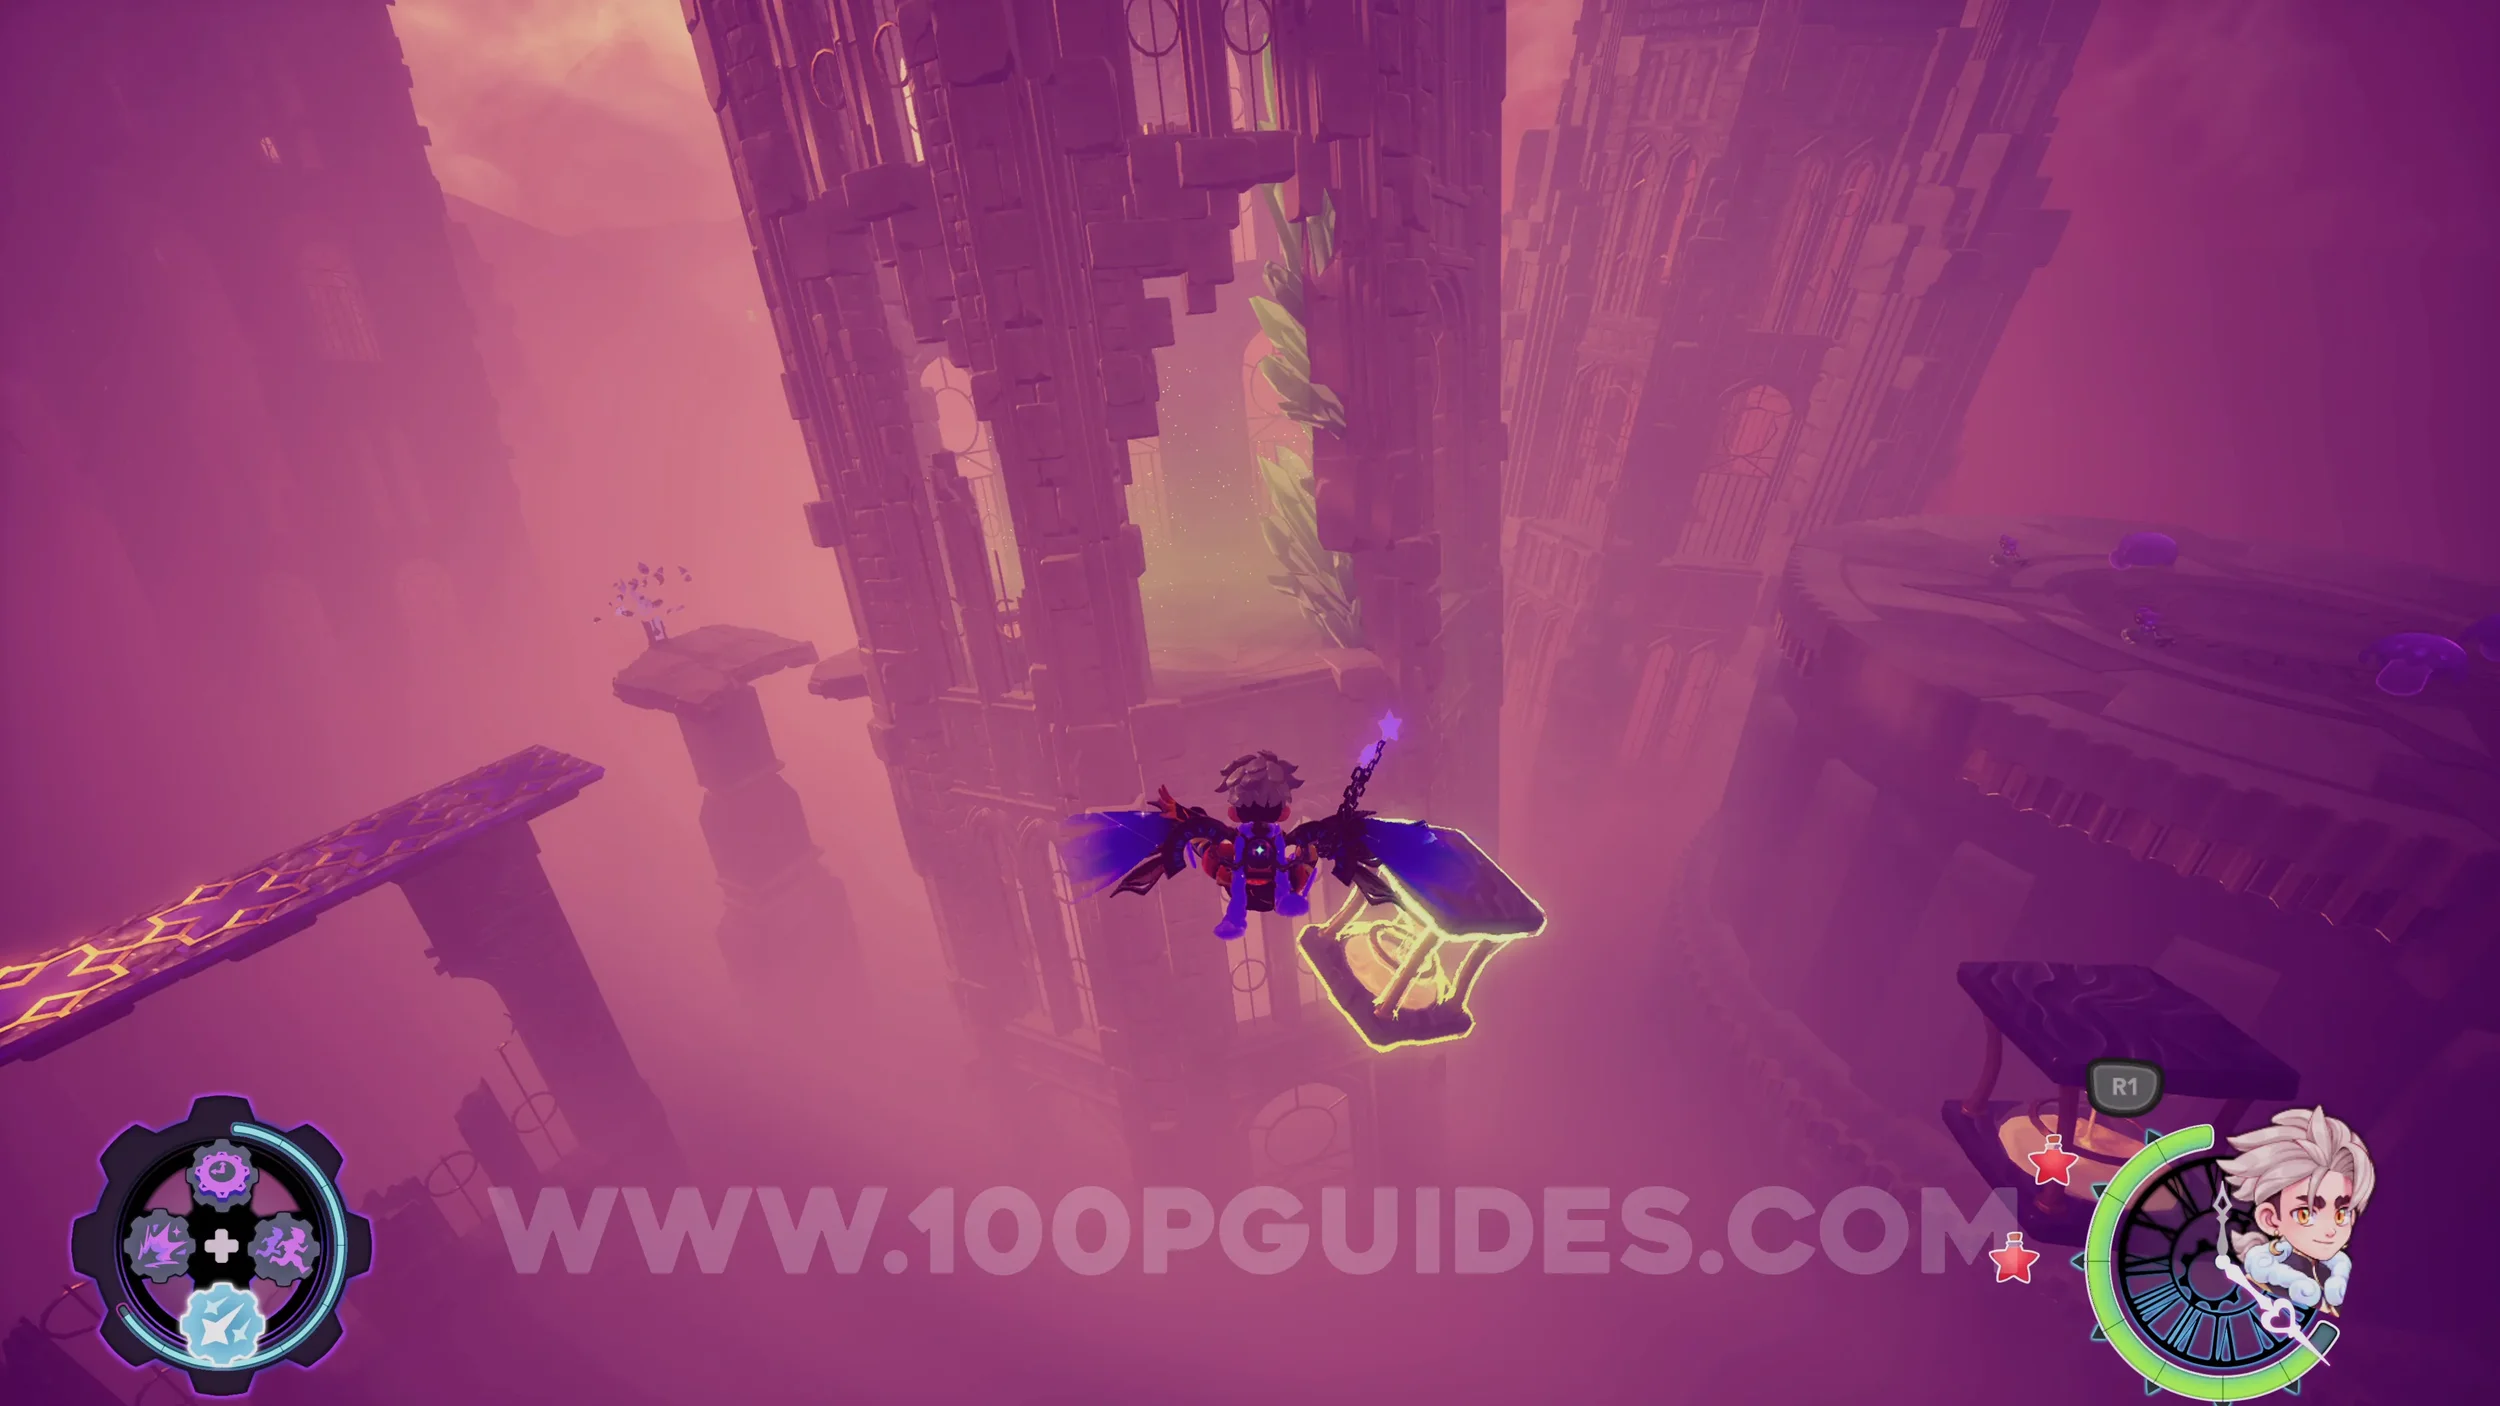
Upgrade Gear #2. Right next to the previous echo.
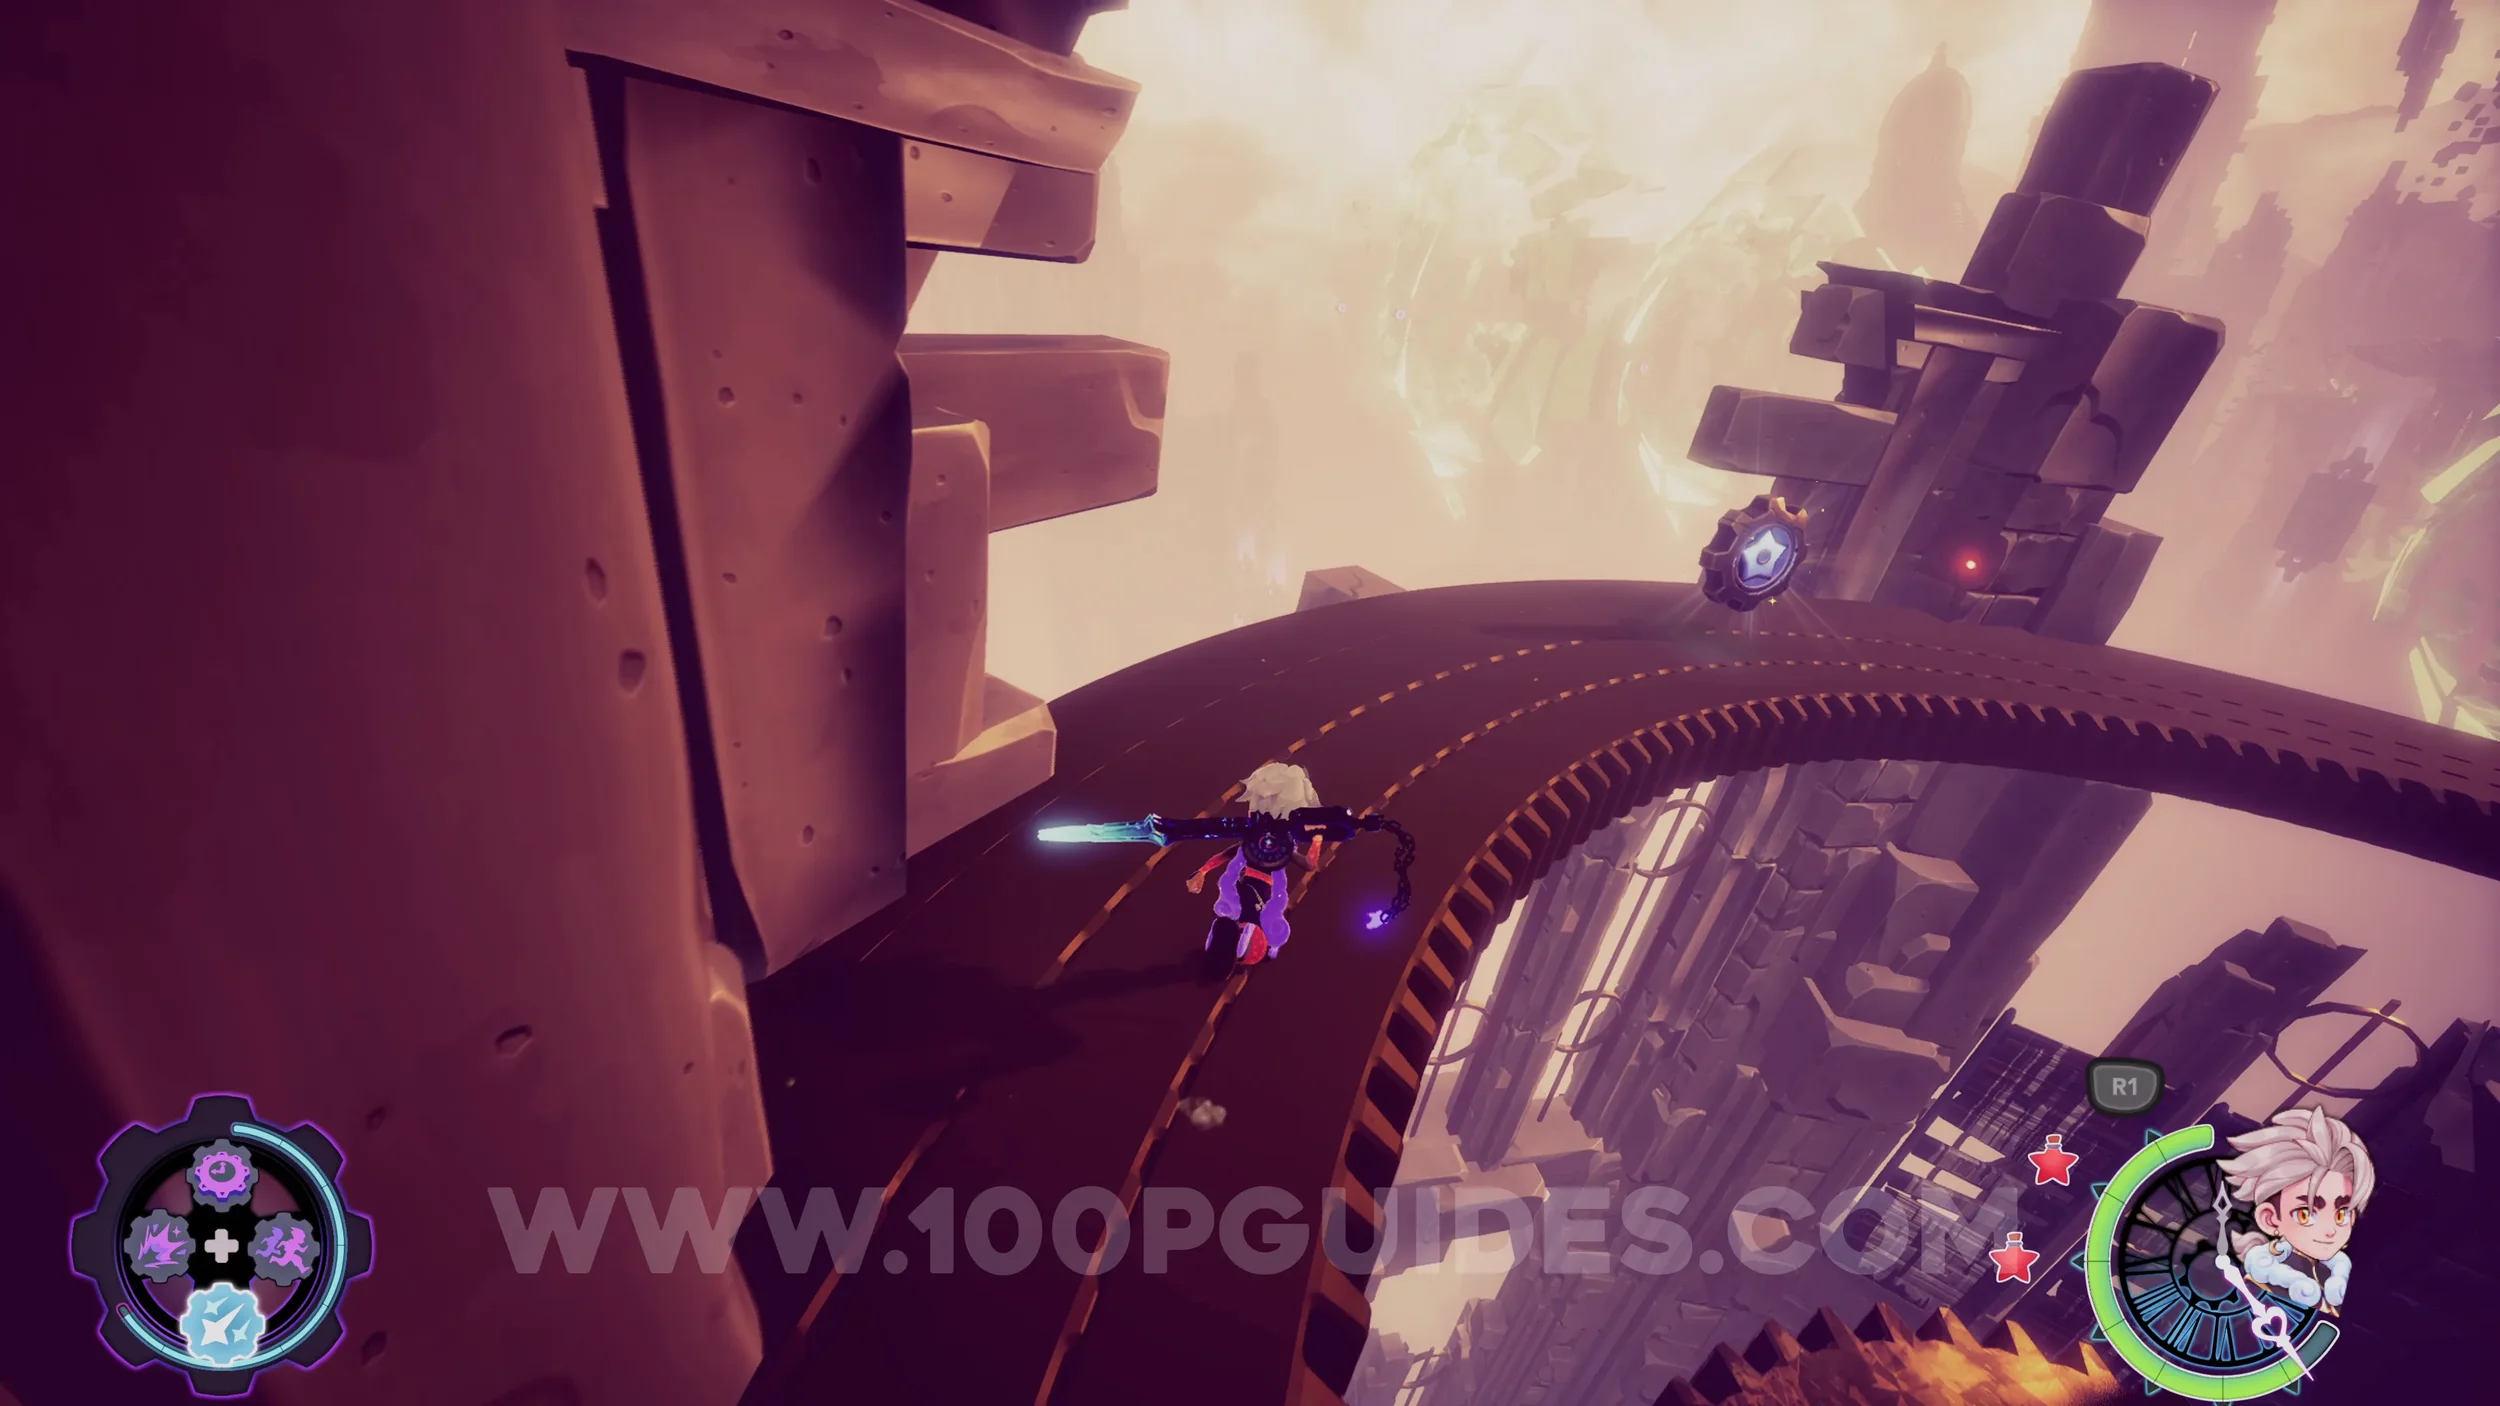
Upgrade Gear #3. Return to the fast travel point (you should be able to fly to the floating pocket watch to the left of it from the previous collectible and then climb up to it), then continue by flying through the green circles of glass. After flying through the next building, use the jump pad to reach the upper platform. From here, turn around to see a grappling point to reach the upper floor of the building you just flew through. That's where you can find the gear.
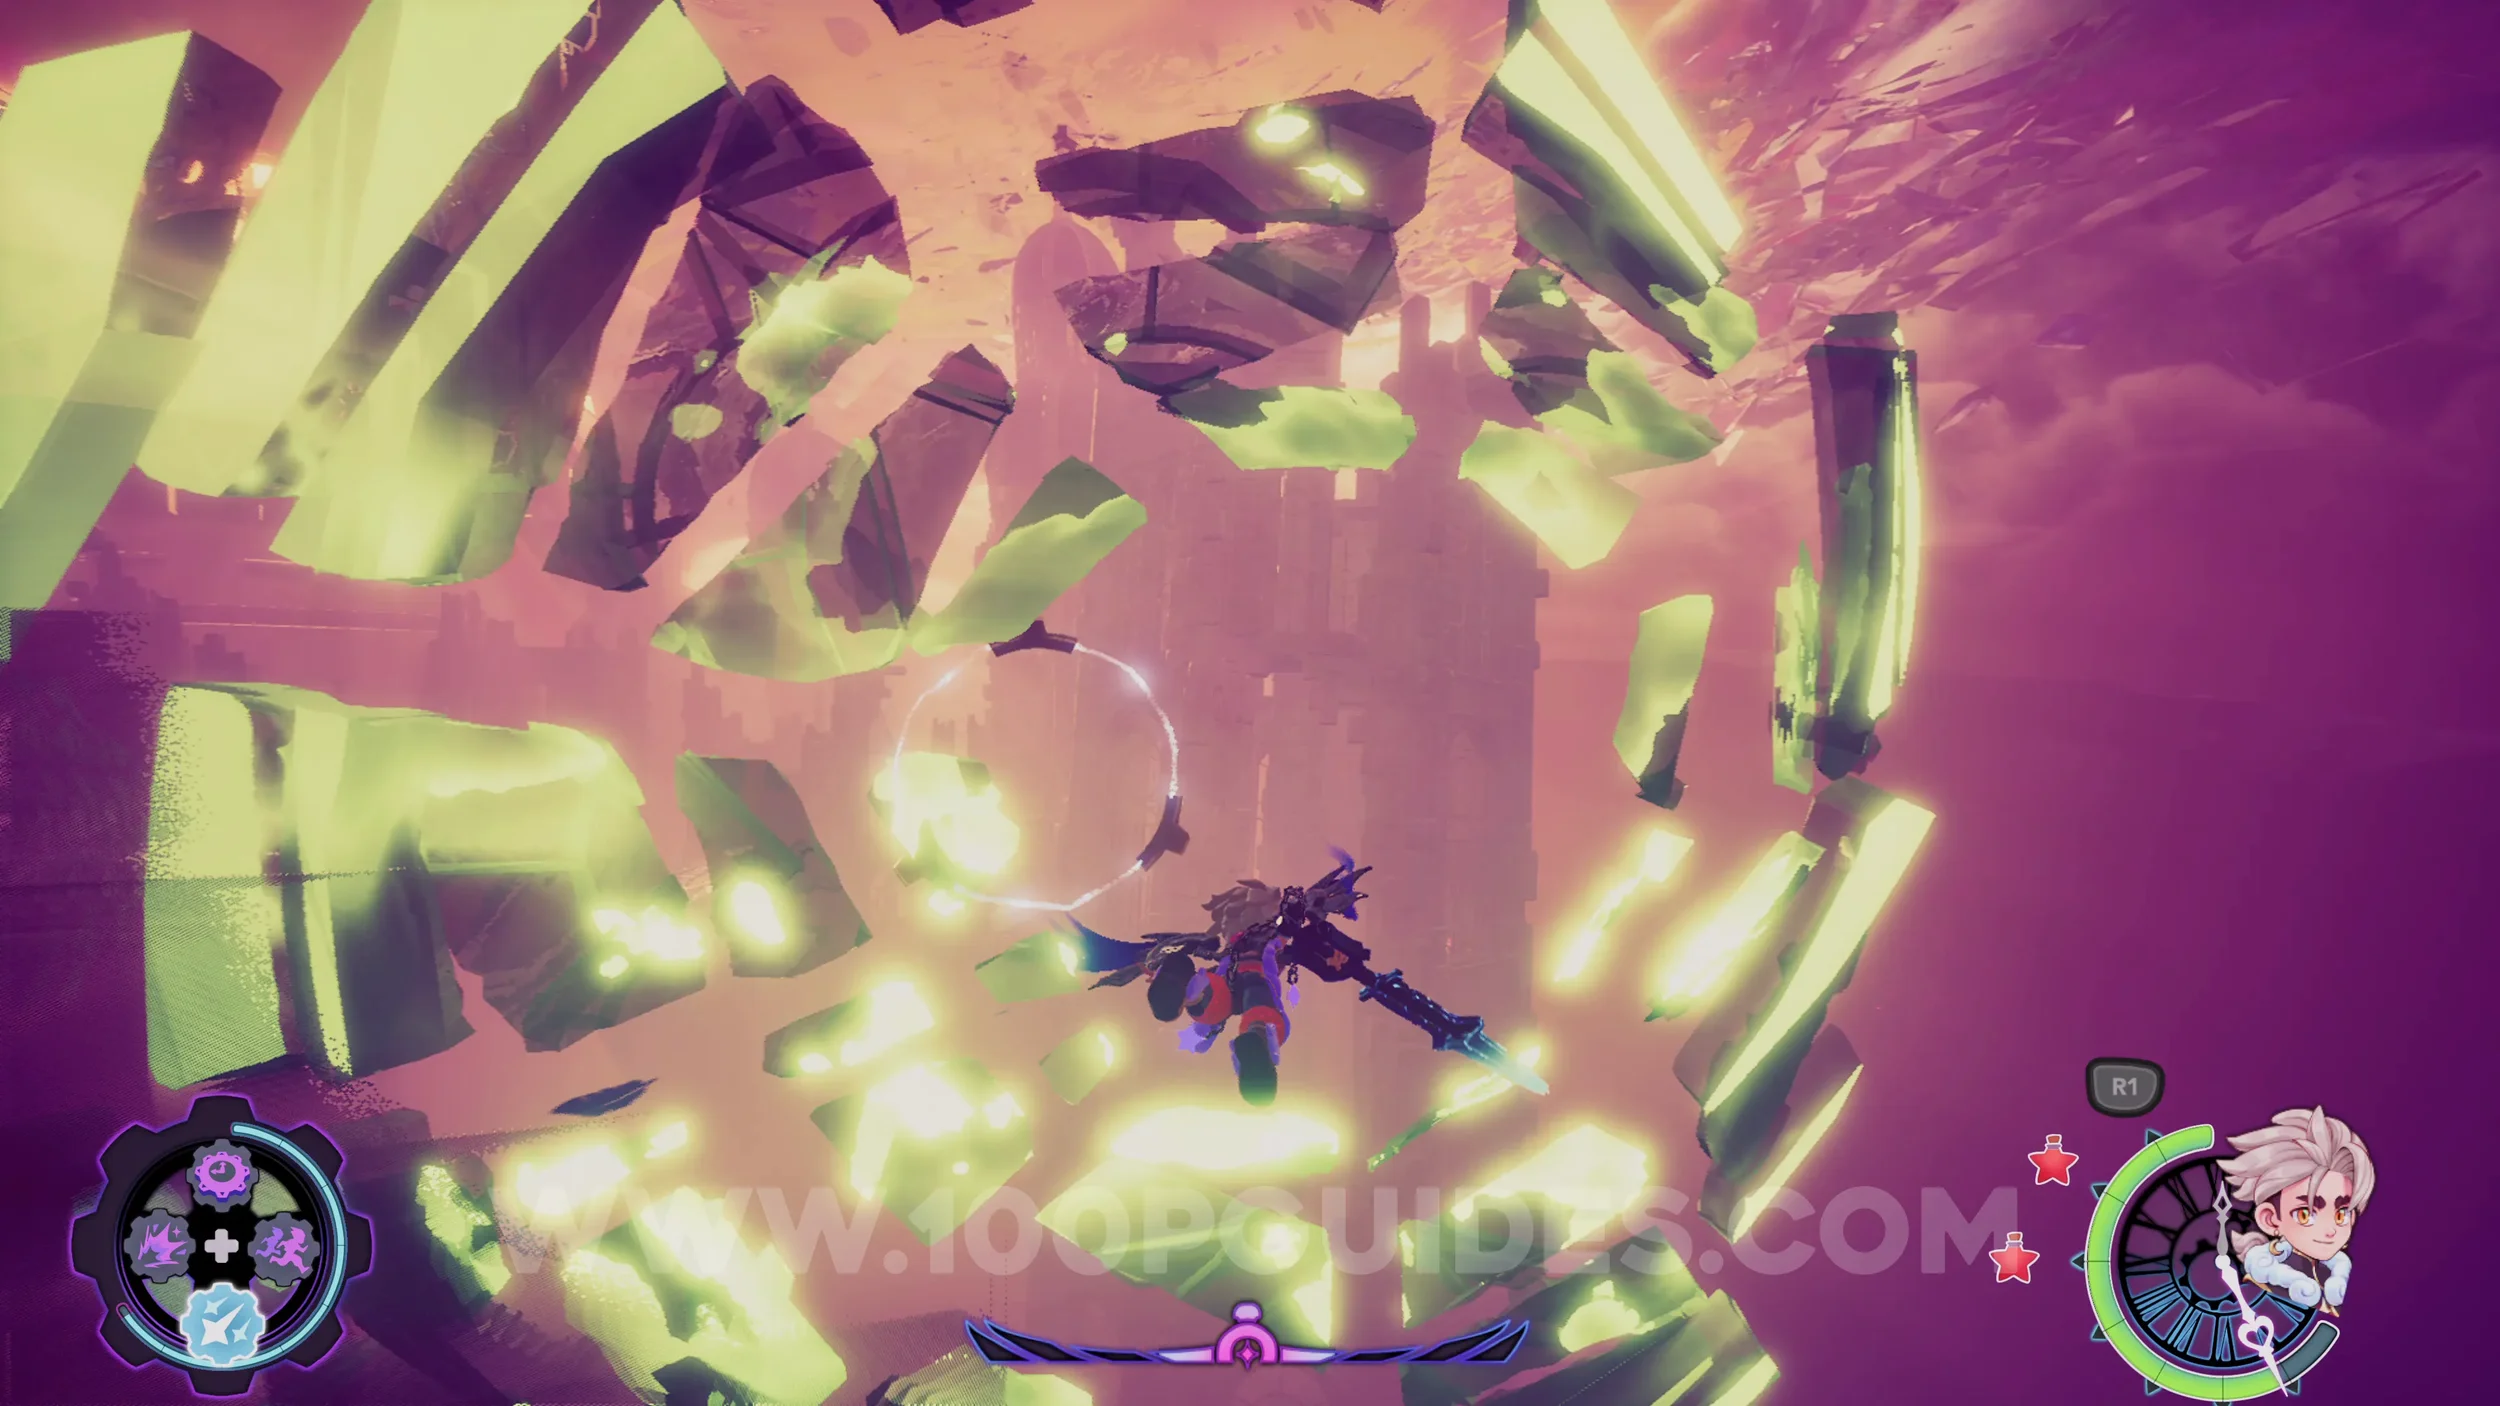
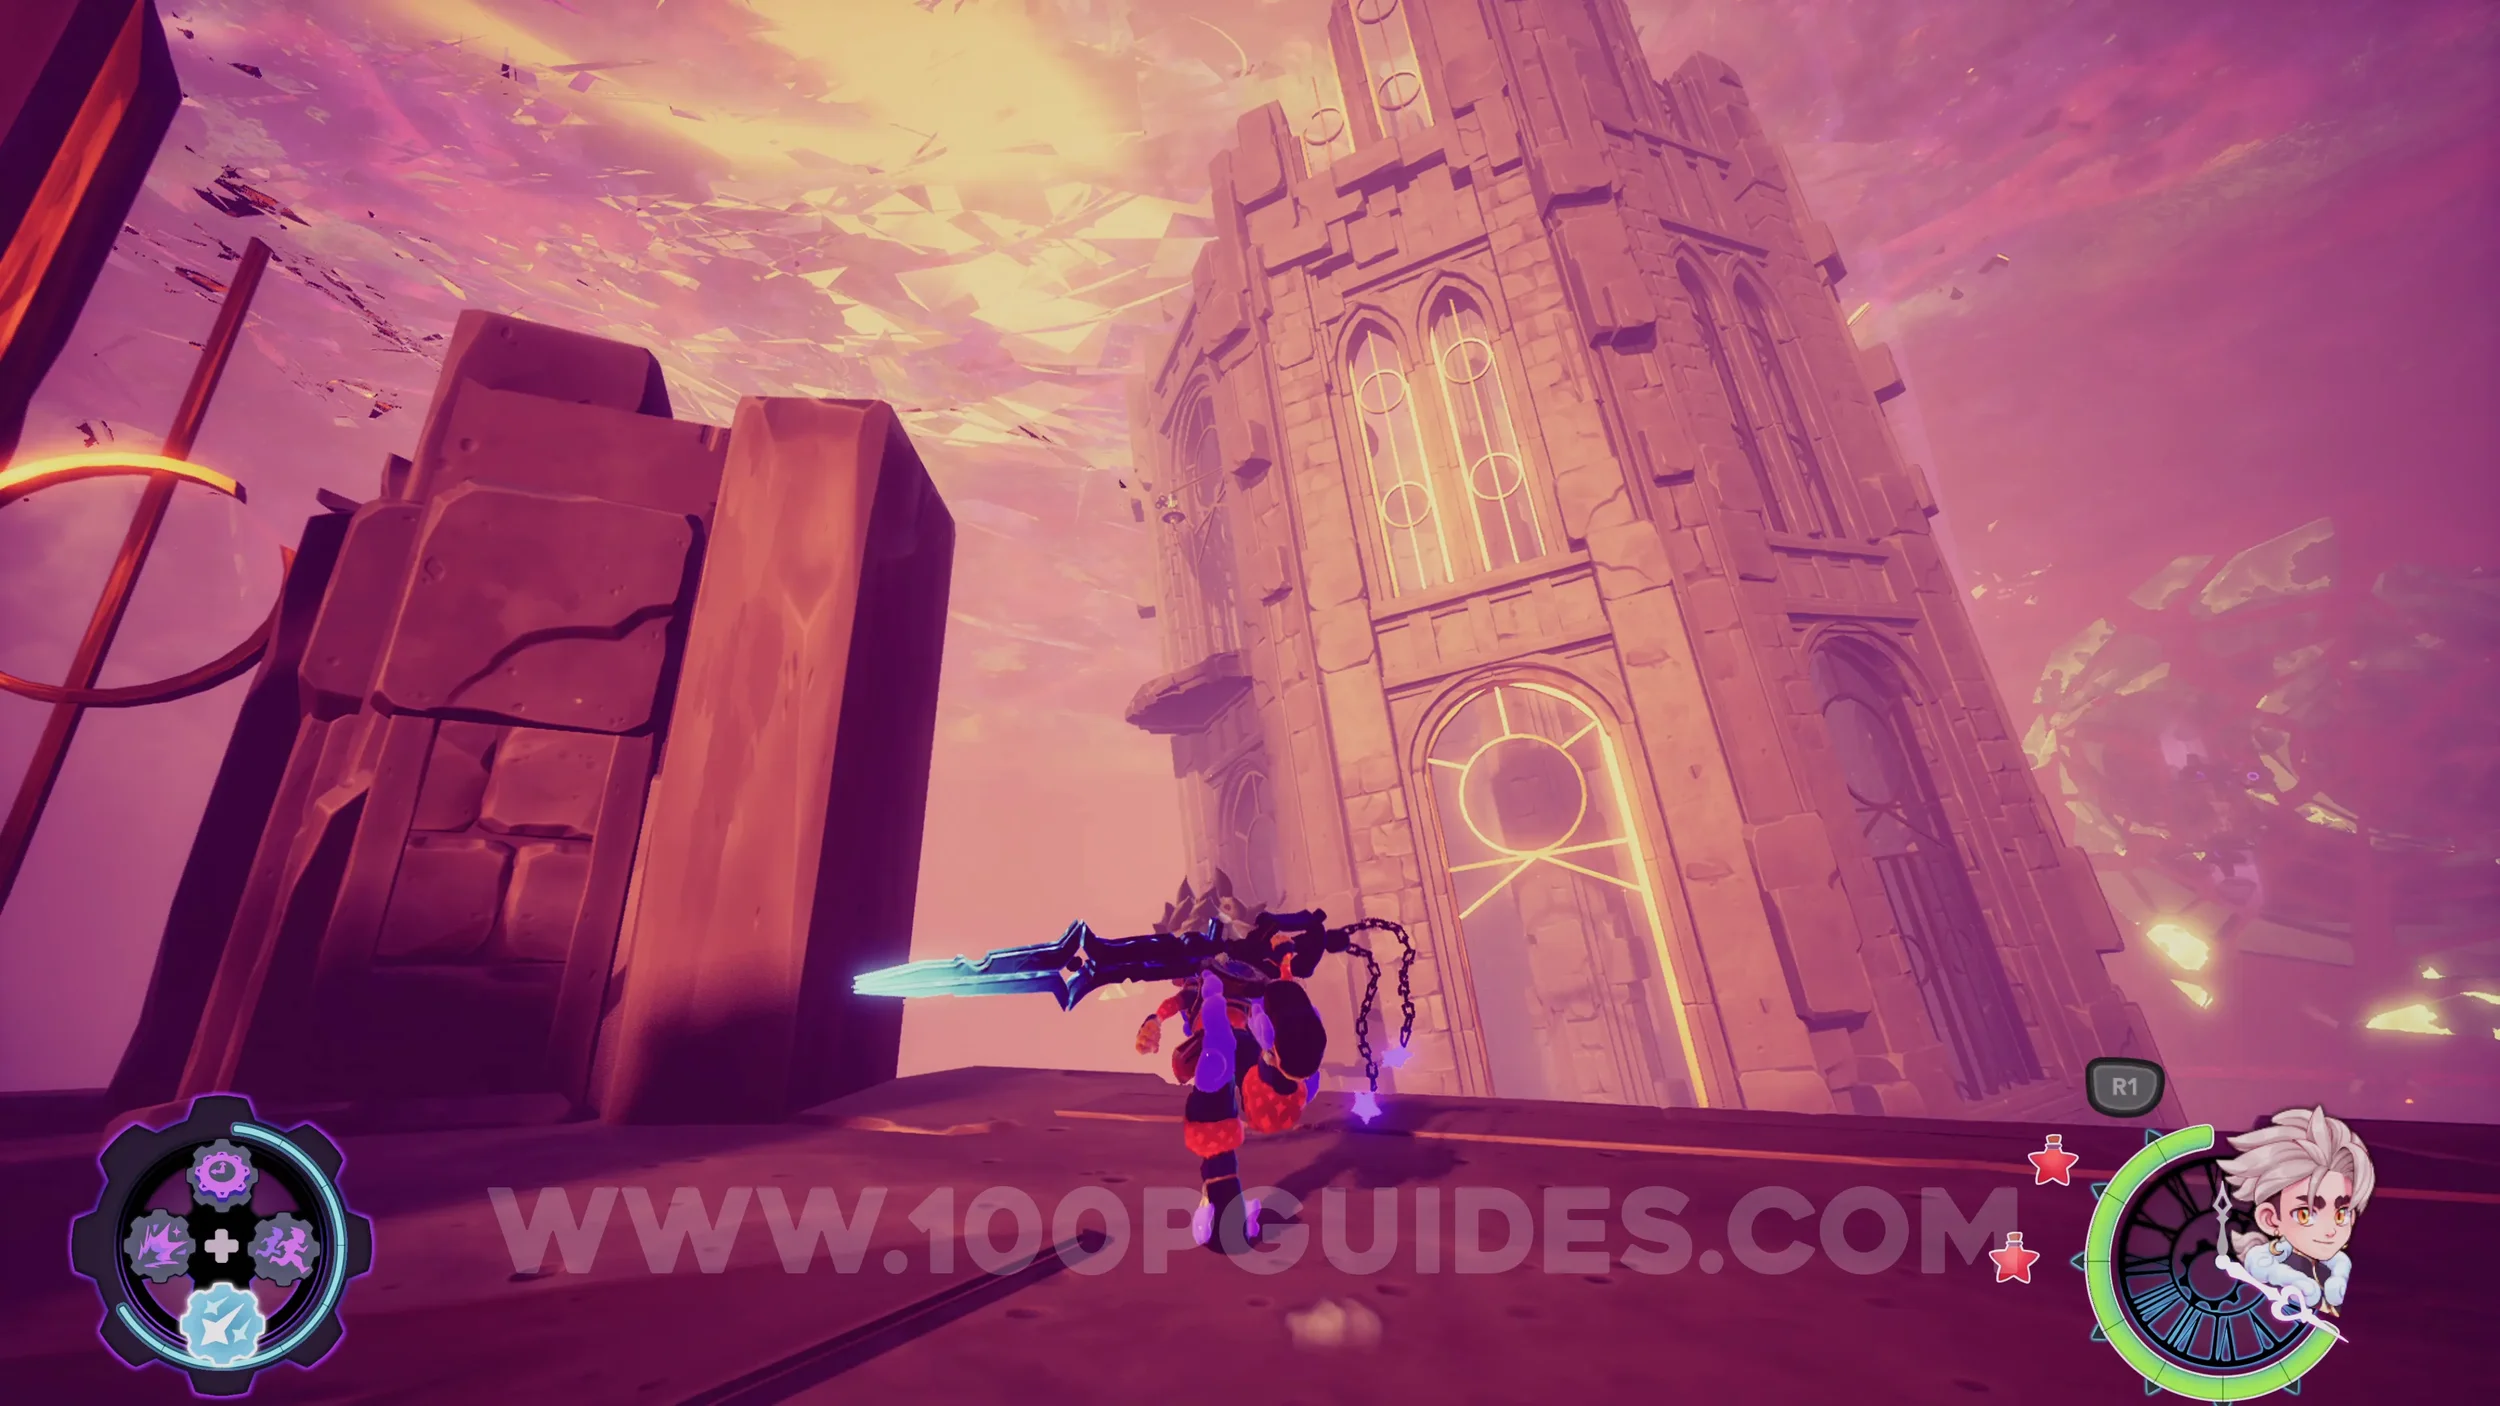
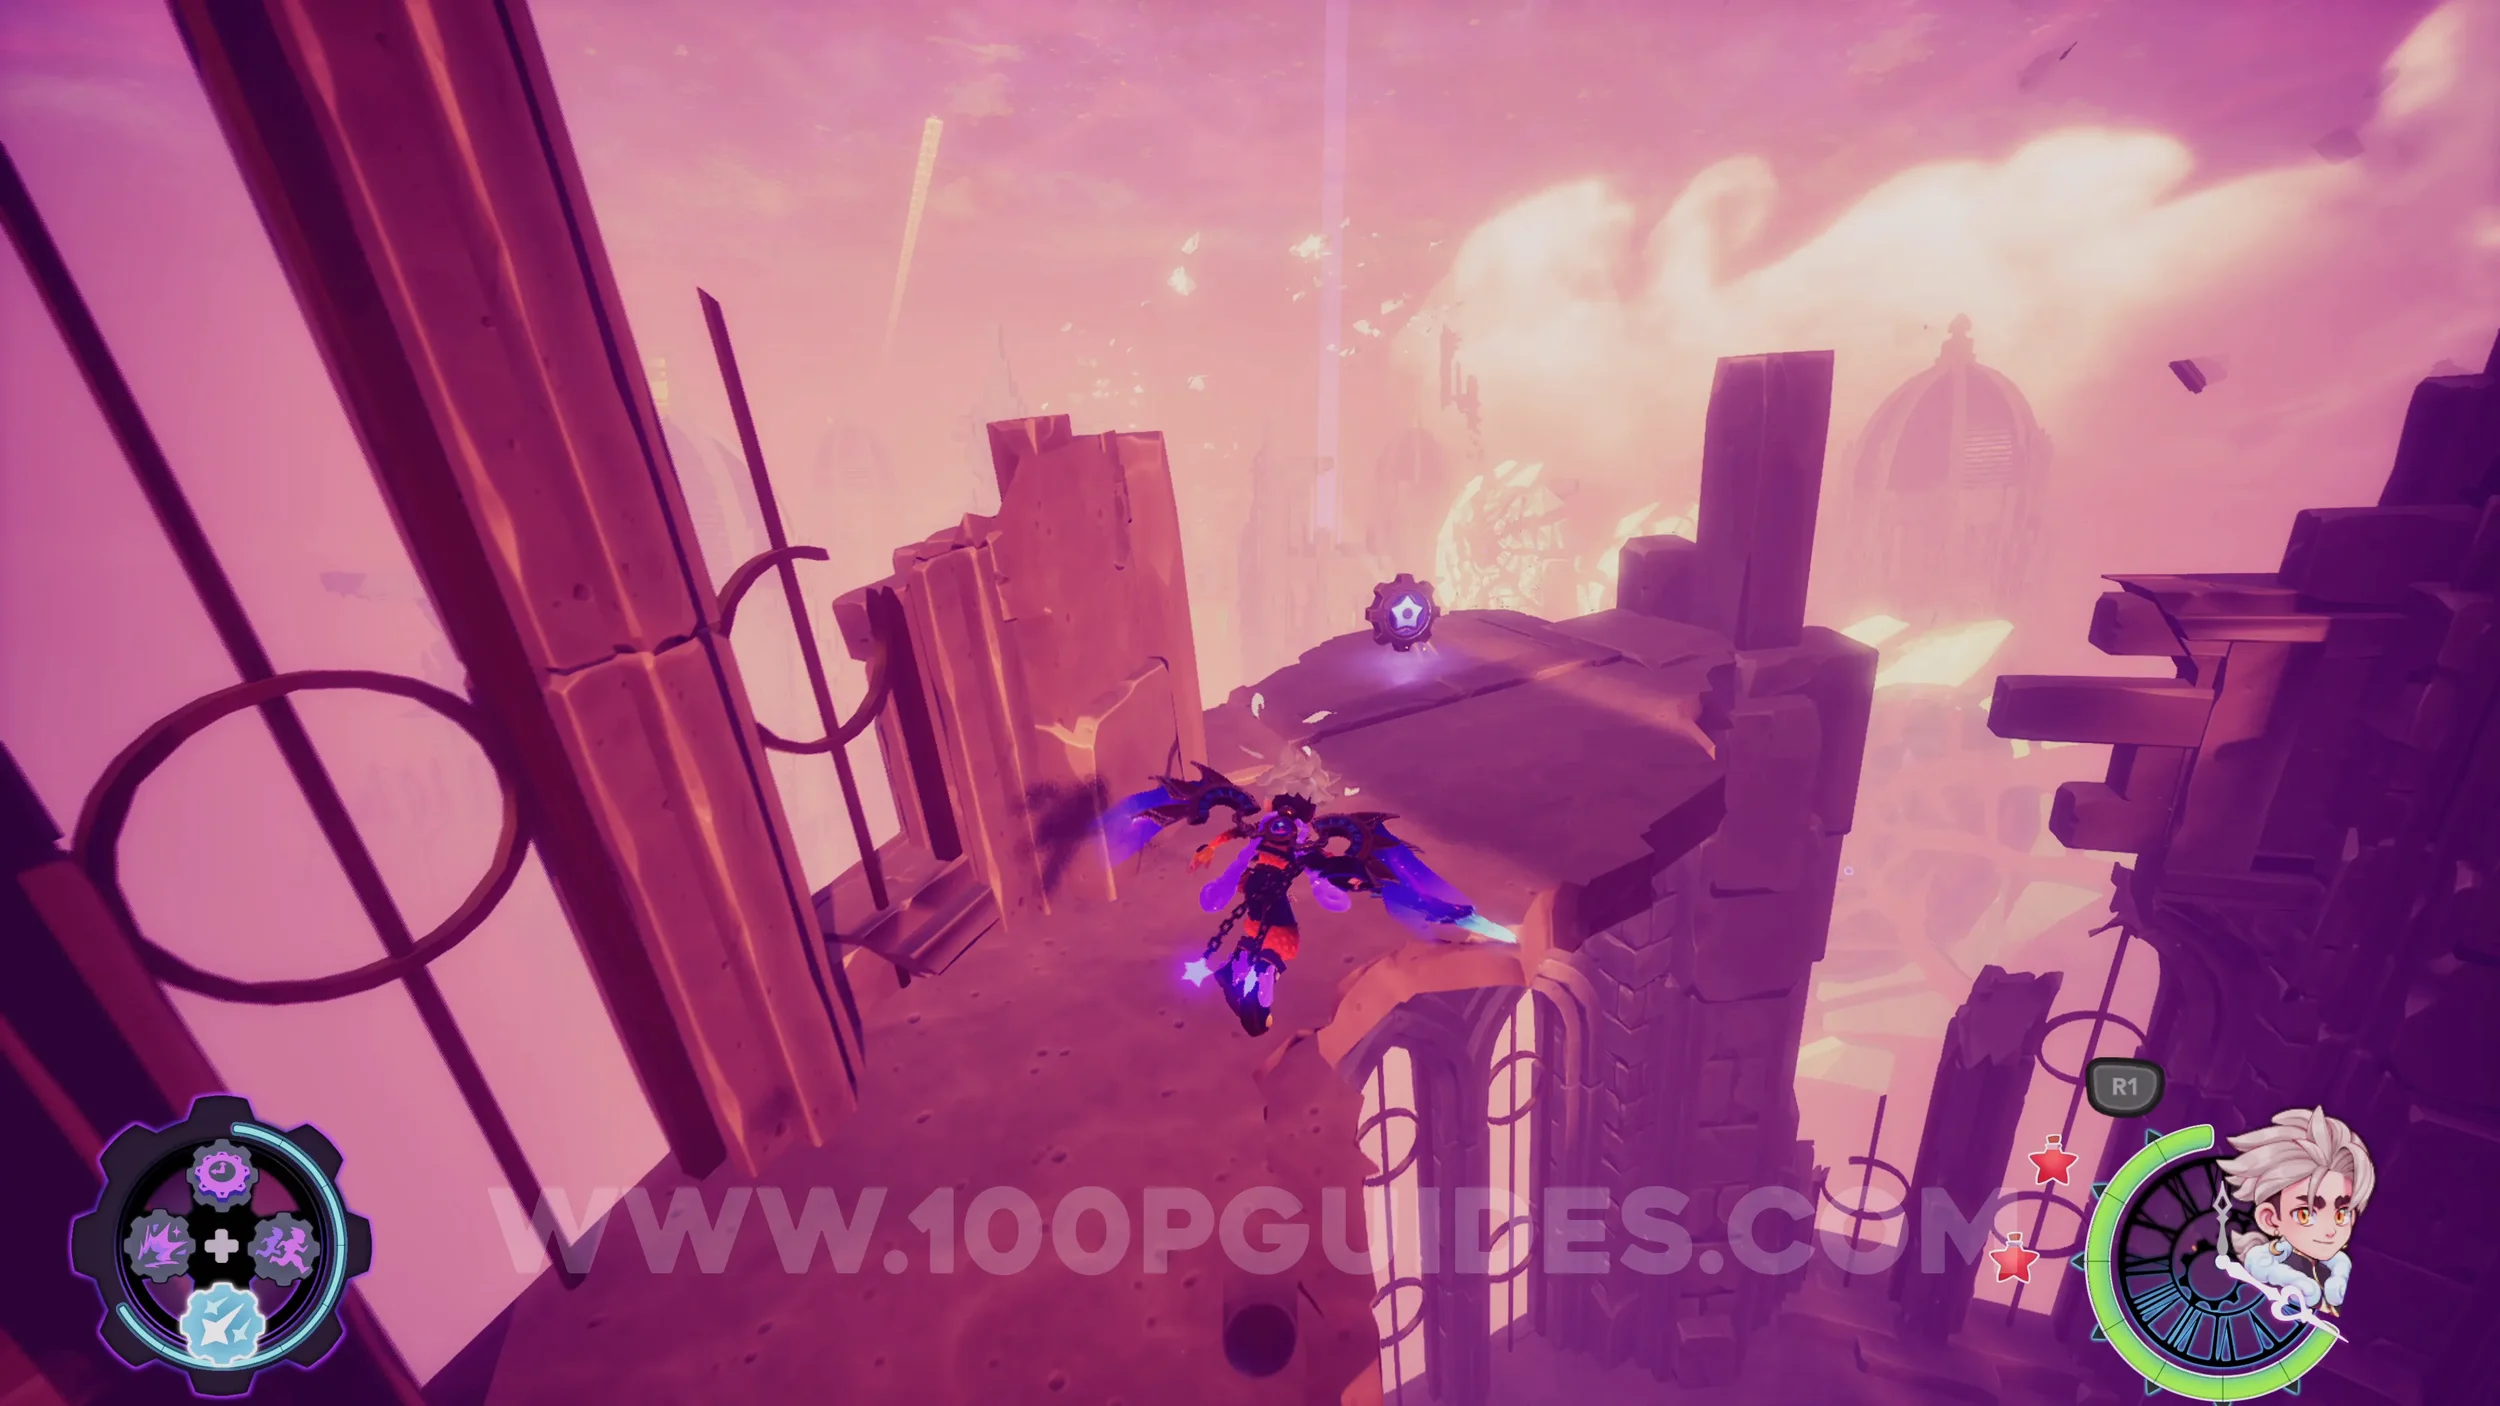
Music Box #1. Return to the jump pad you use after flying through the building and go right before using it. This path will take you under the building where you'll find the music box.
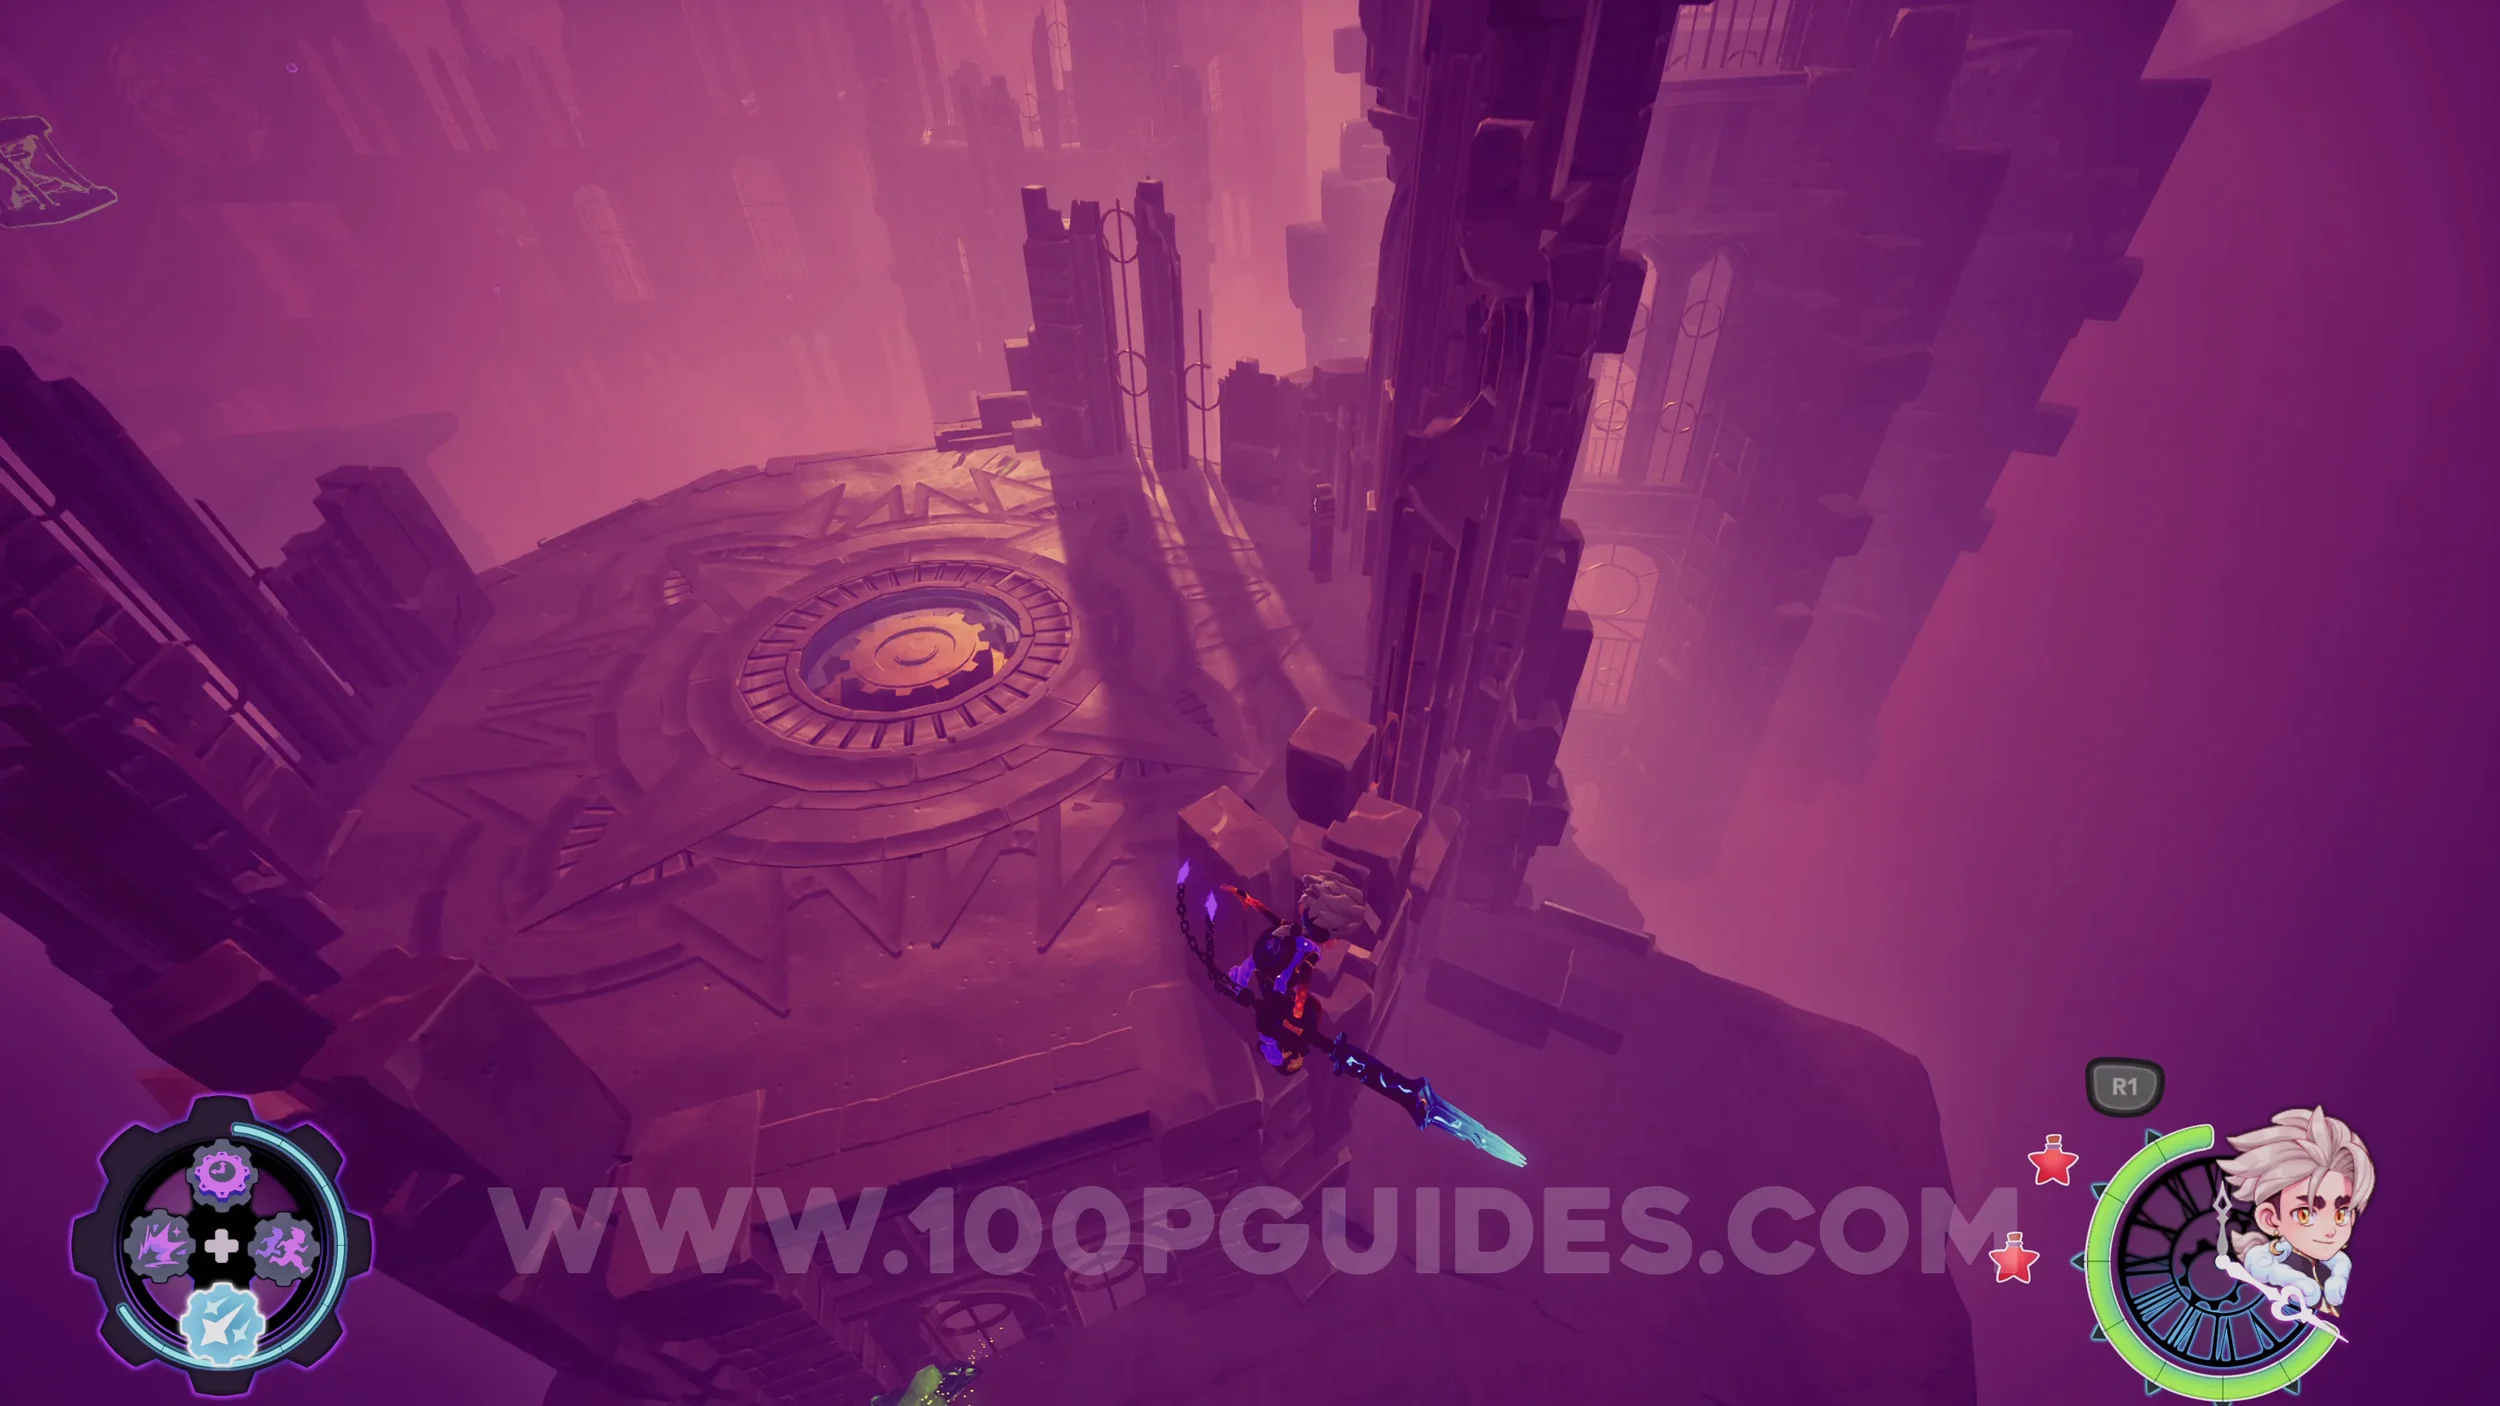
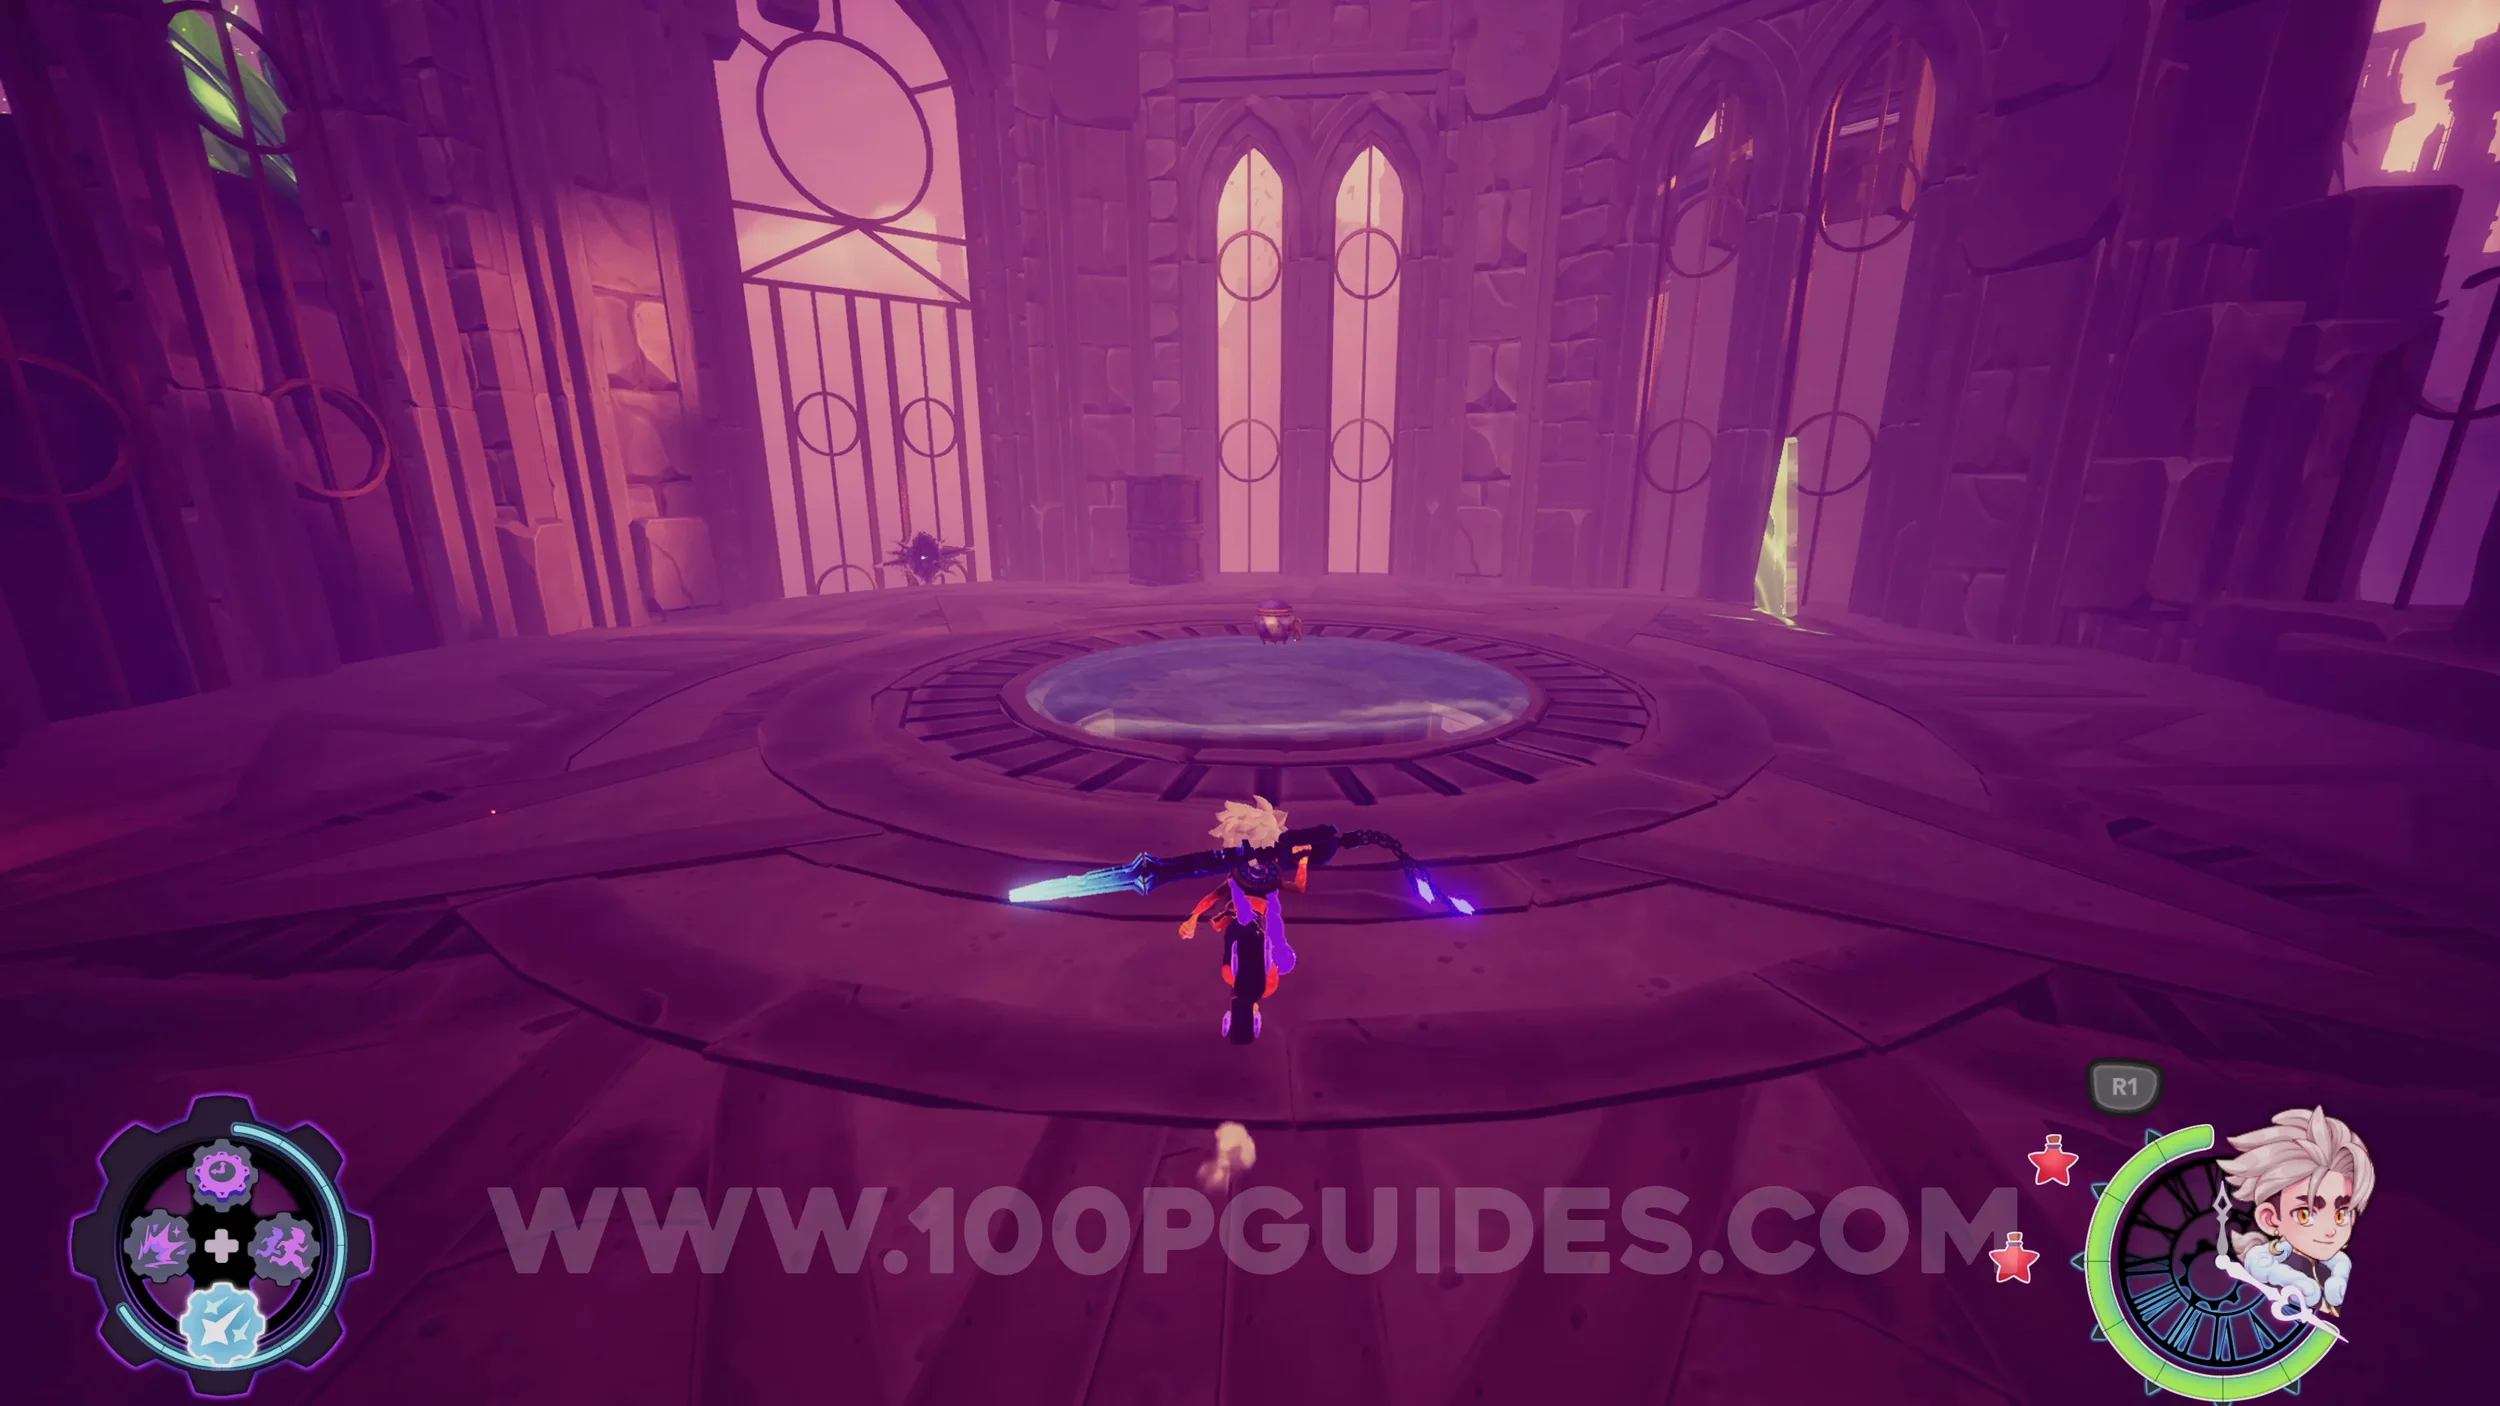
Echo #3. In the same room as the previous collectible.
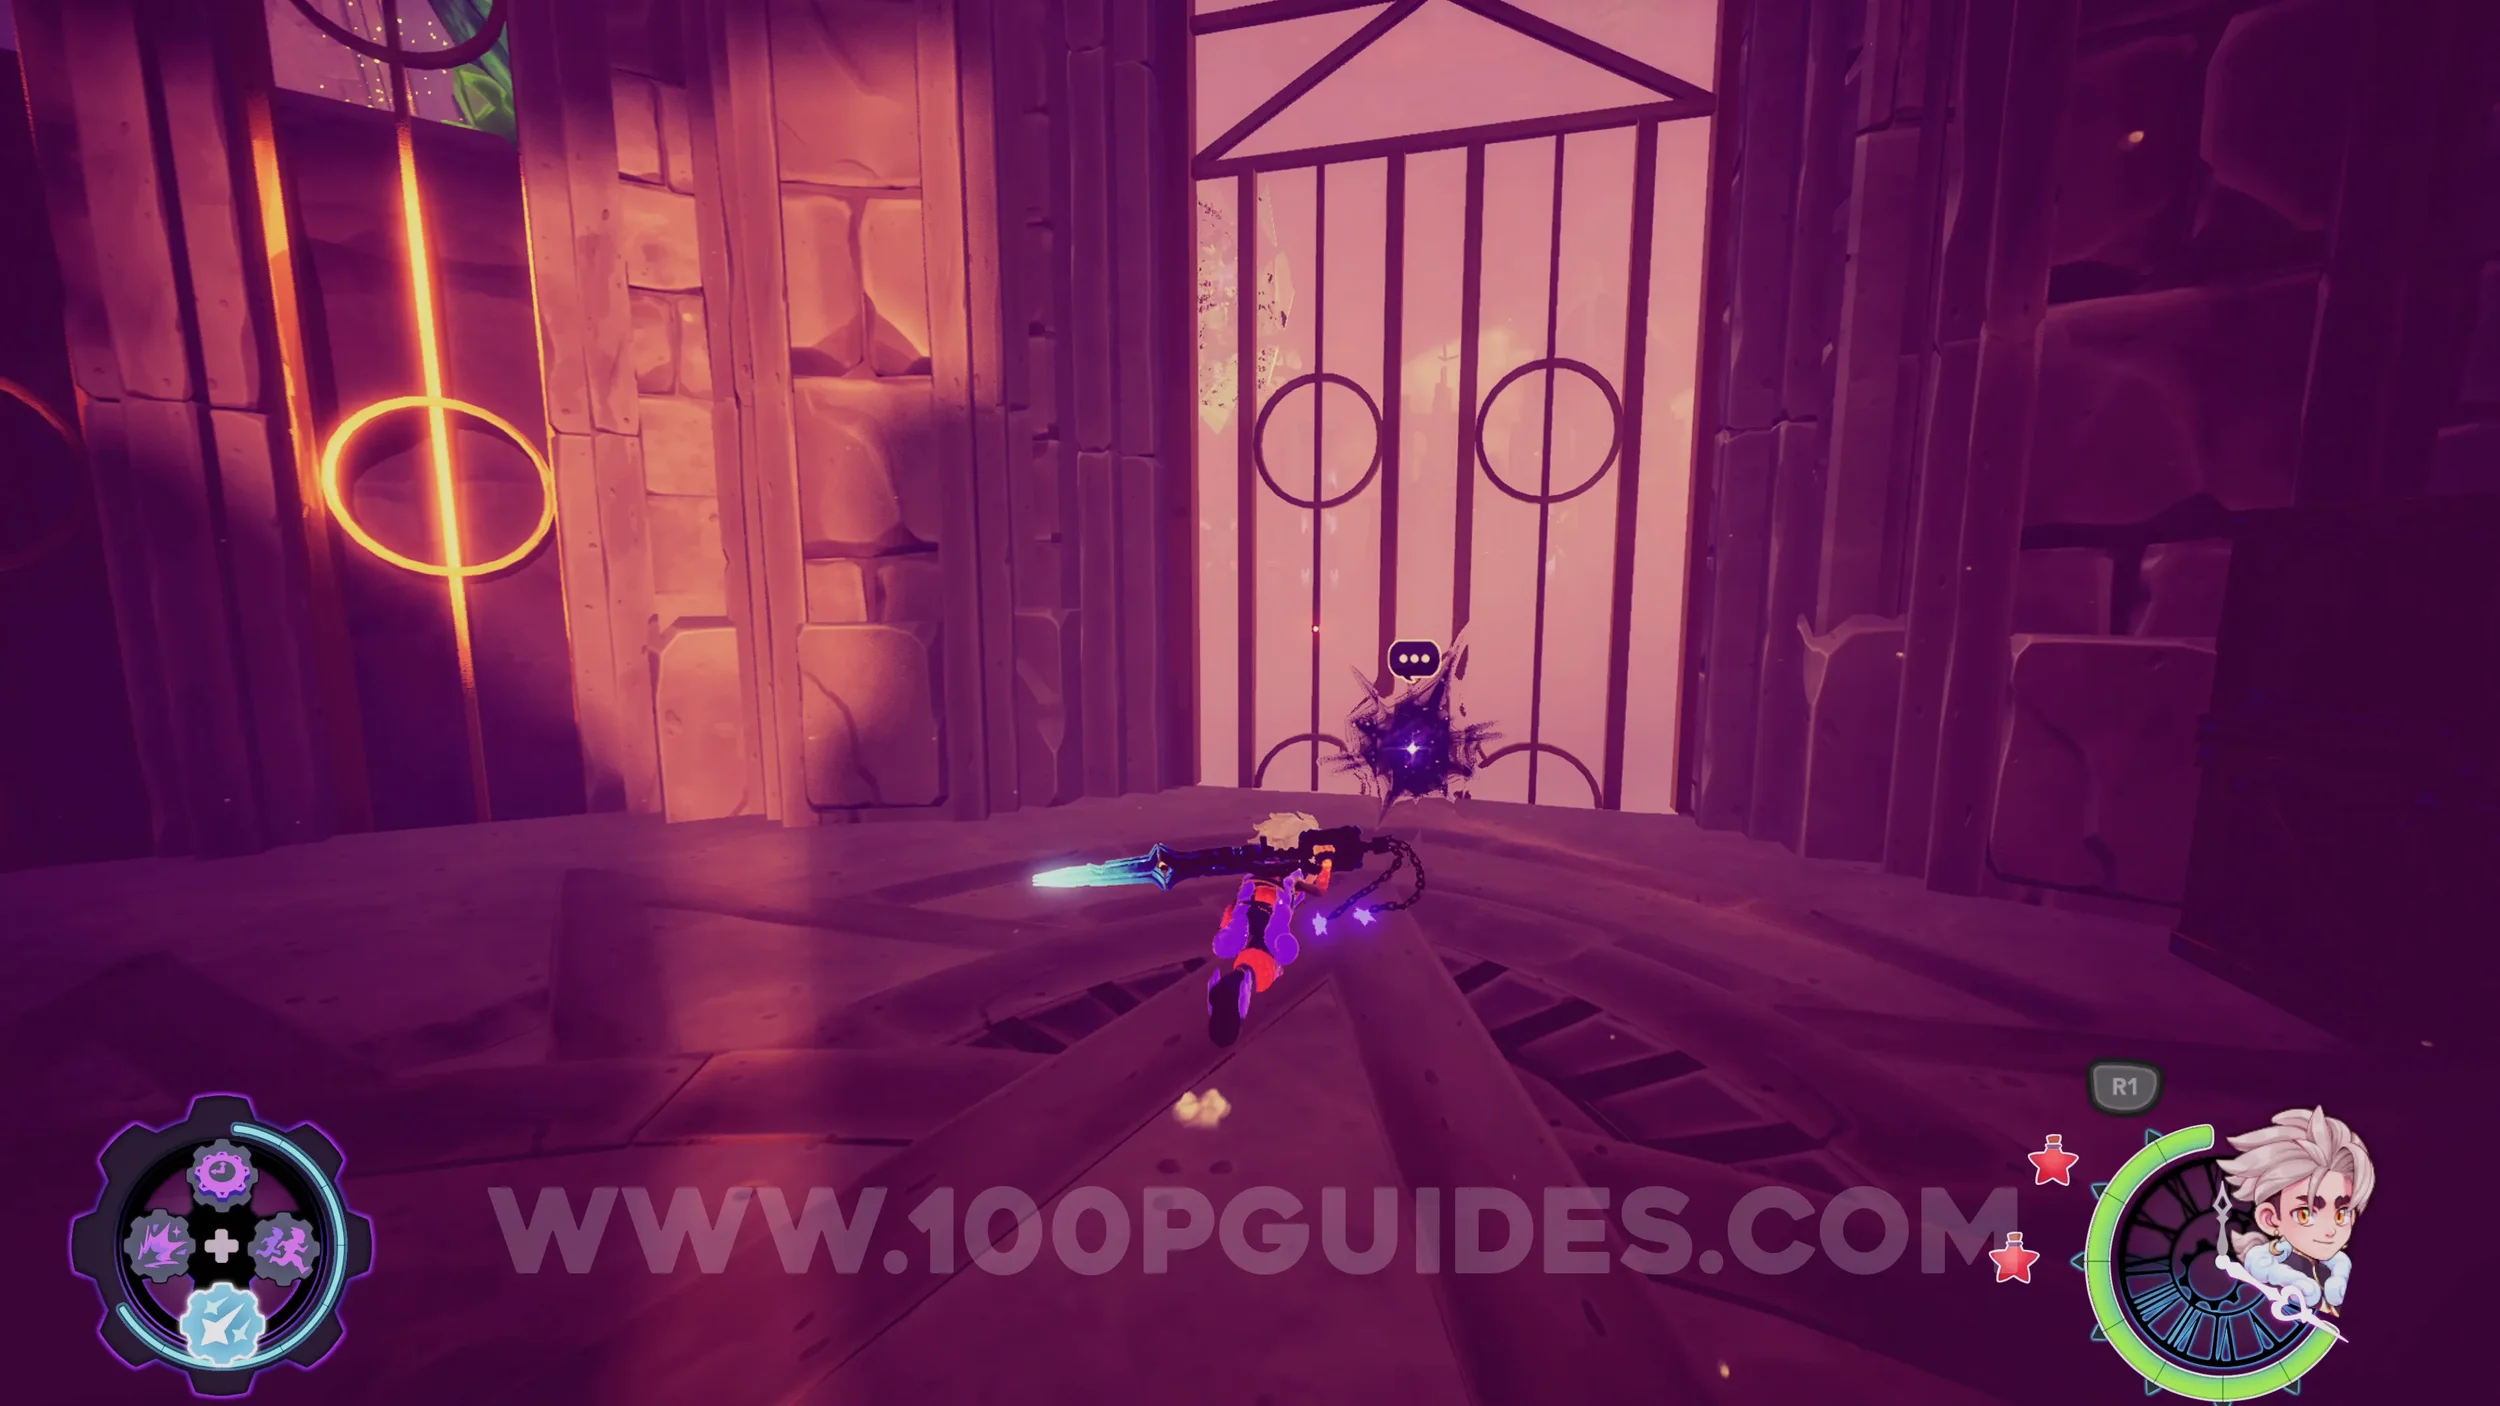
Rainbow Ingot #1. Now continue on the main path and you'll soon reach a massive sundial. Ride the dial to get to a rail that takes you through the circular formations of broken glass. Follow this and you'll enter a building where you have to hit a gear to make the floor rise. Once it stops at the top, look for a gap in the walls that you can use to fly to a purple door on the side of the building in front of you. The collectible is found at the end of the platforming section inside.
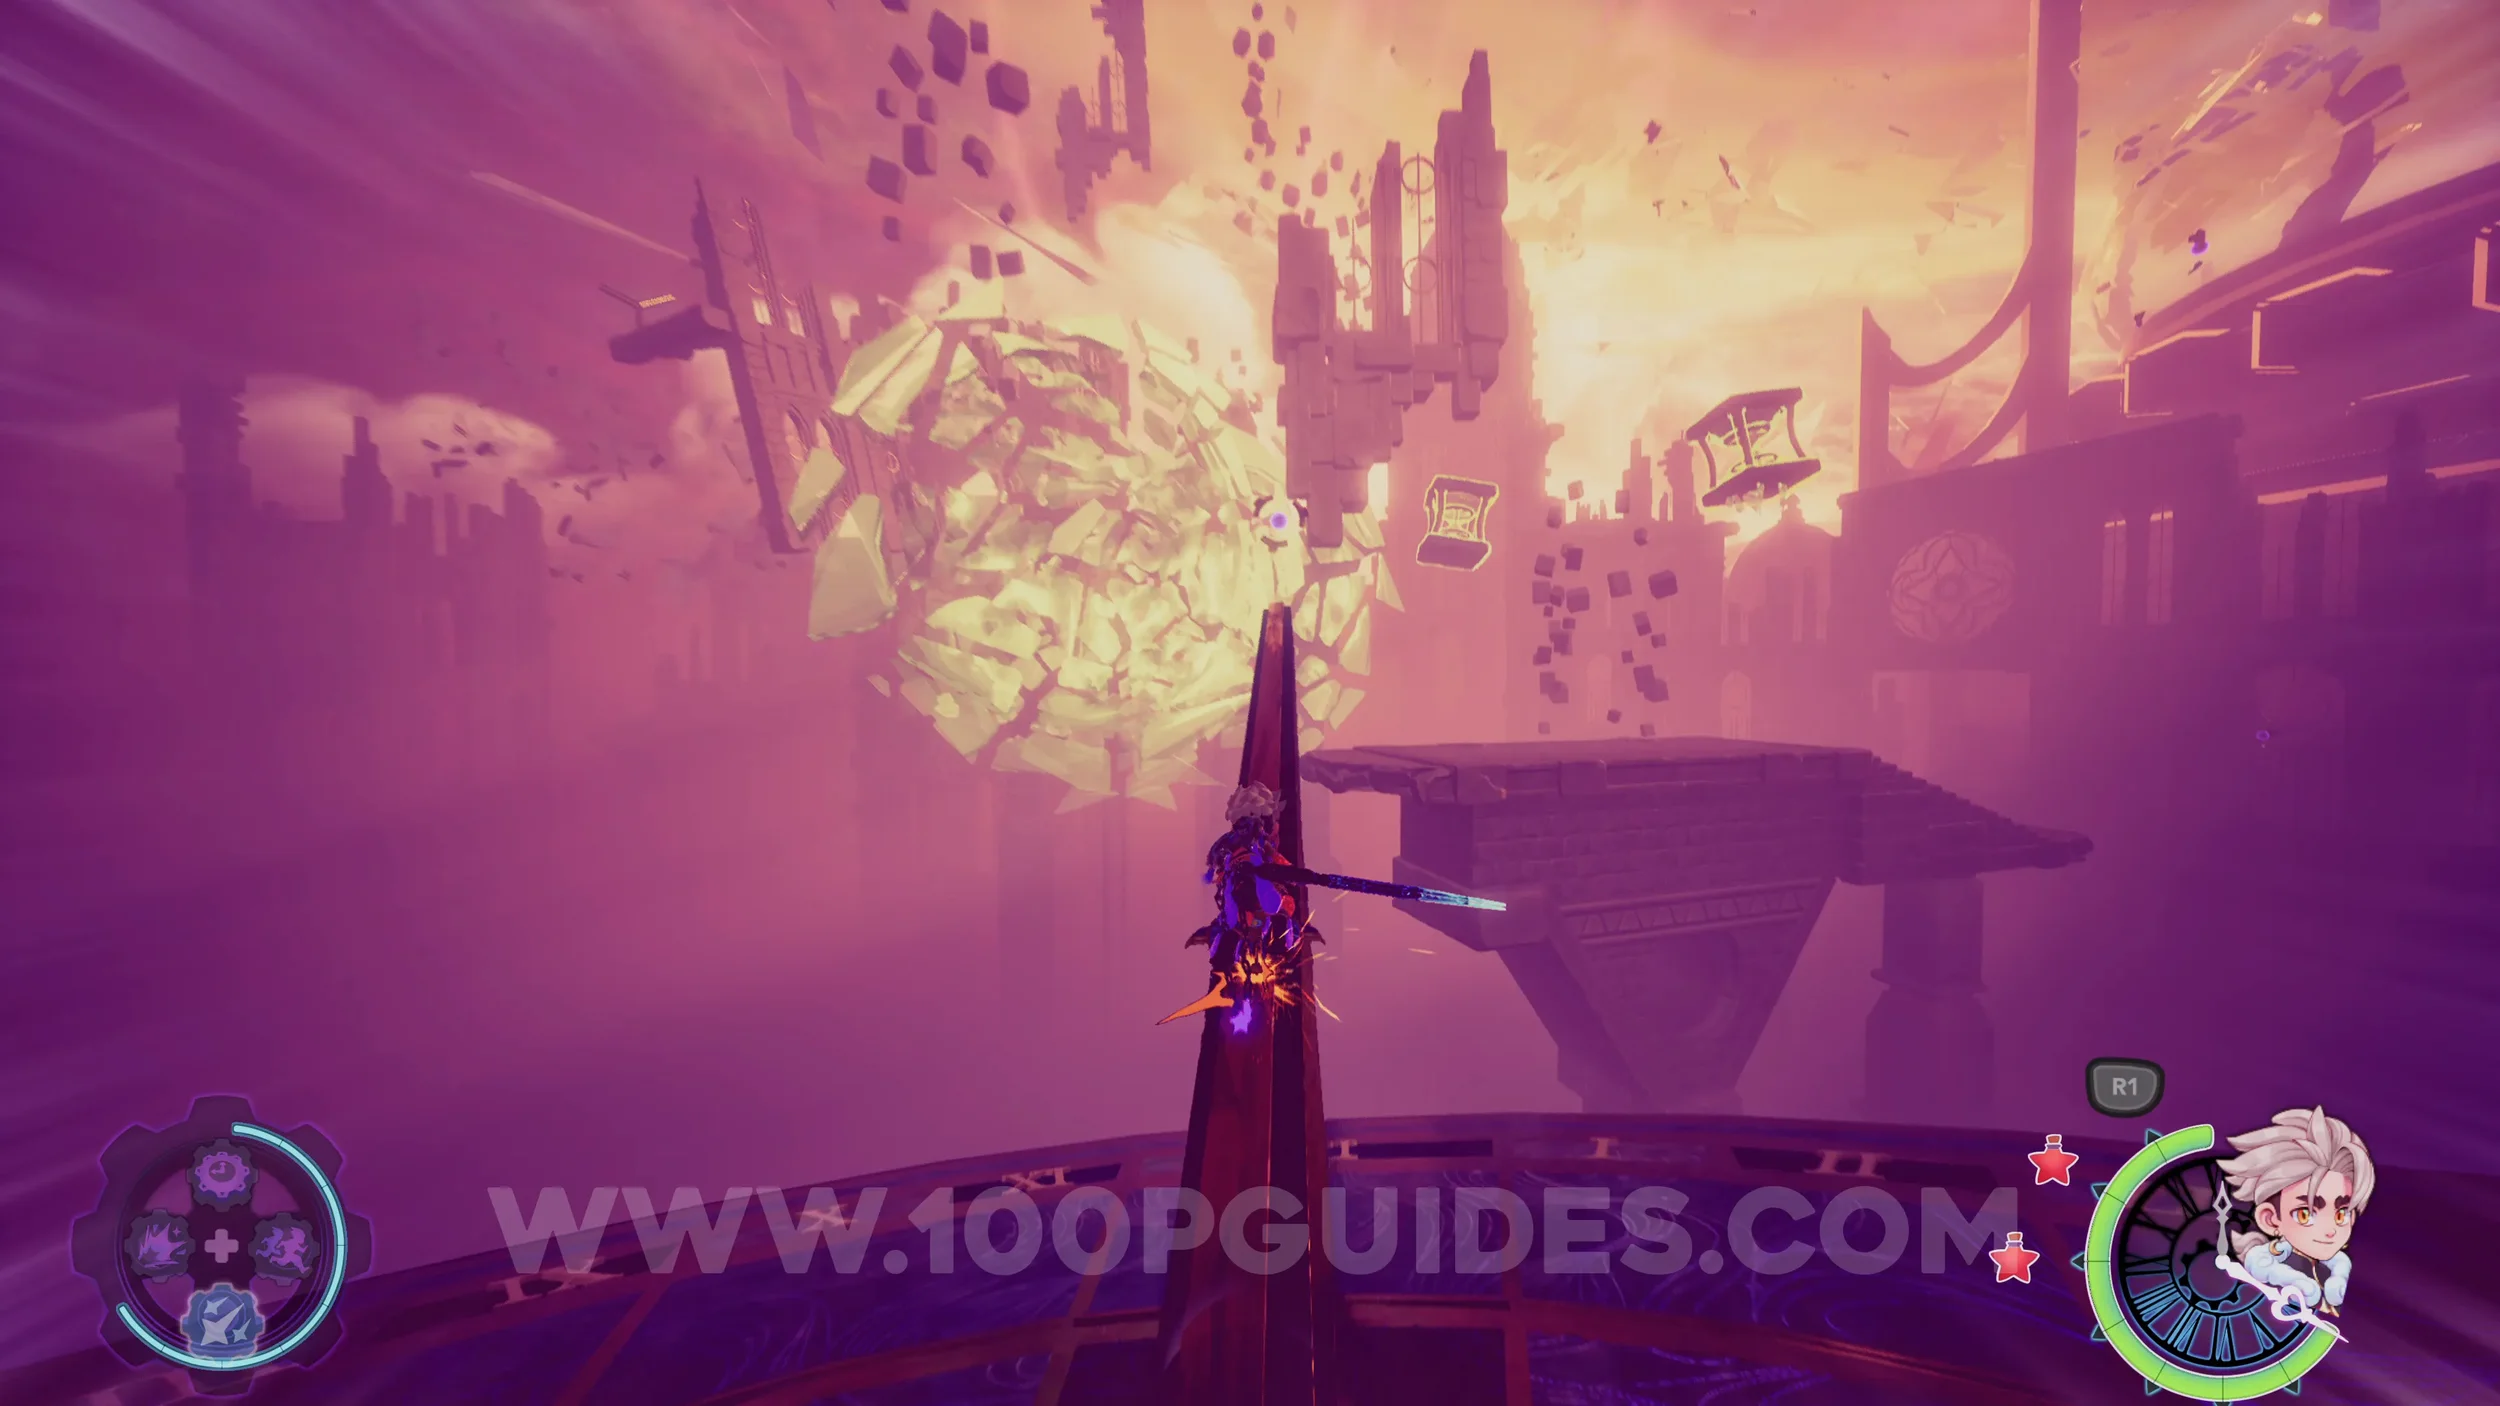
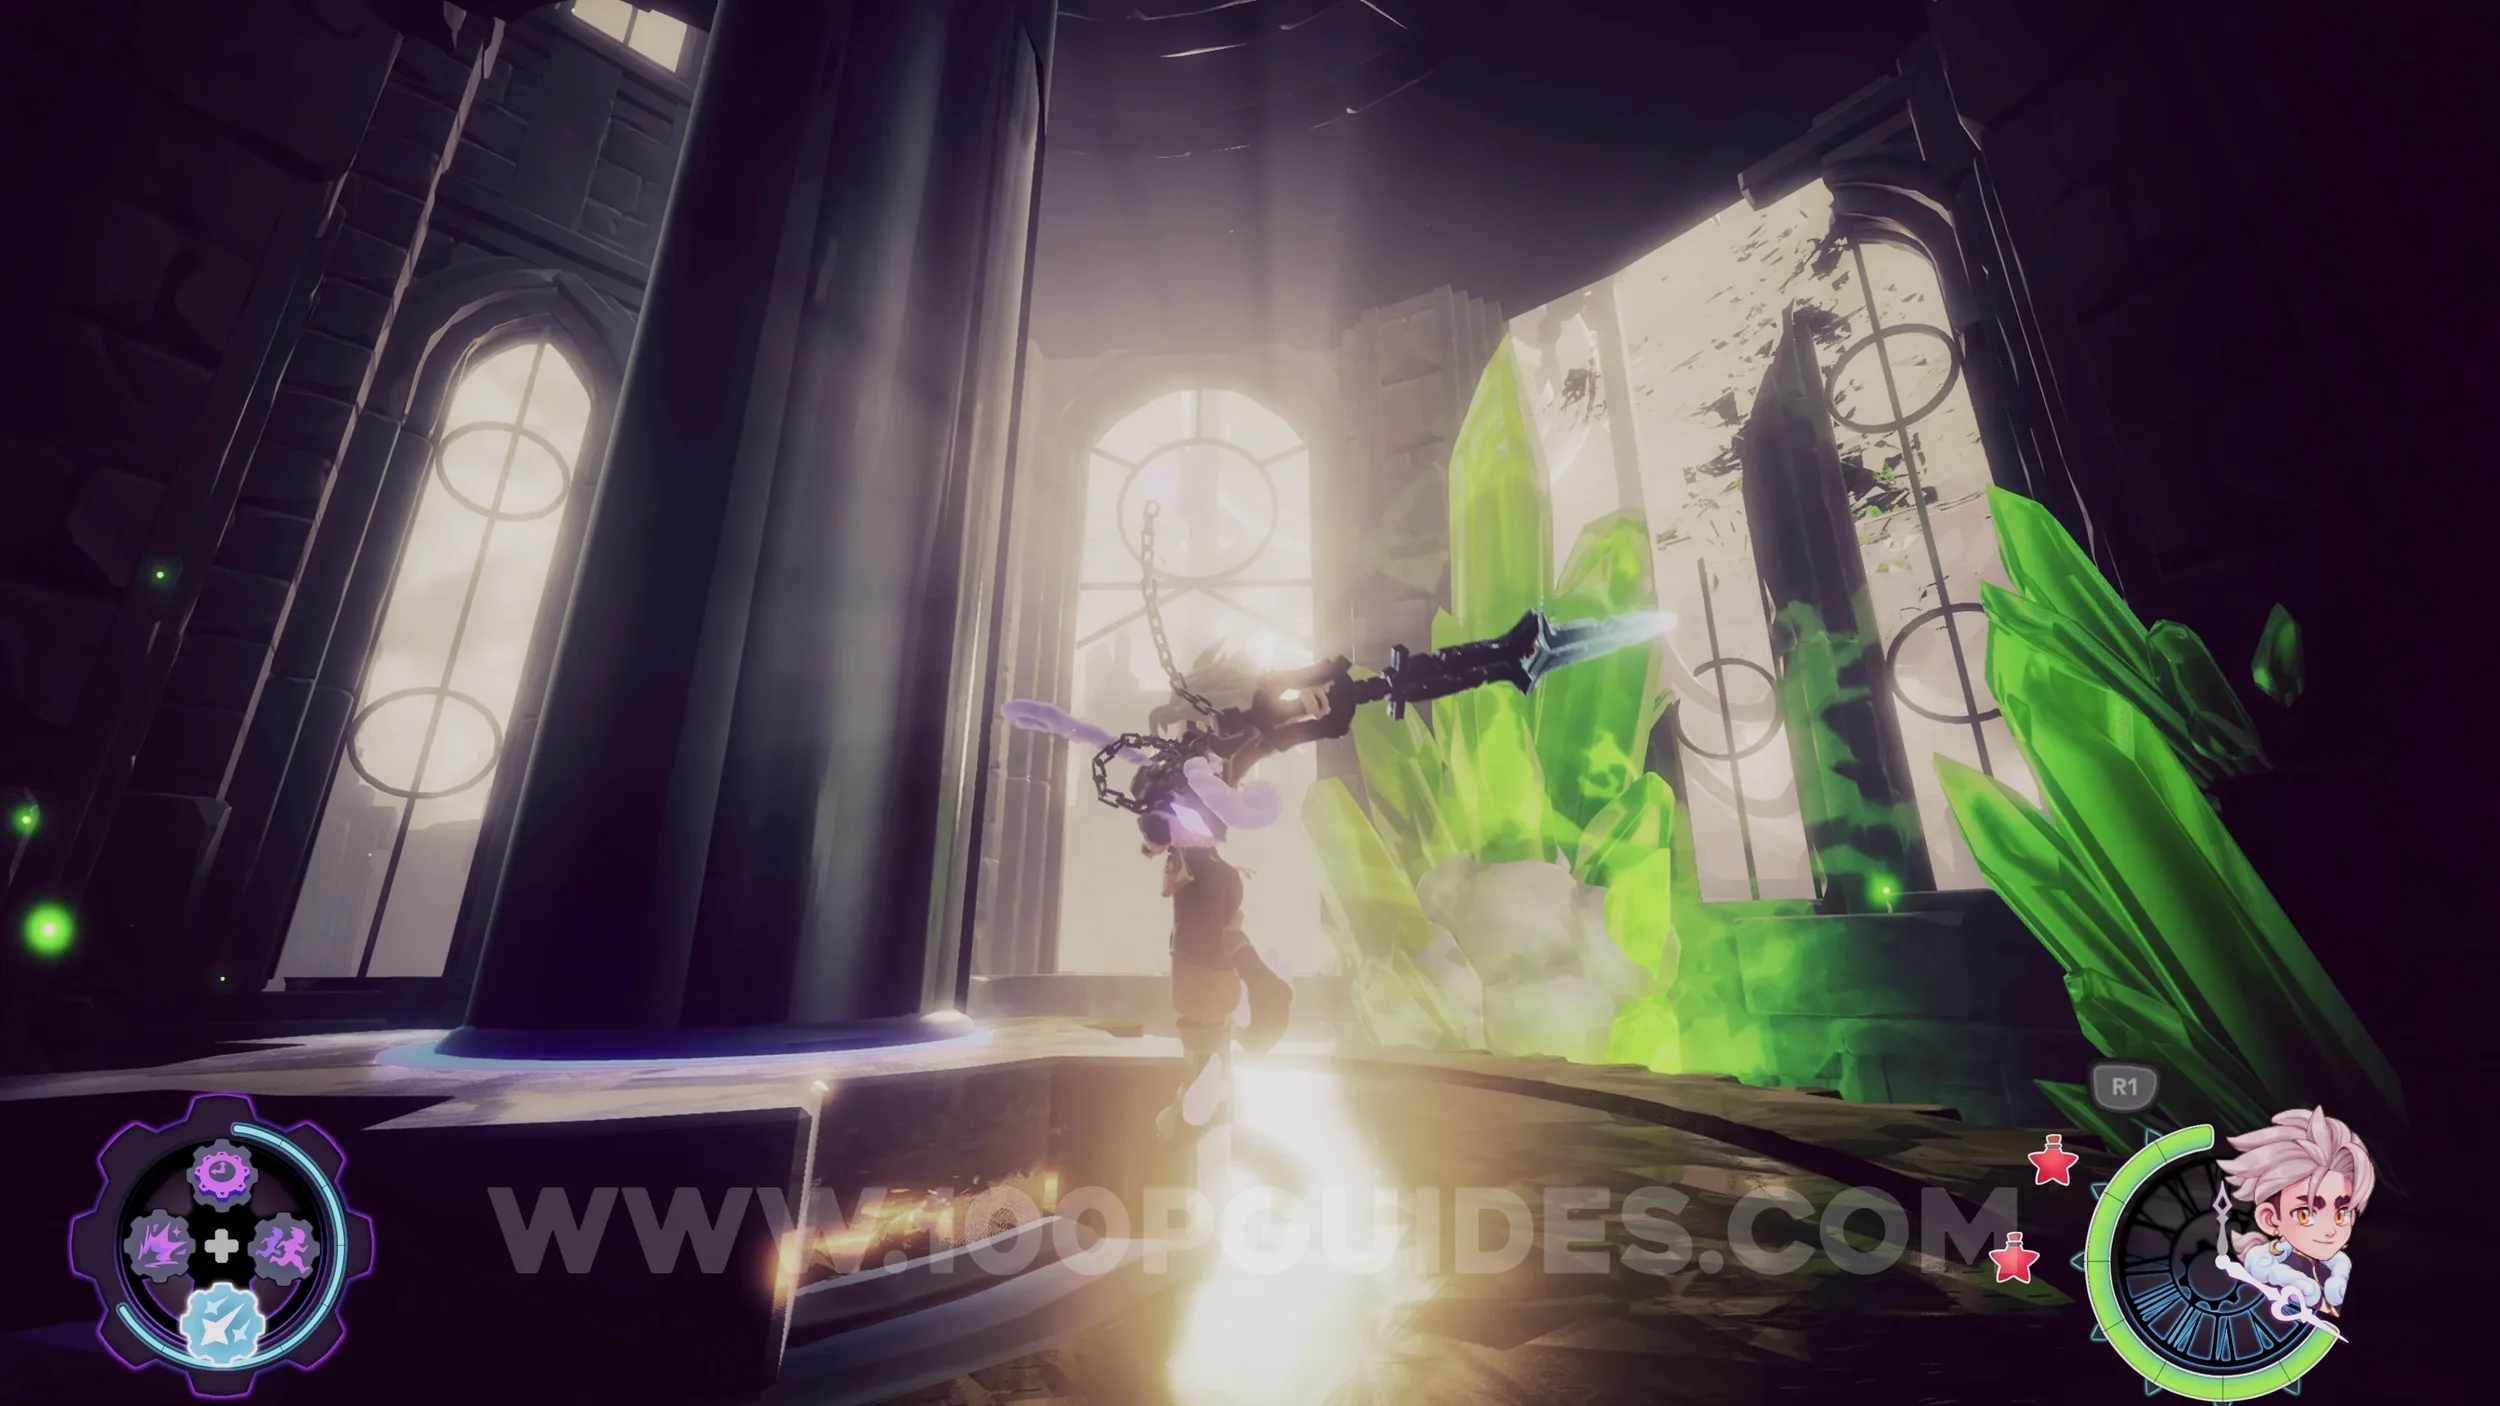
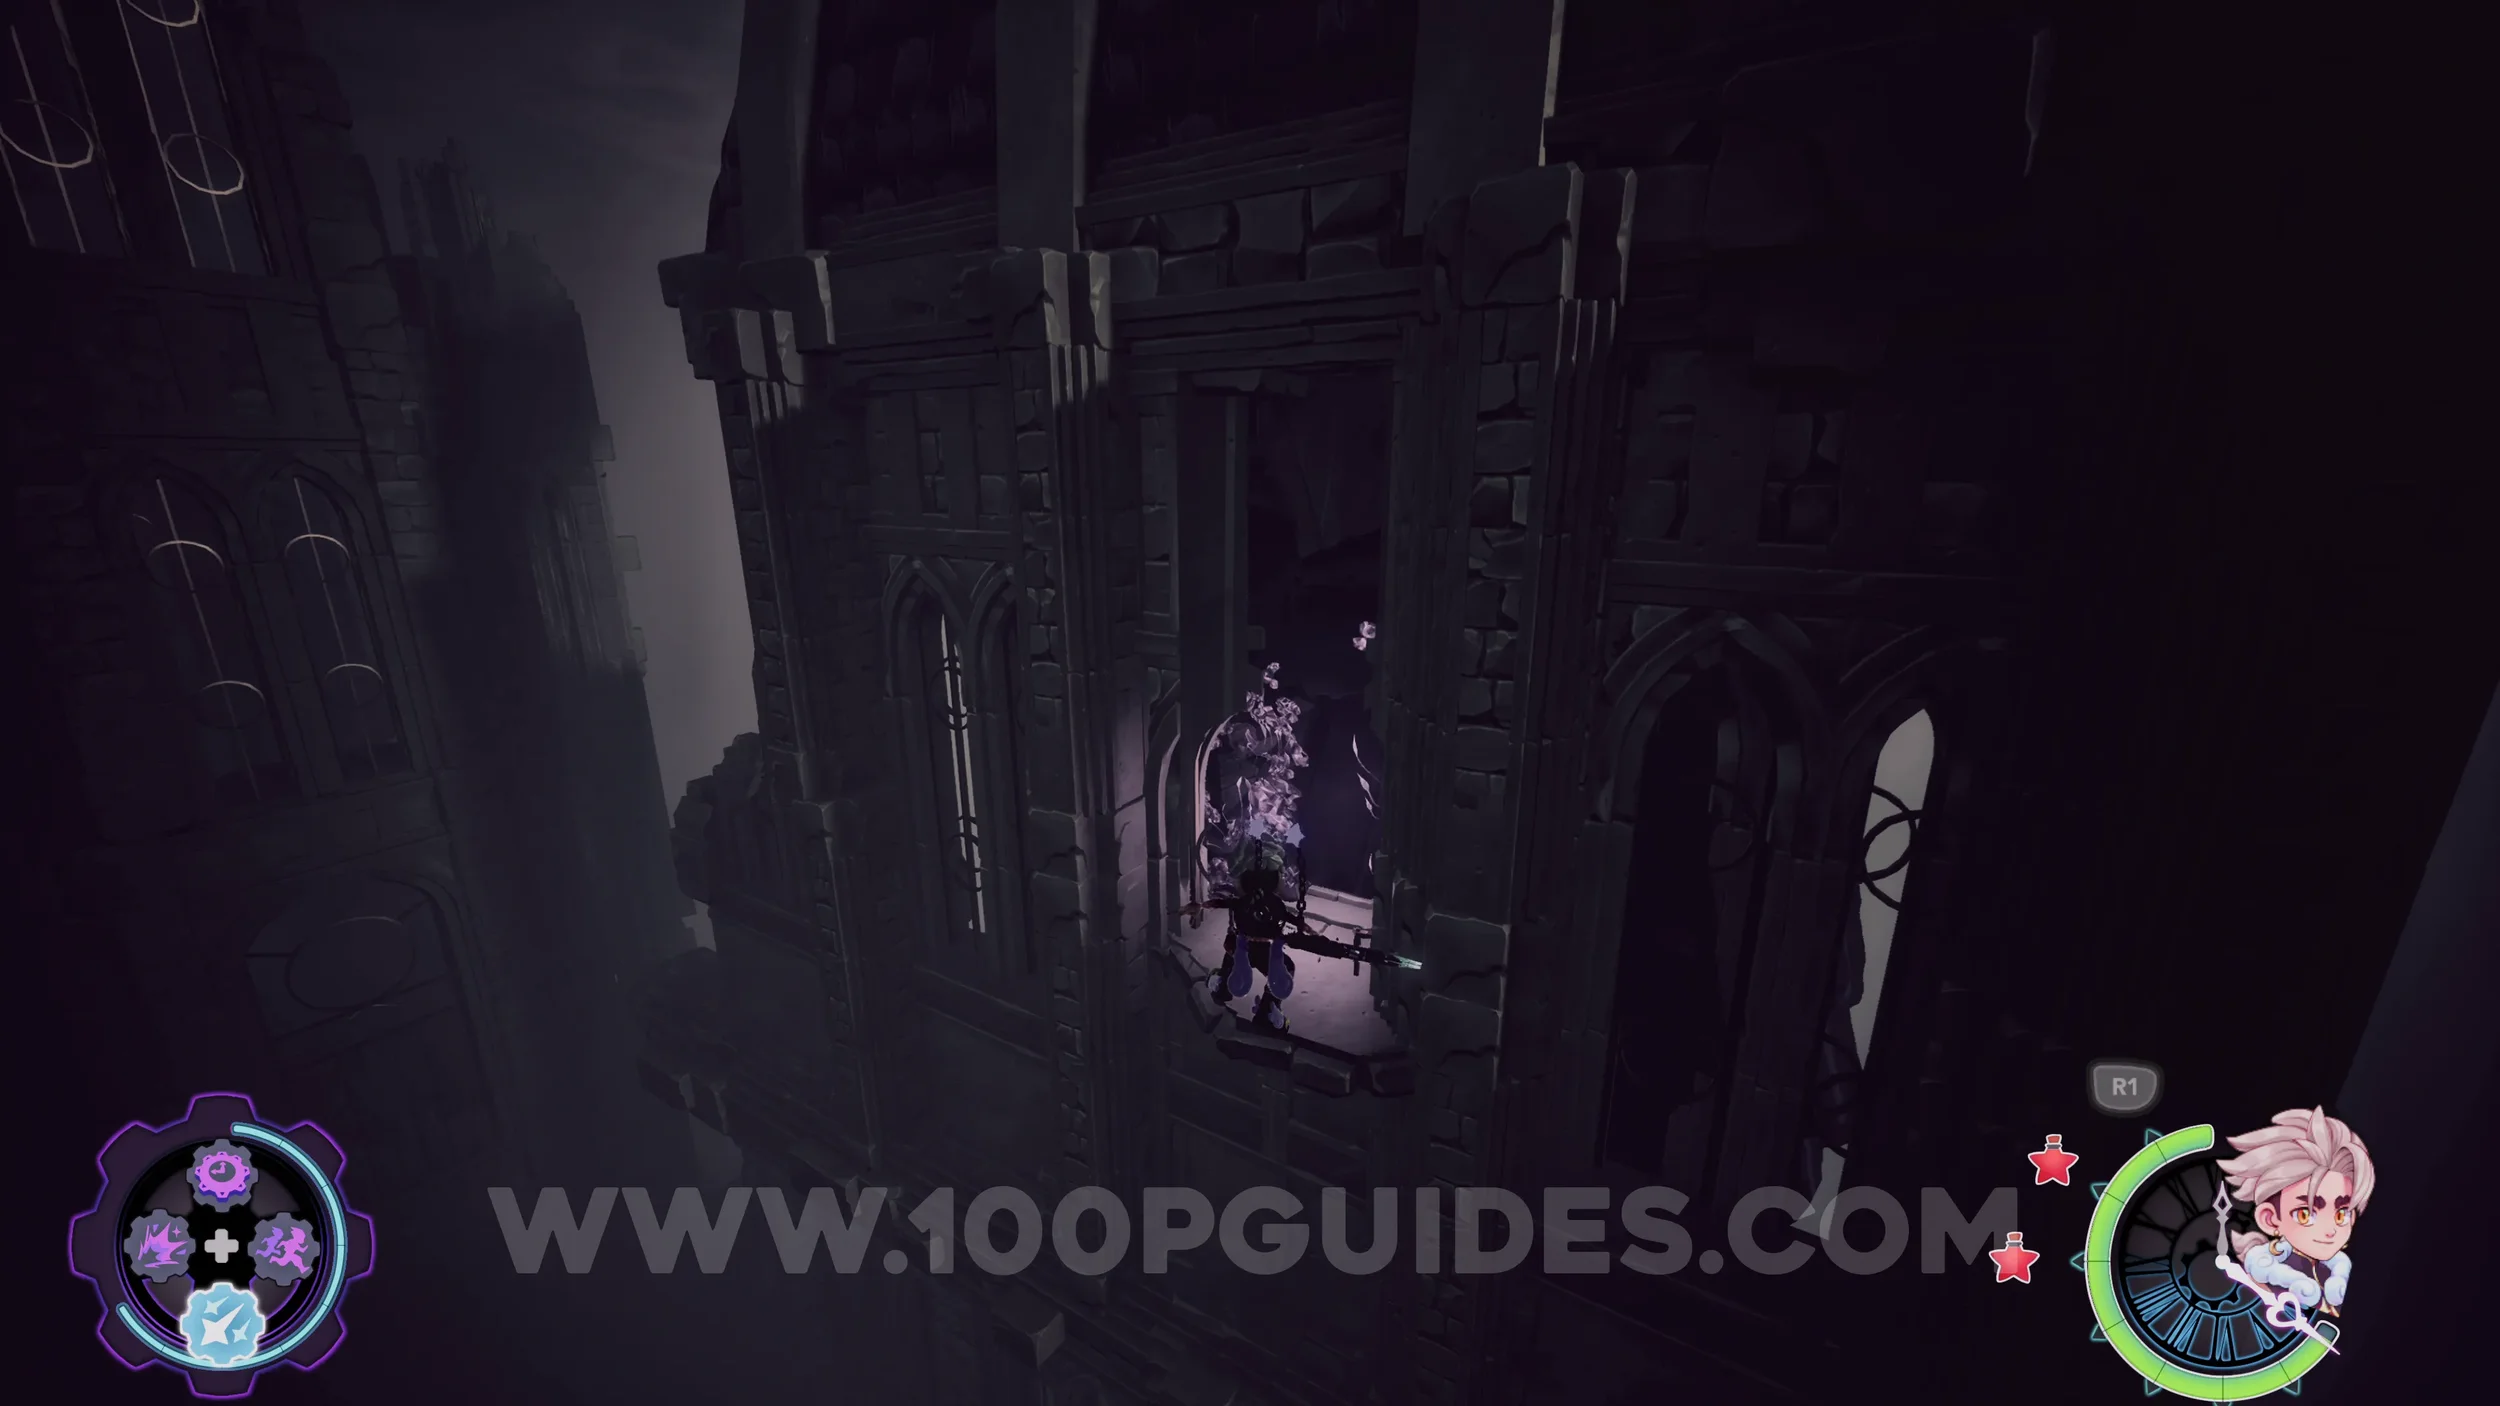
Echo #4. Return to the tower where you have to hit the gear to get to the top floor. Once on the top floor, leave through the other gap in the walls. Then cross the next path to get to the spinning platforms that look like sandclocks. From there, fly through the booster circle and drop down into the building.
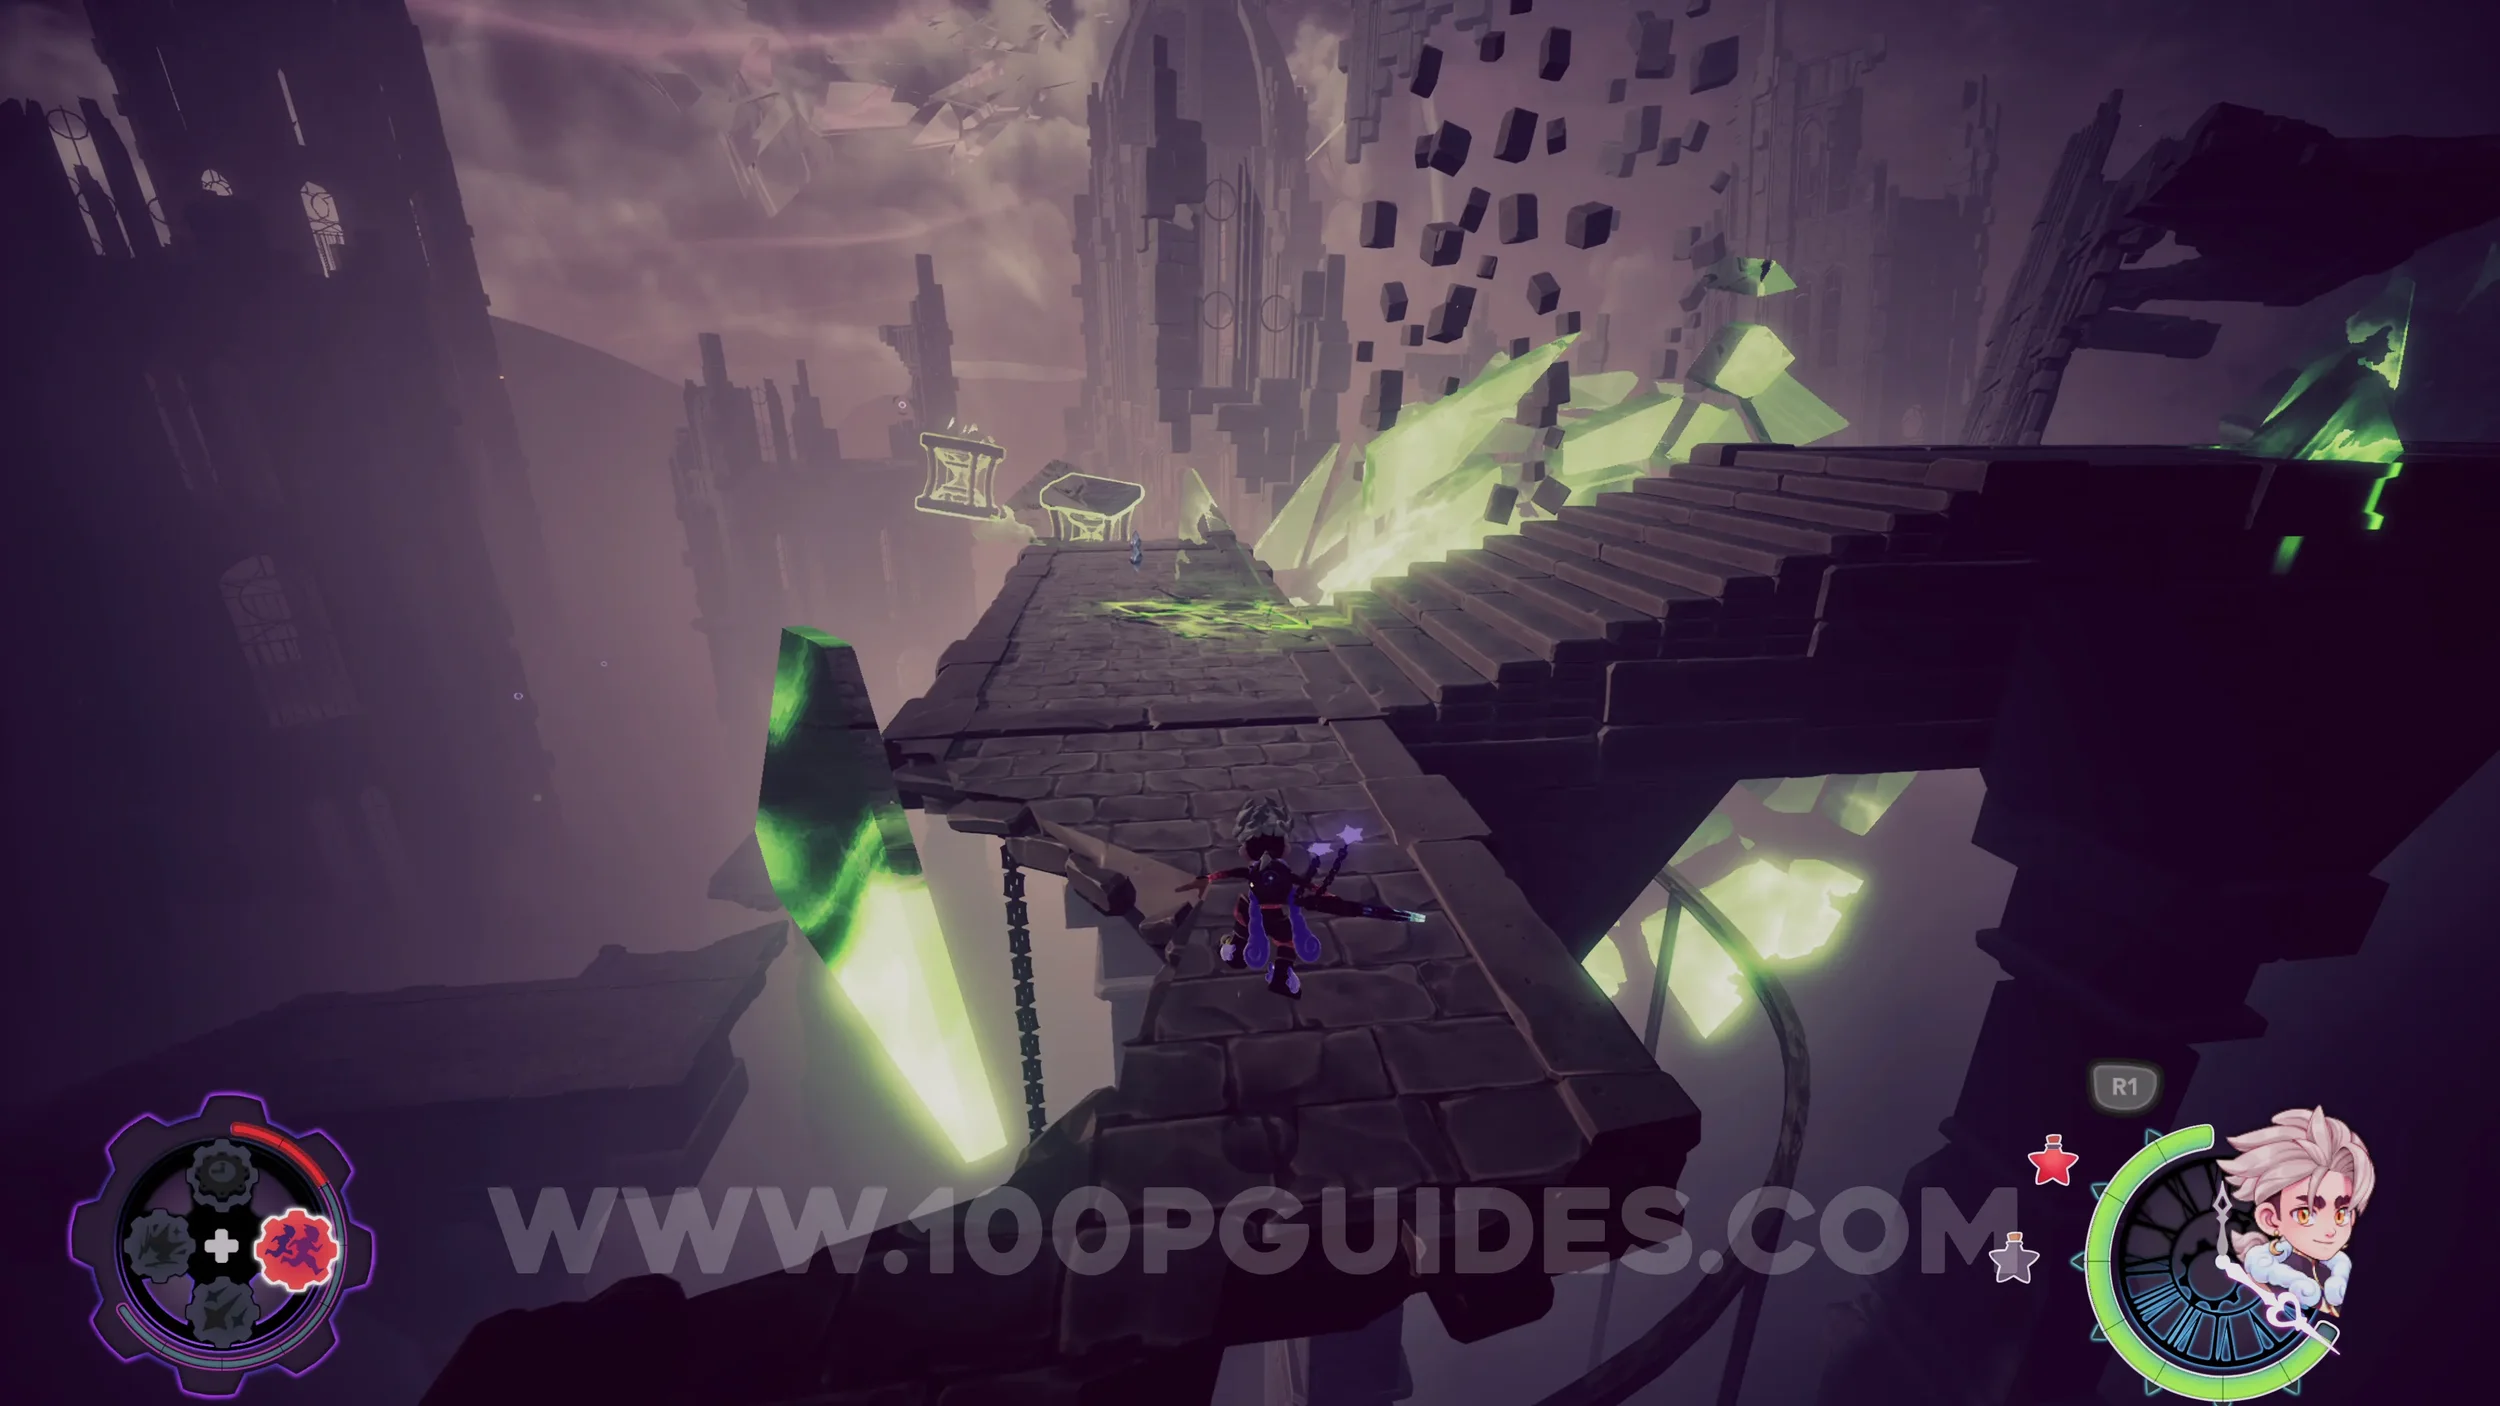
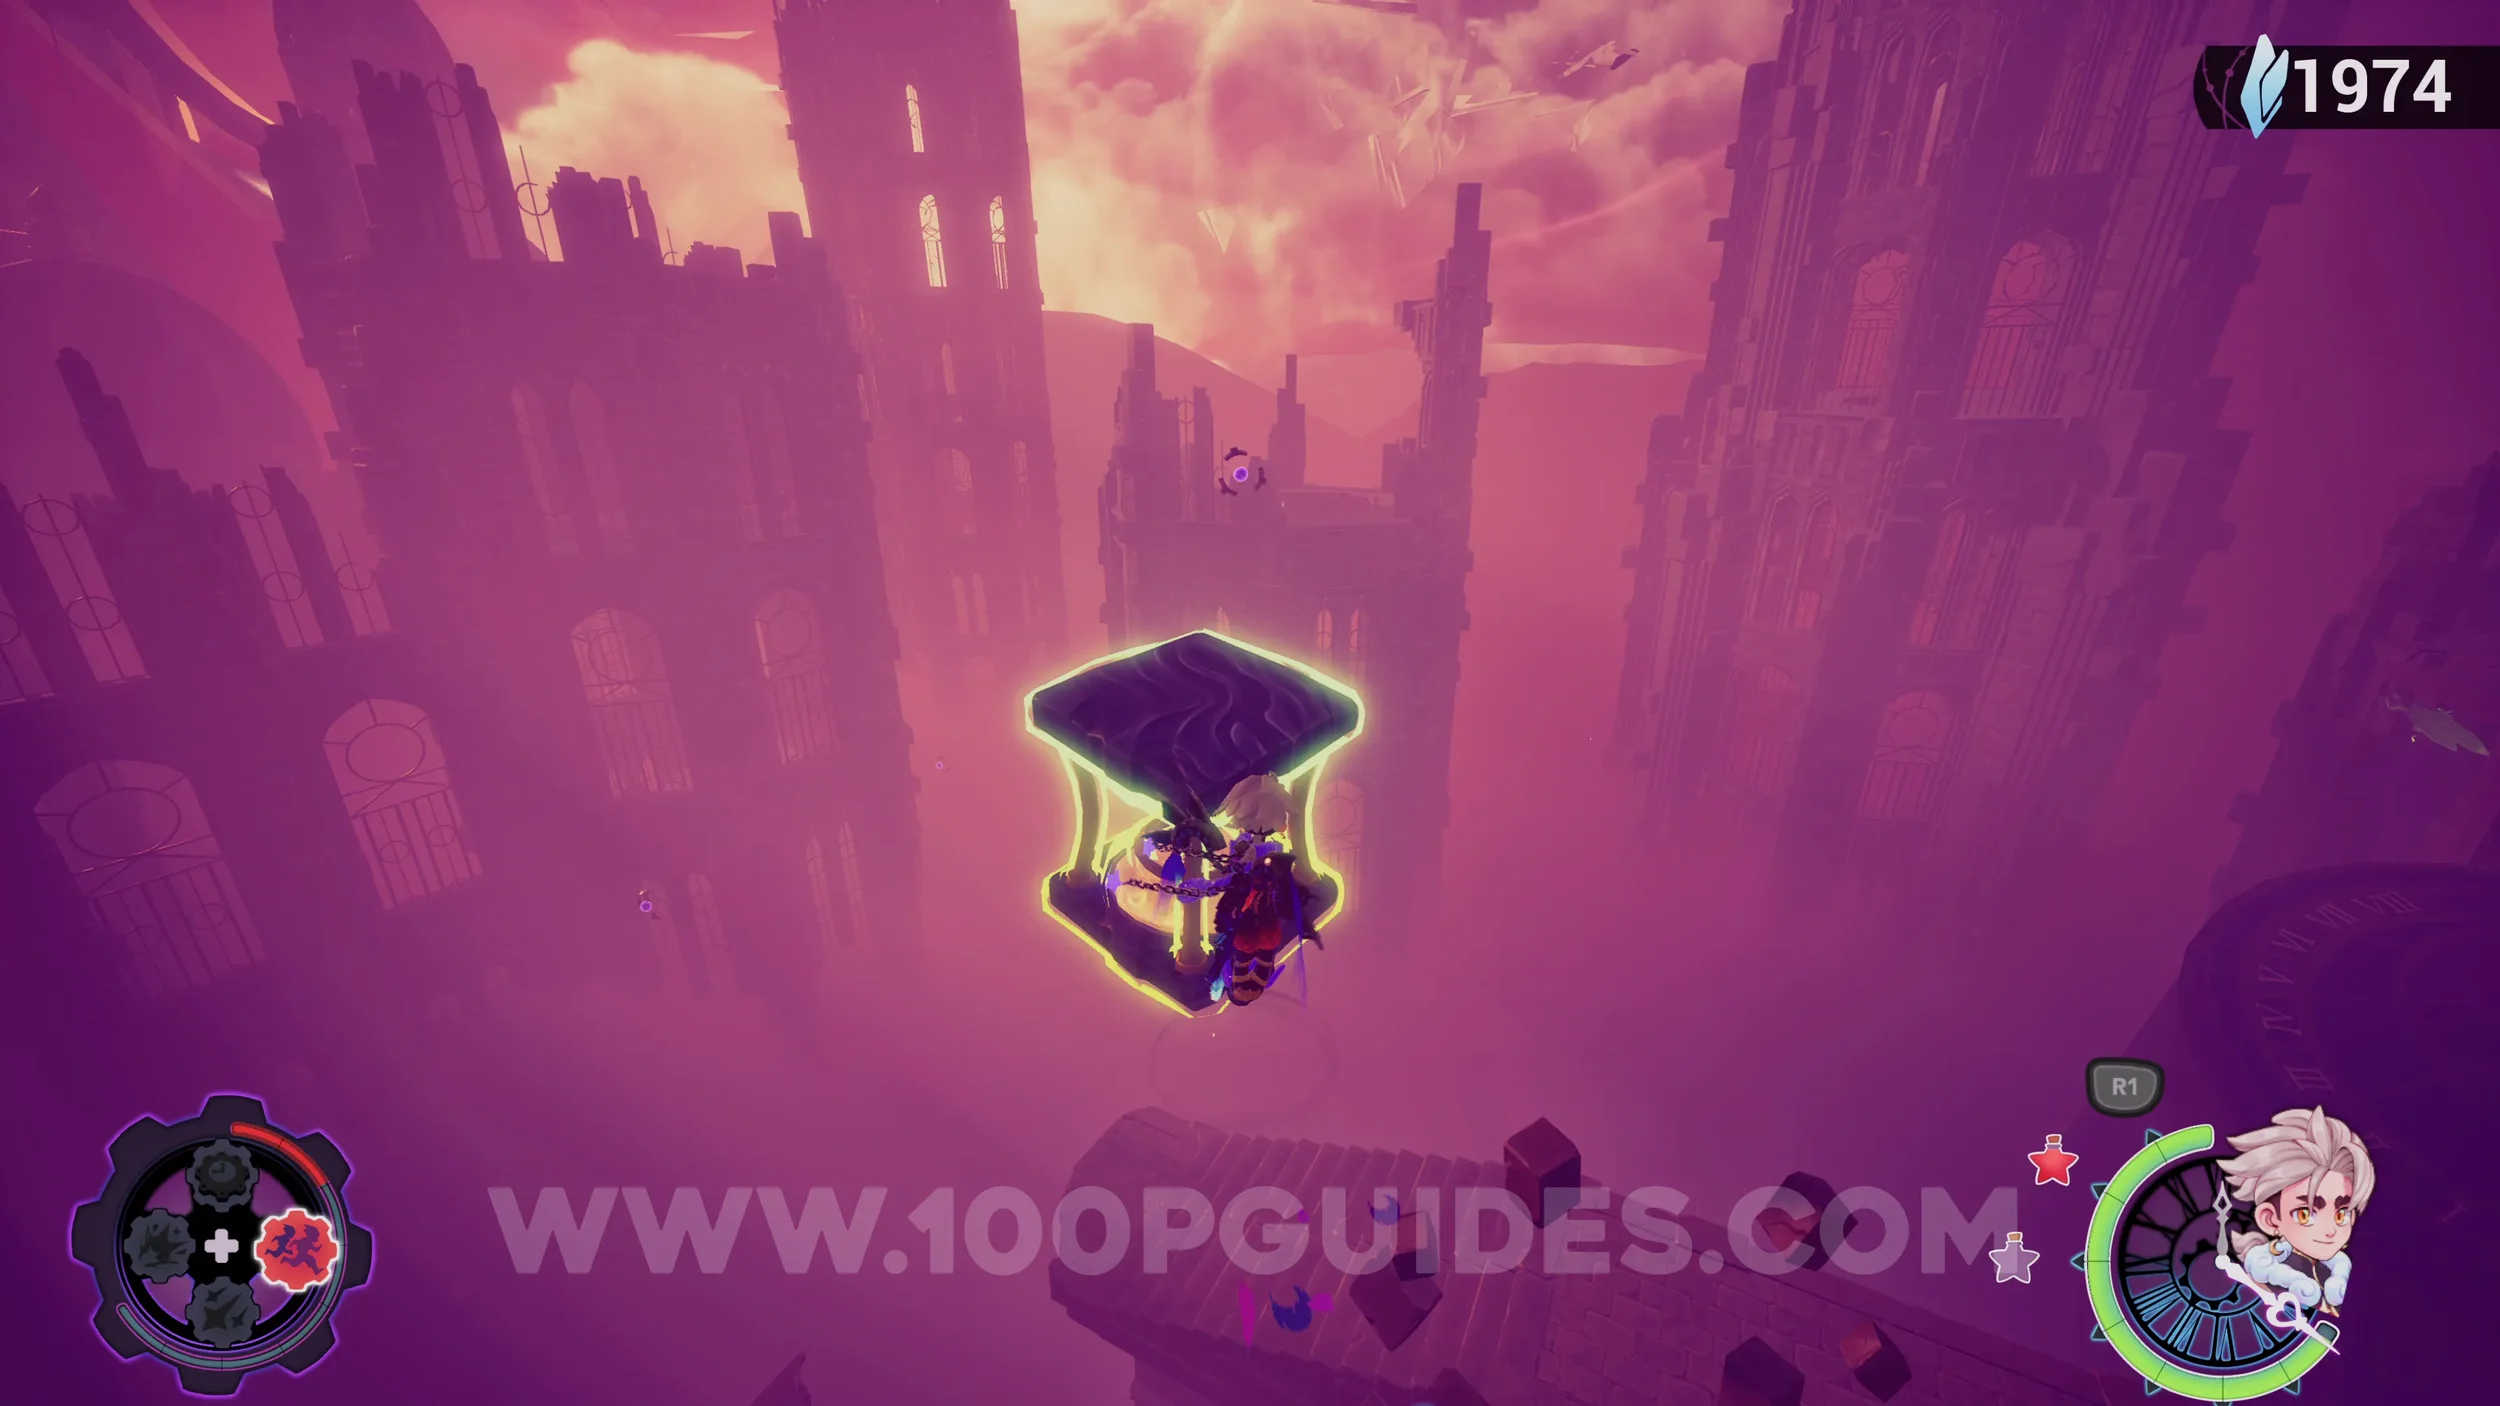
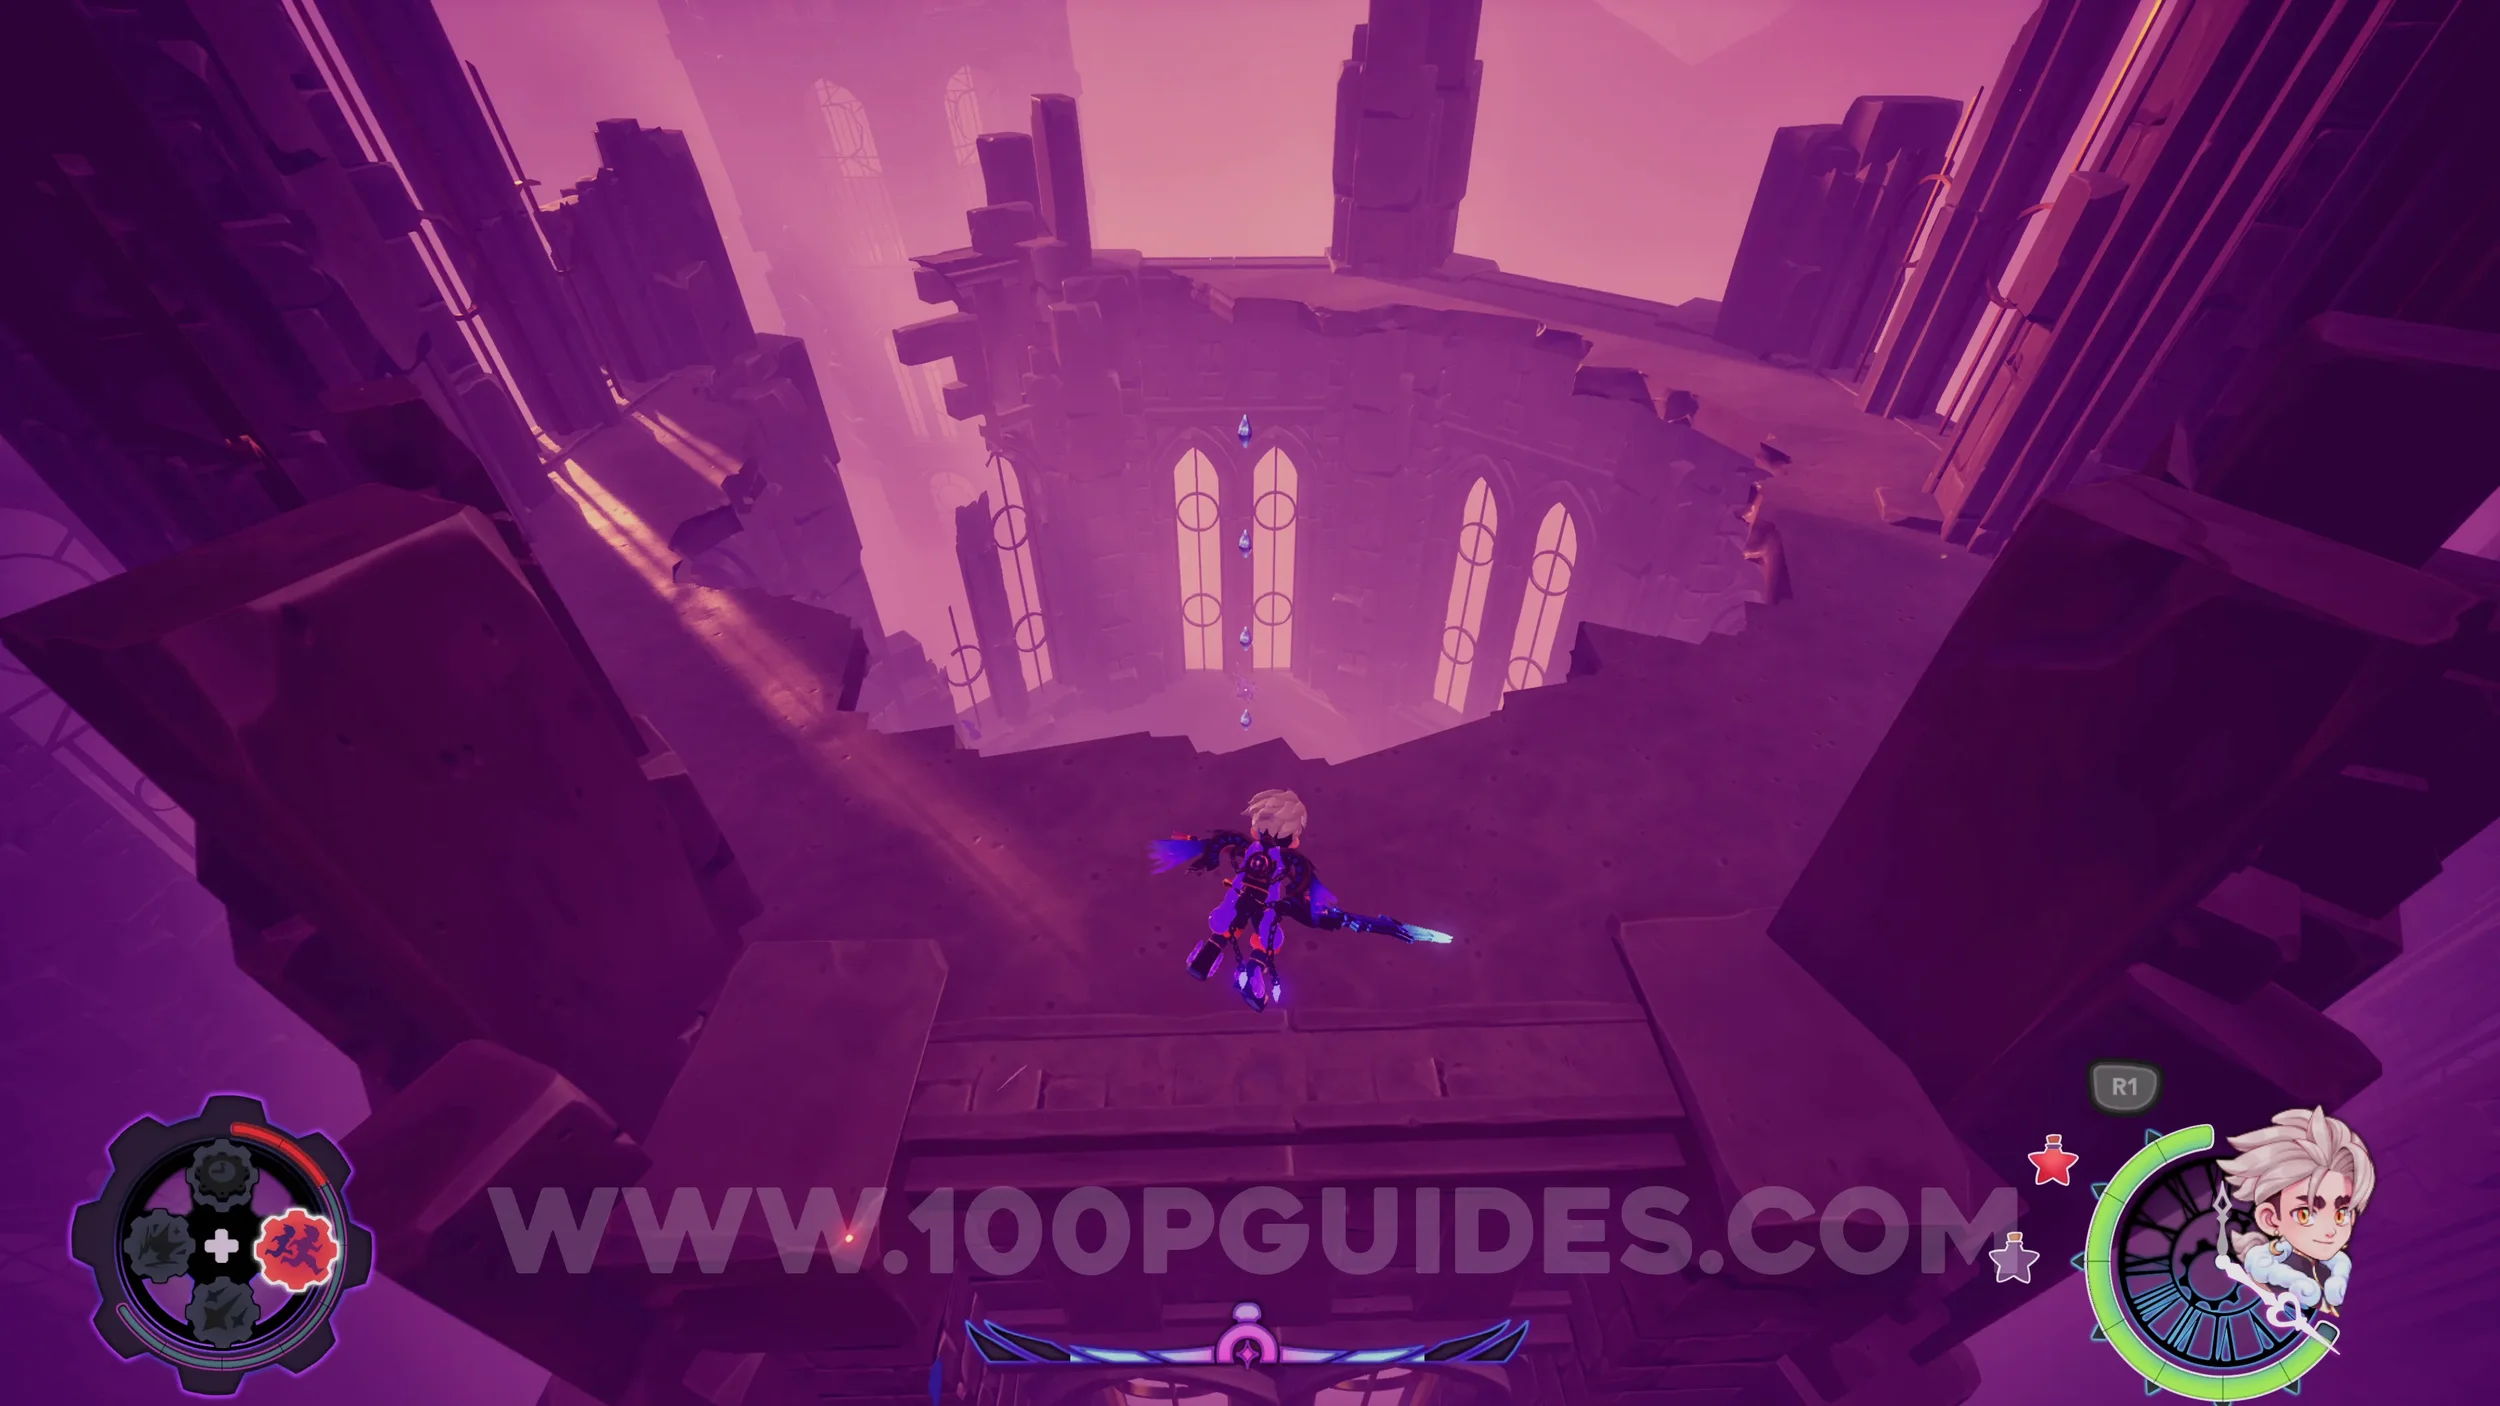
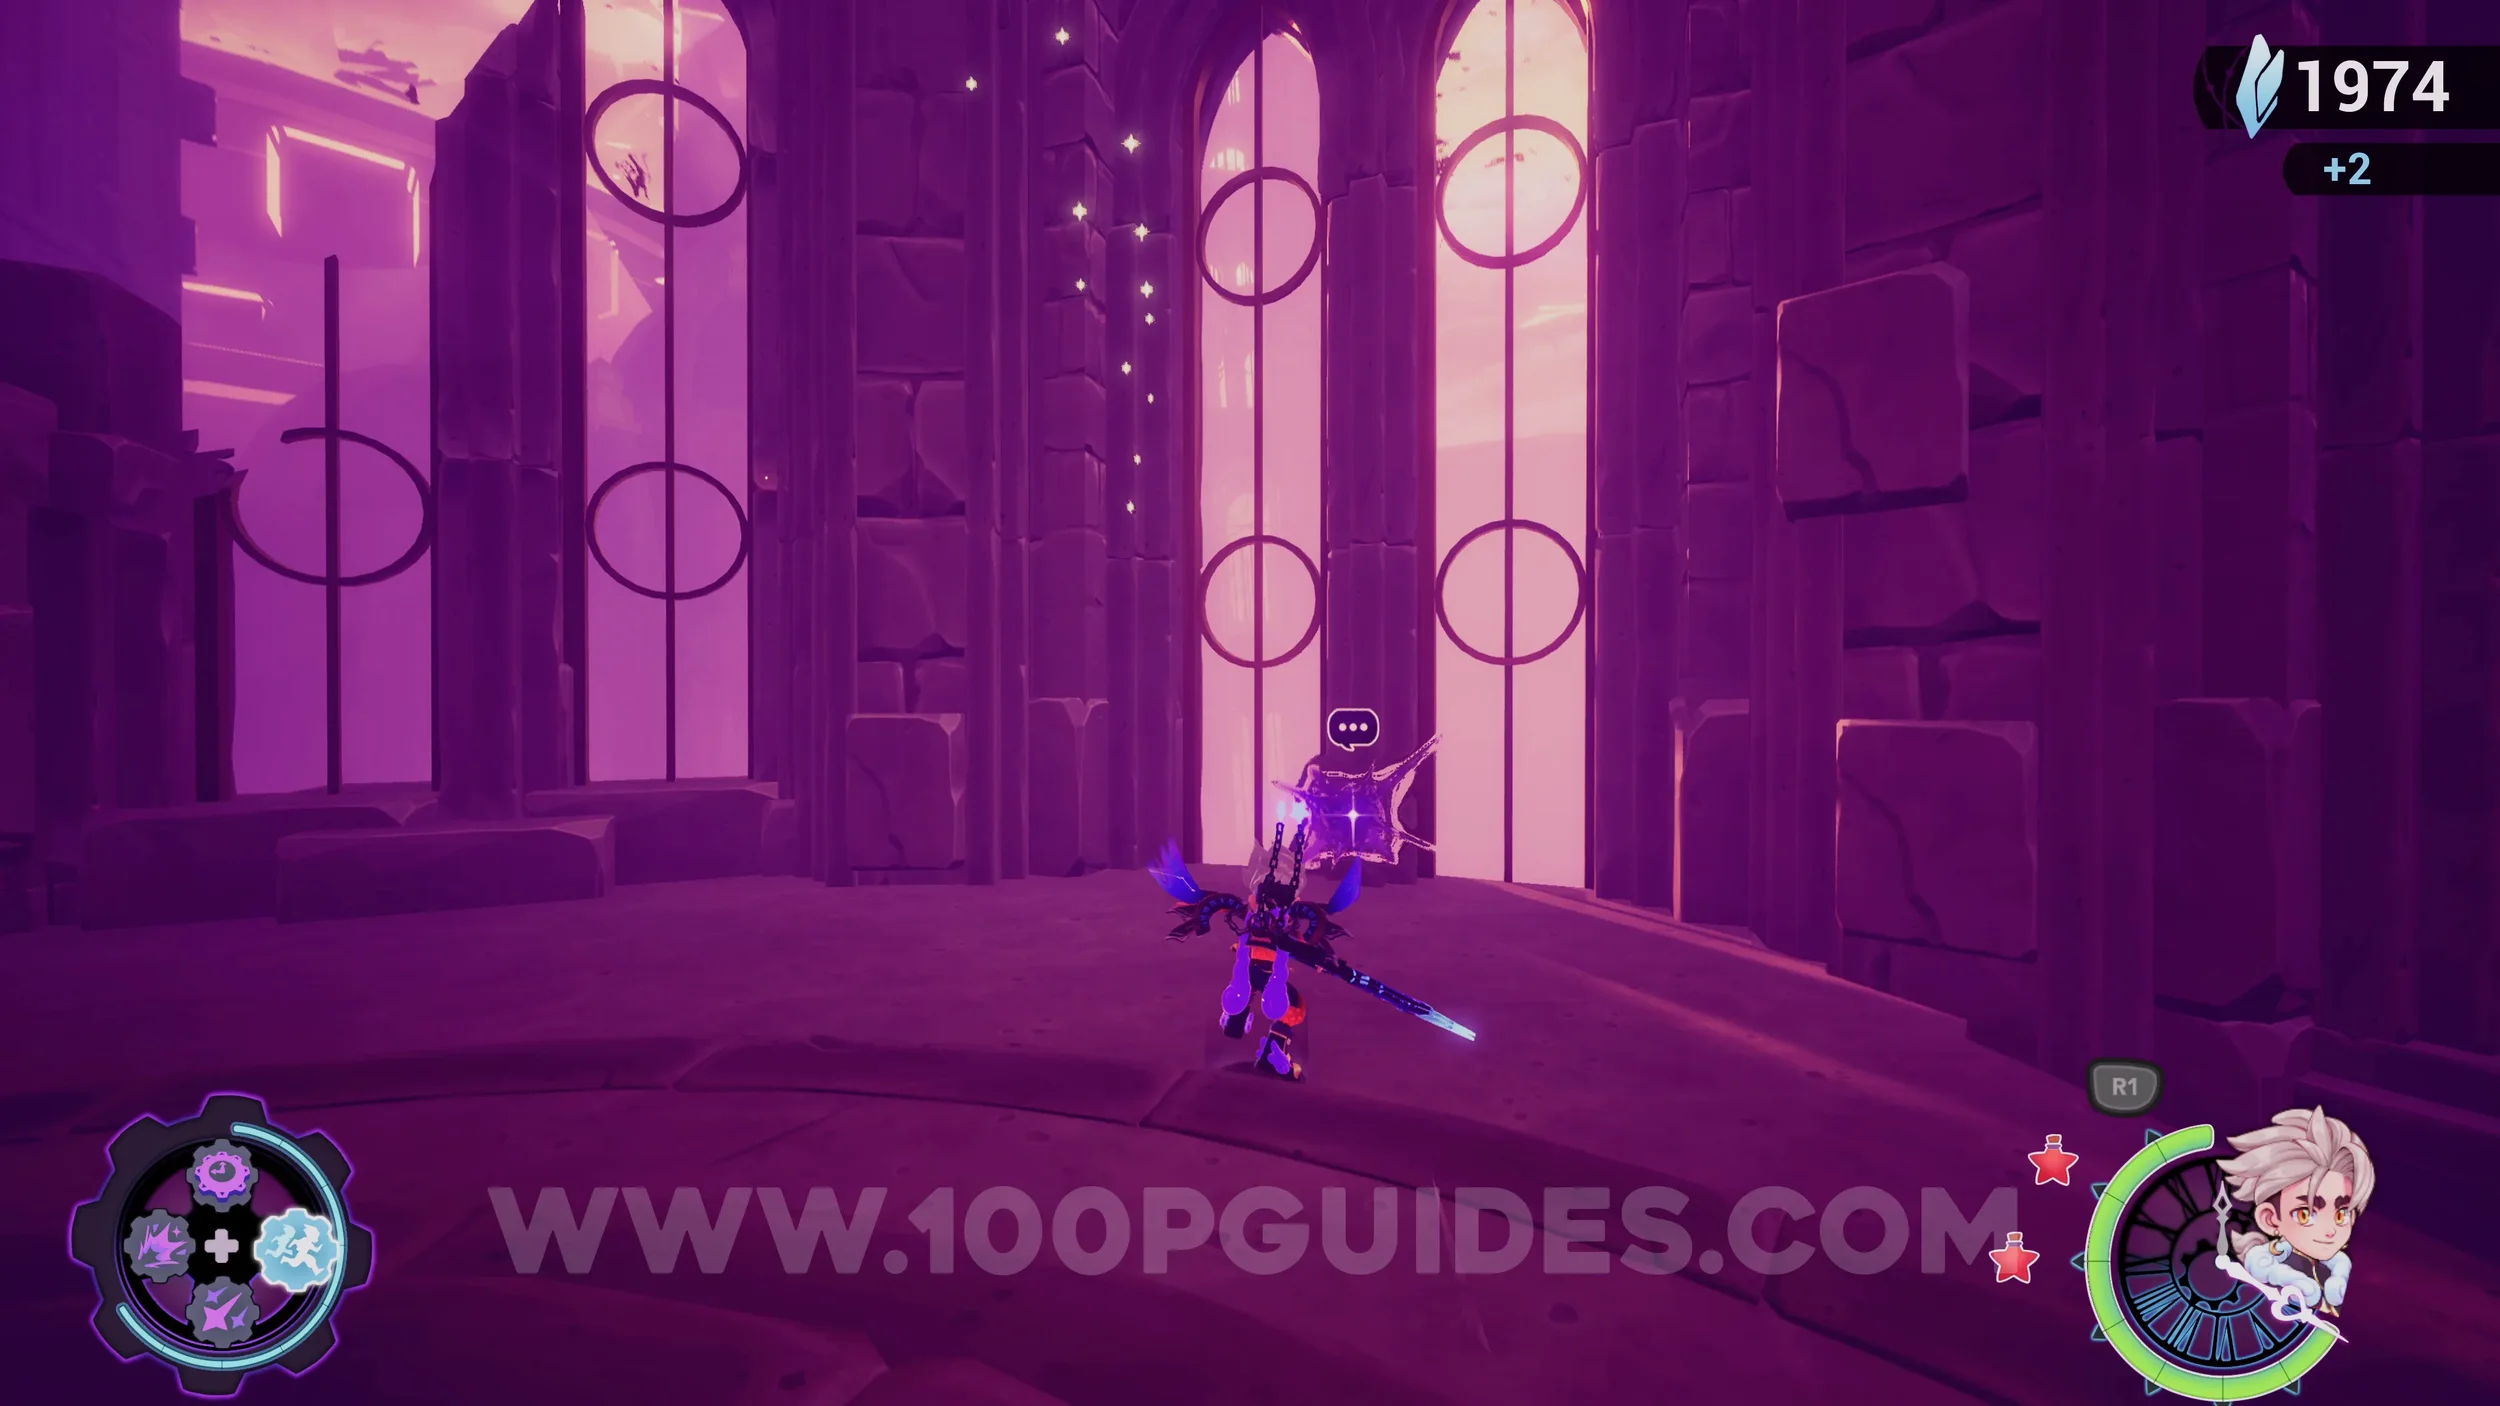
Echo #5. Leave the building where the previous echo was by flying to the bridge. Once on the bridge, go right to reach a large circular platform with enemies. Here, look left to see an open window you can enter. From this building, climb up and then around the grappling points outside to reach the roof. Then cross the long bridge behind the chest to get to the building with the collectible inside.
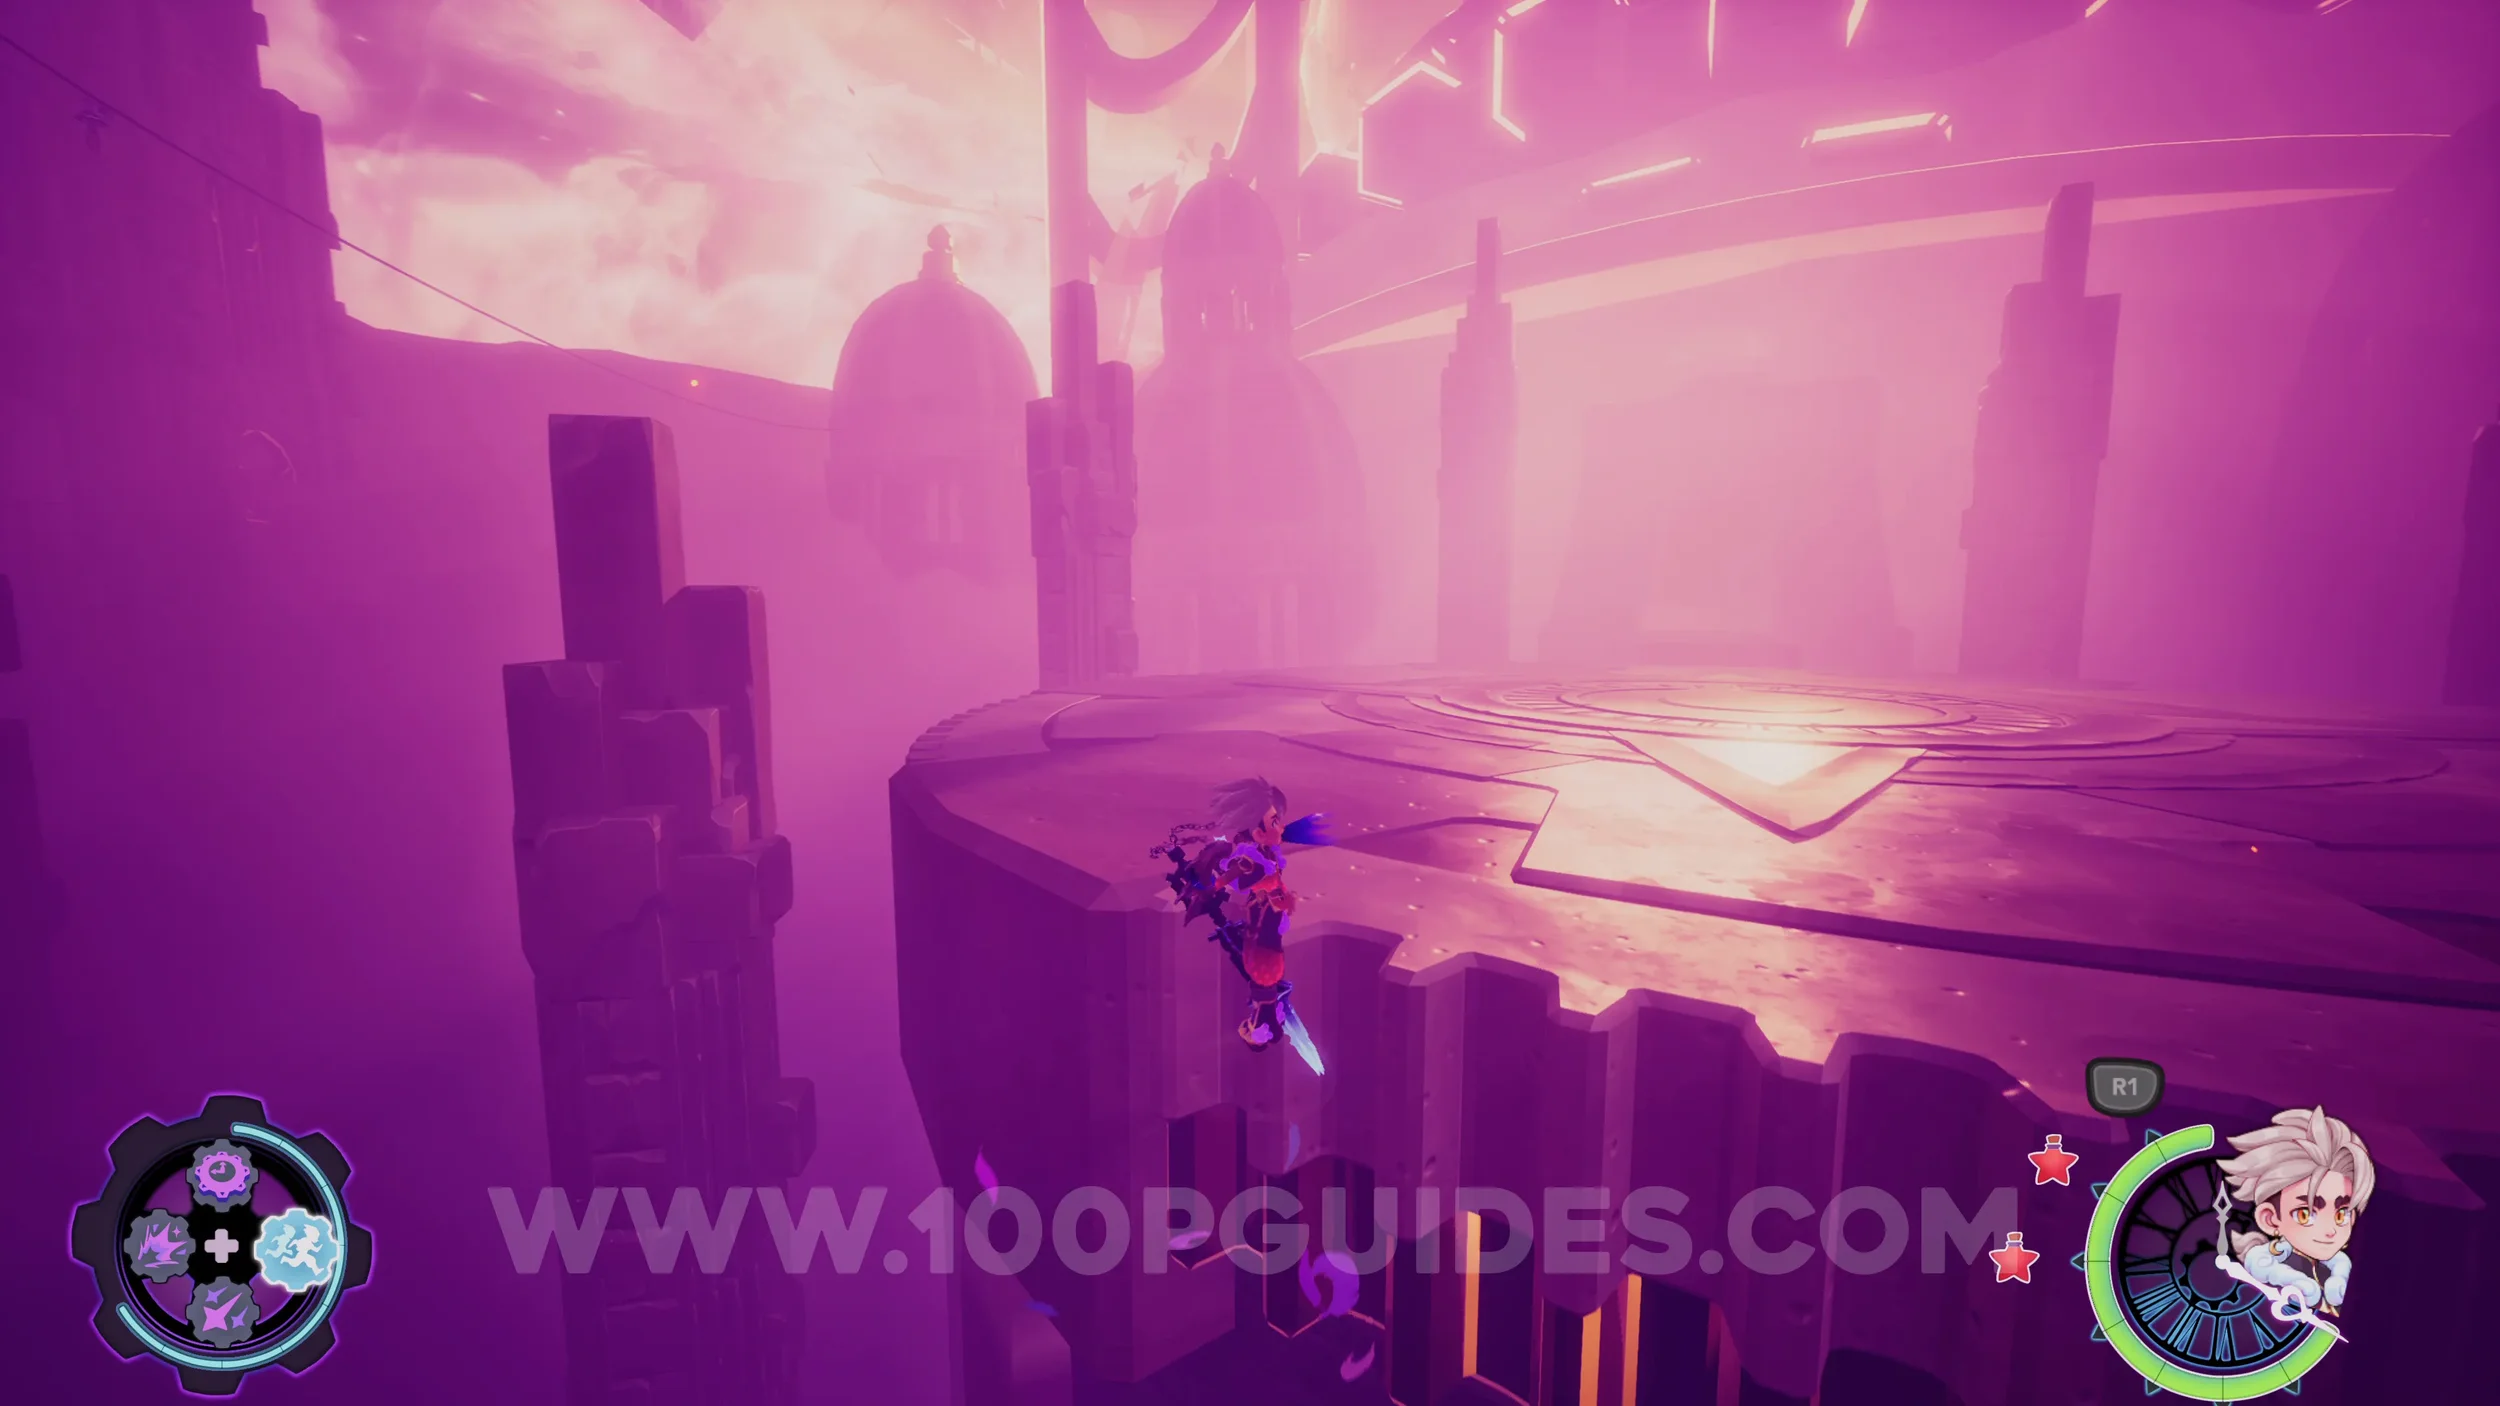
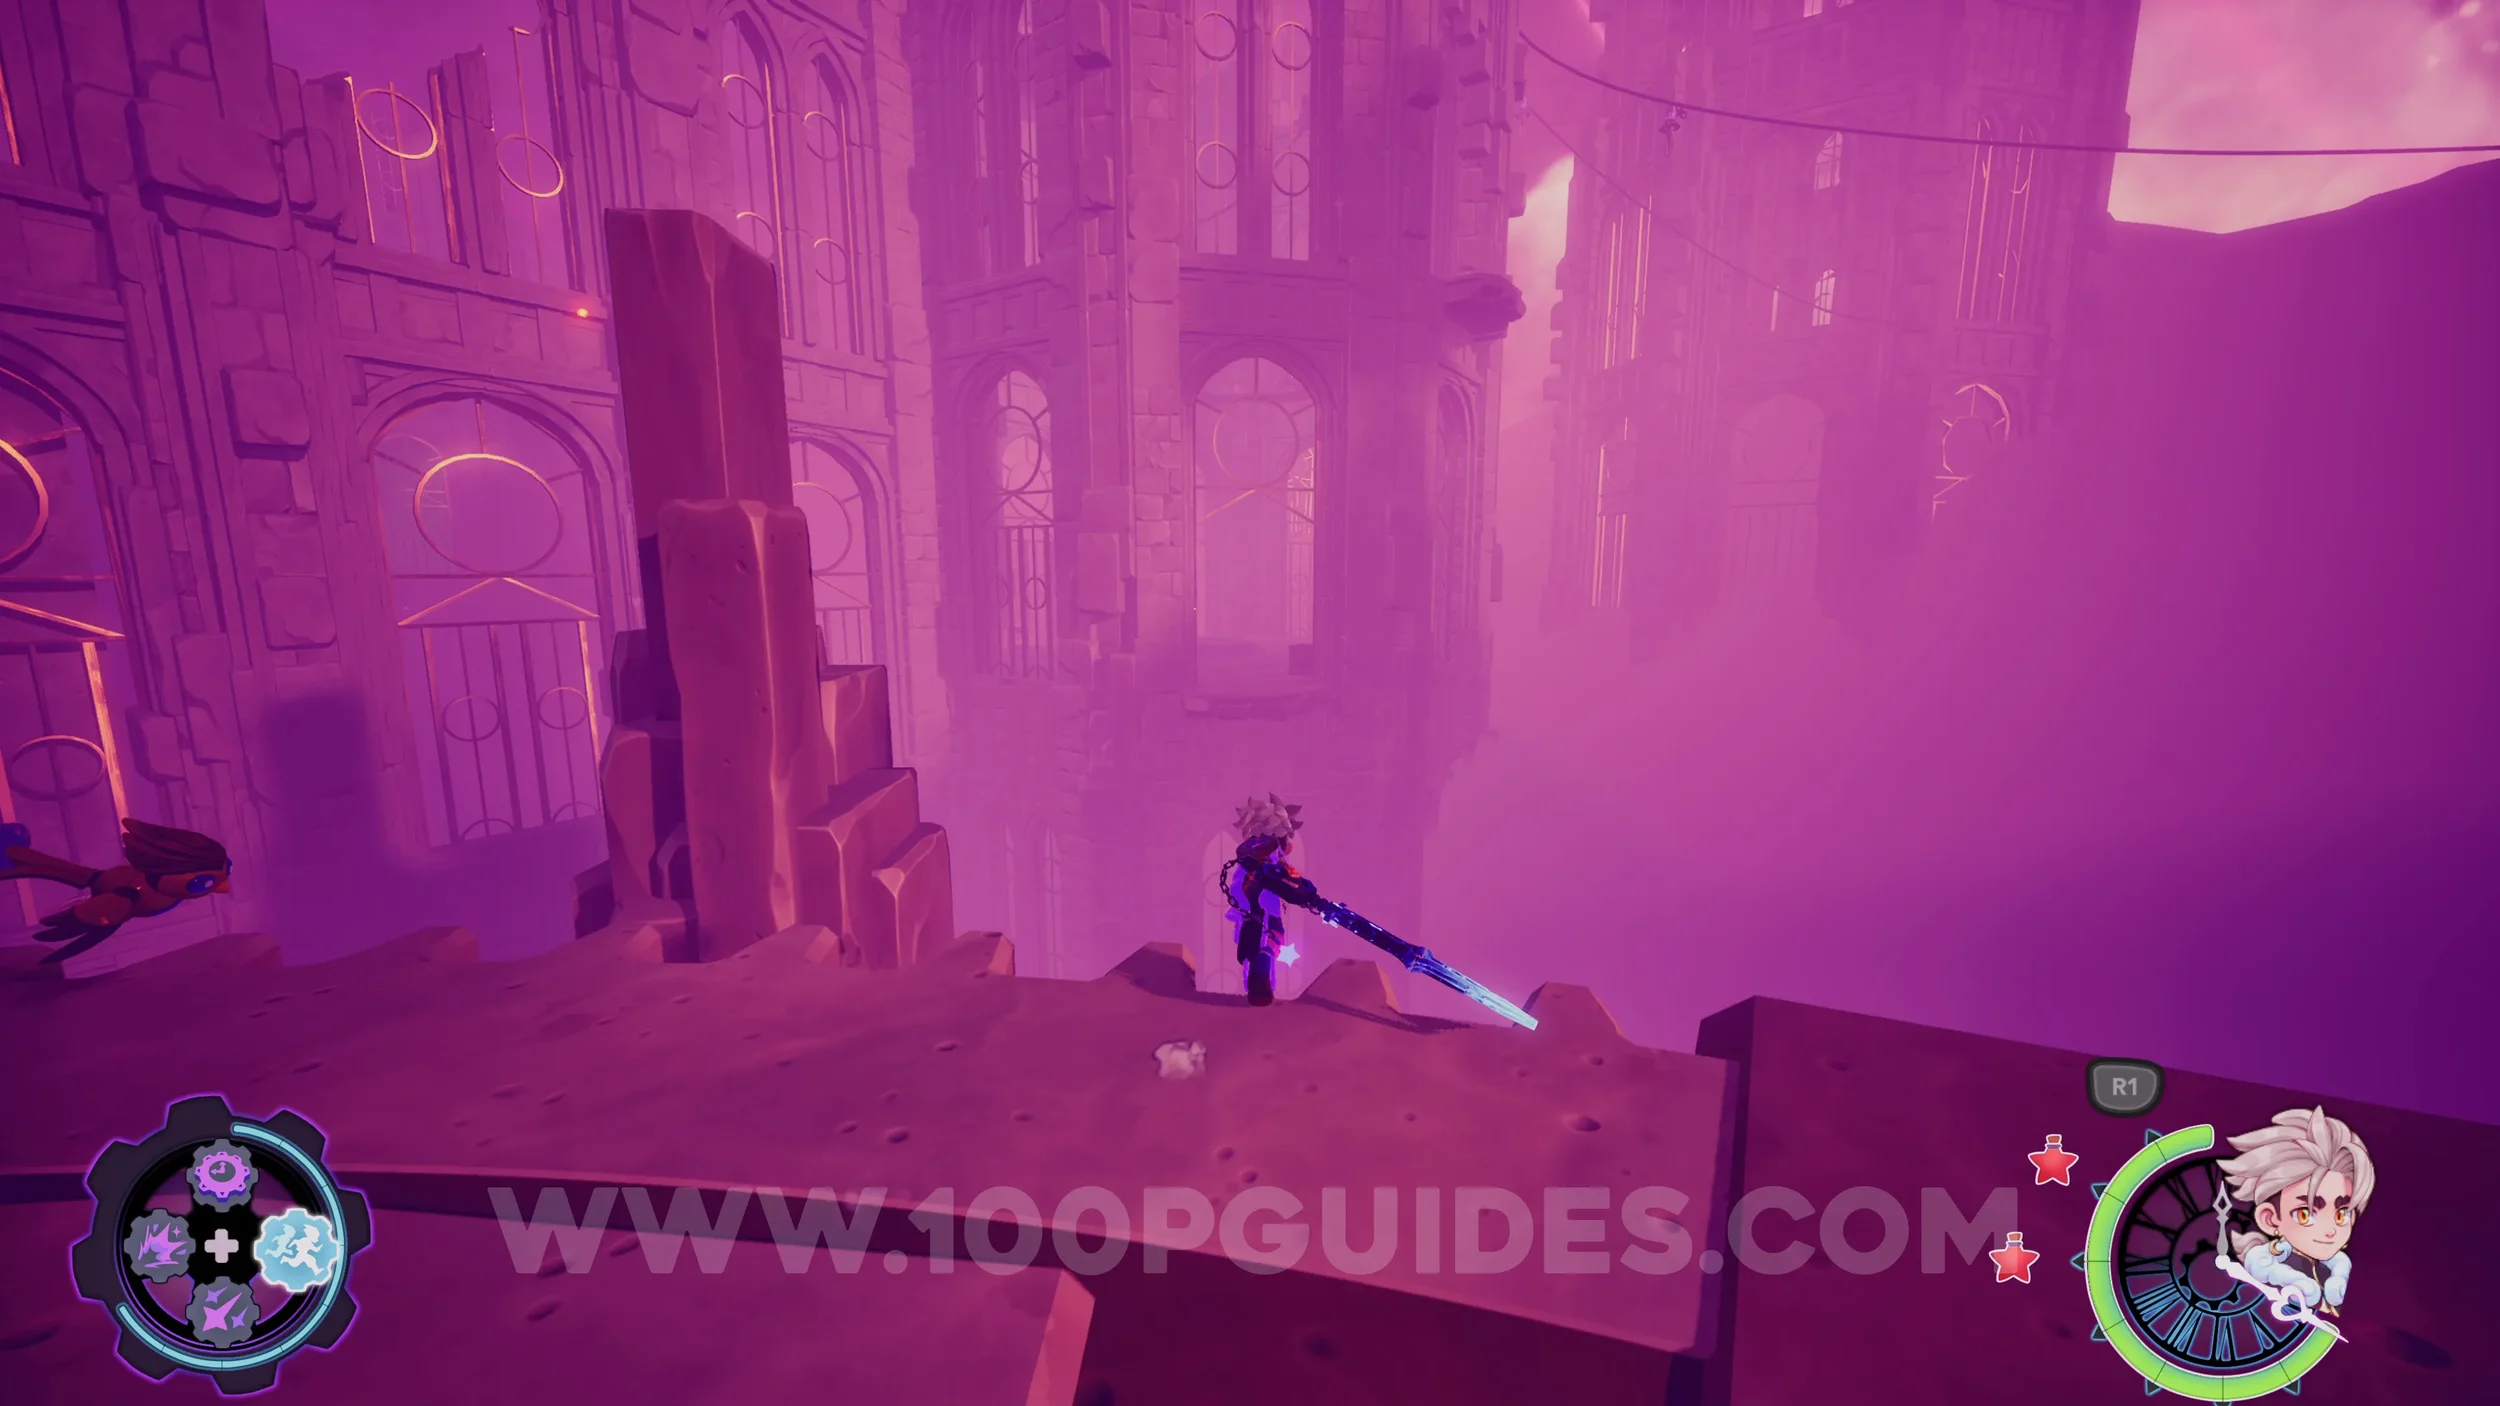
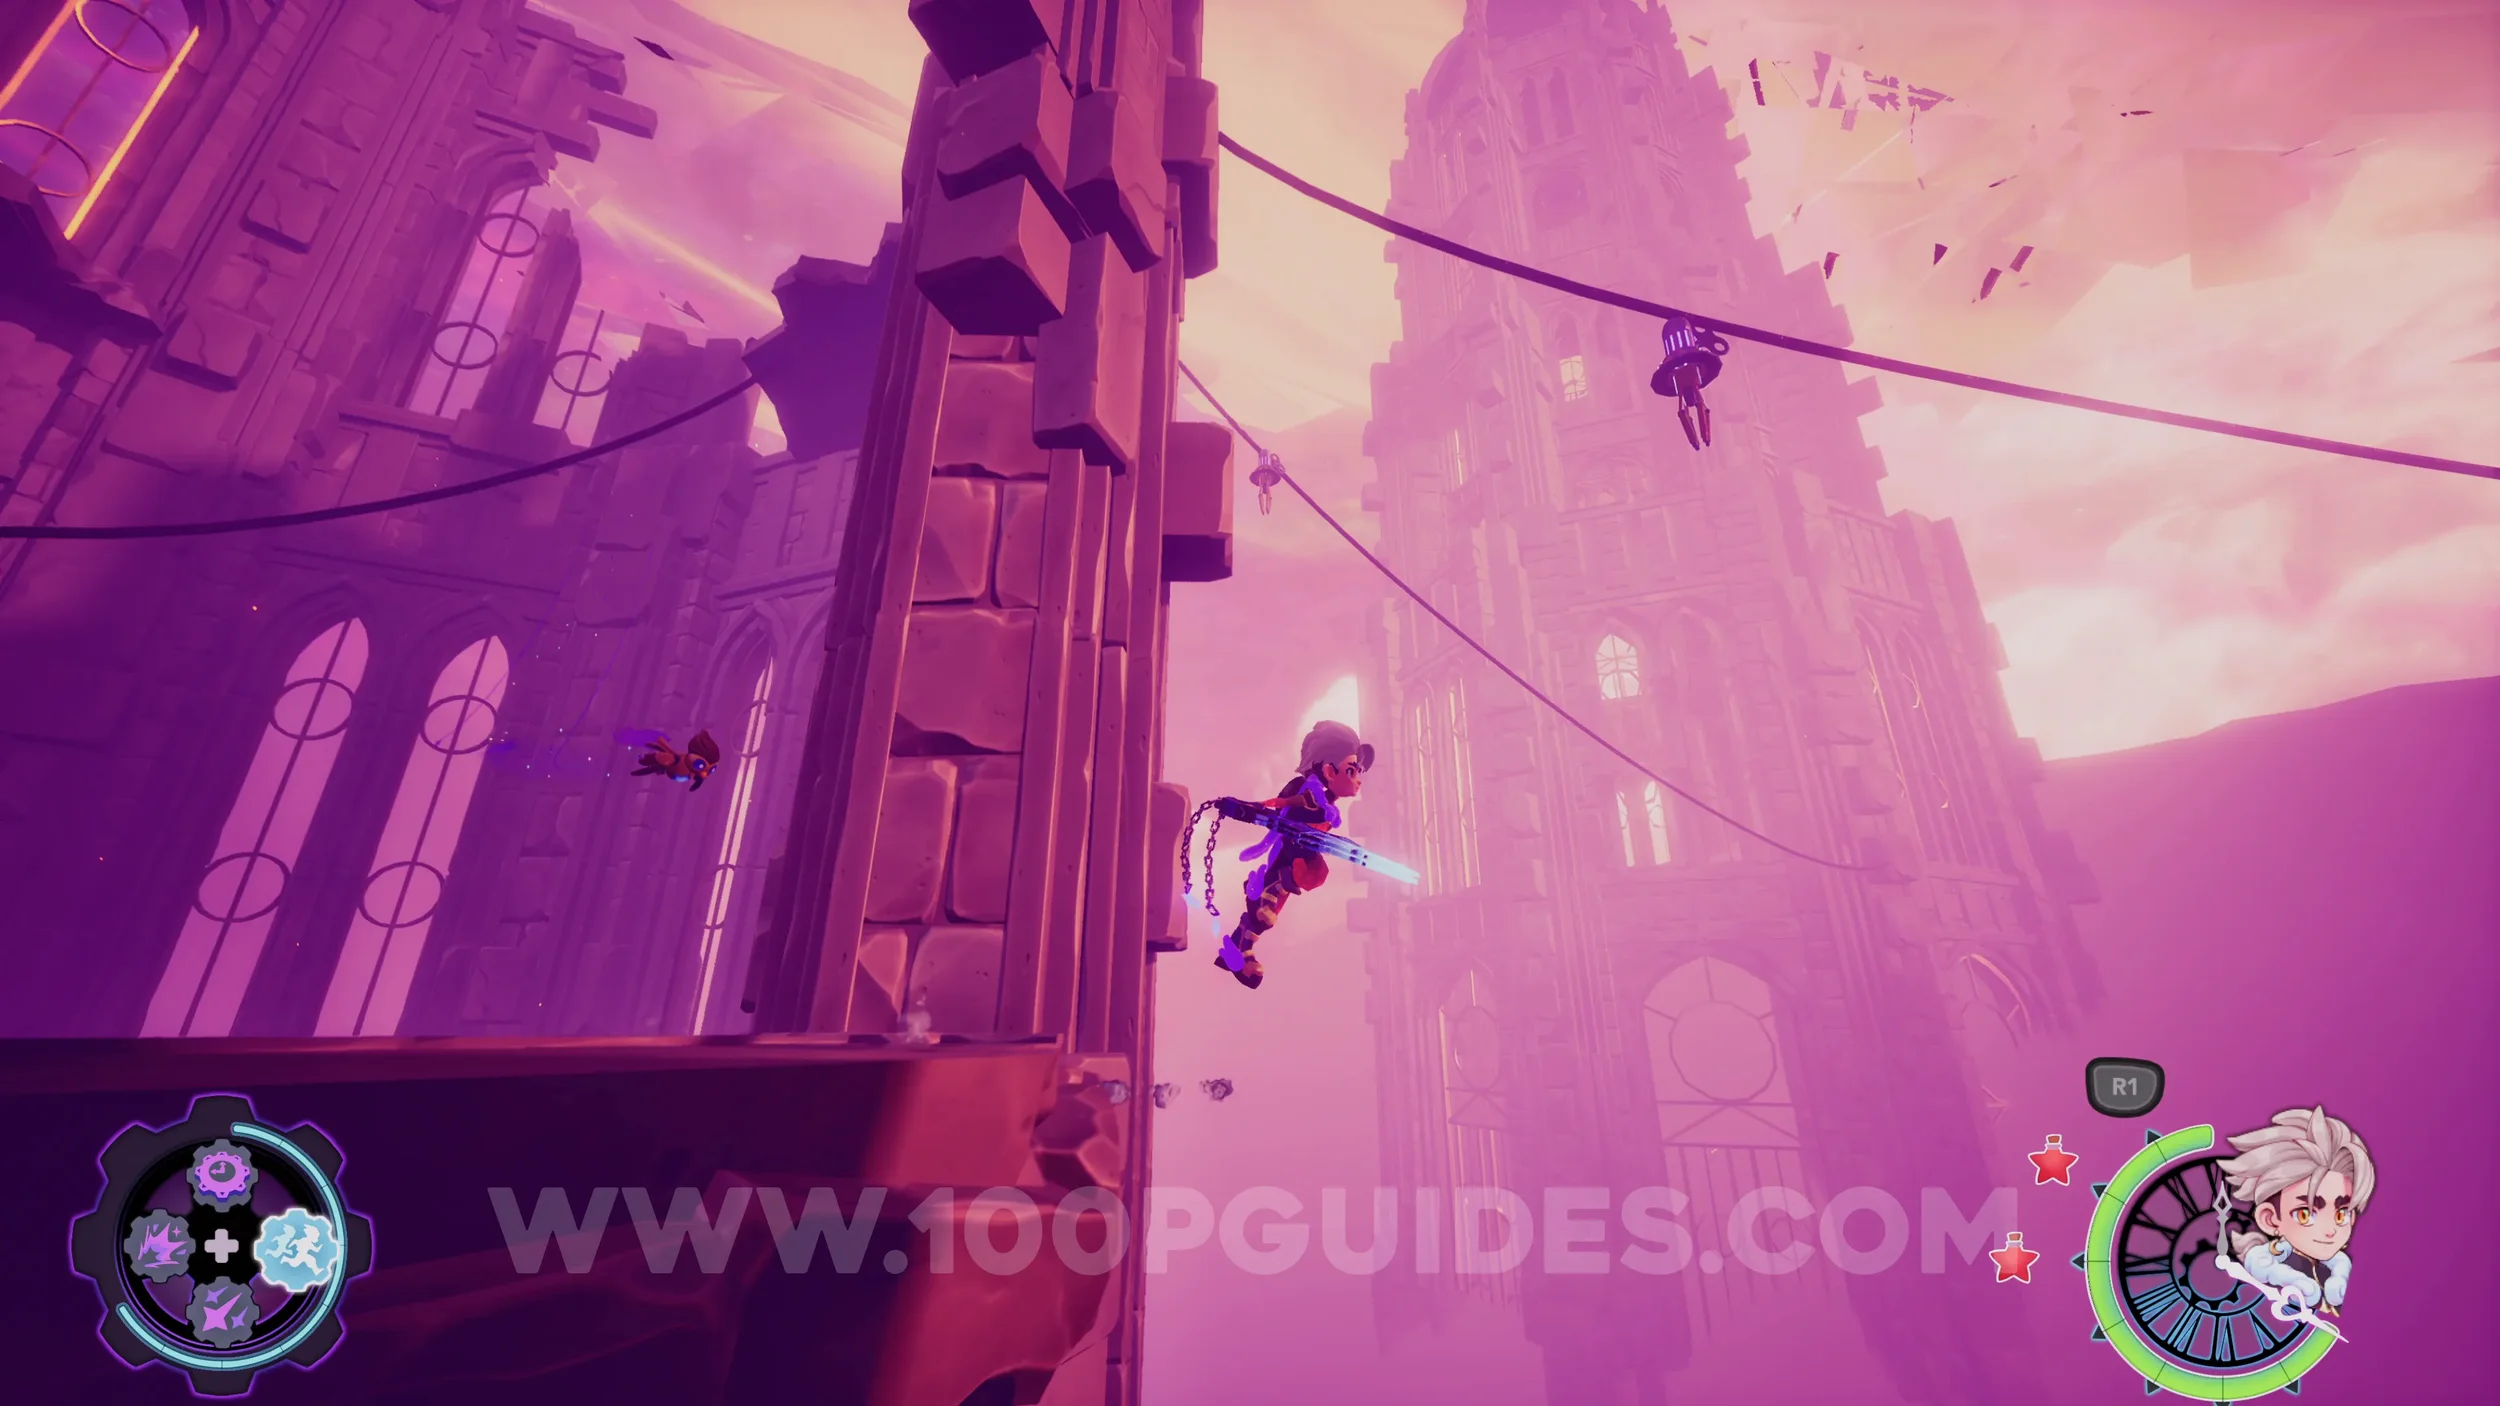
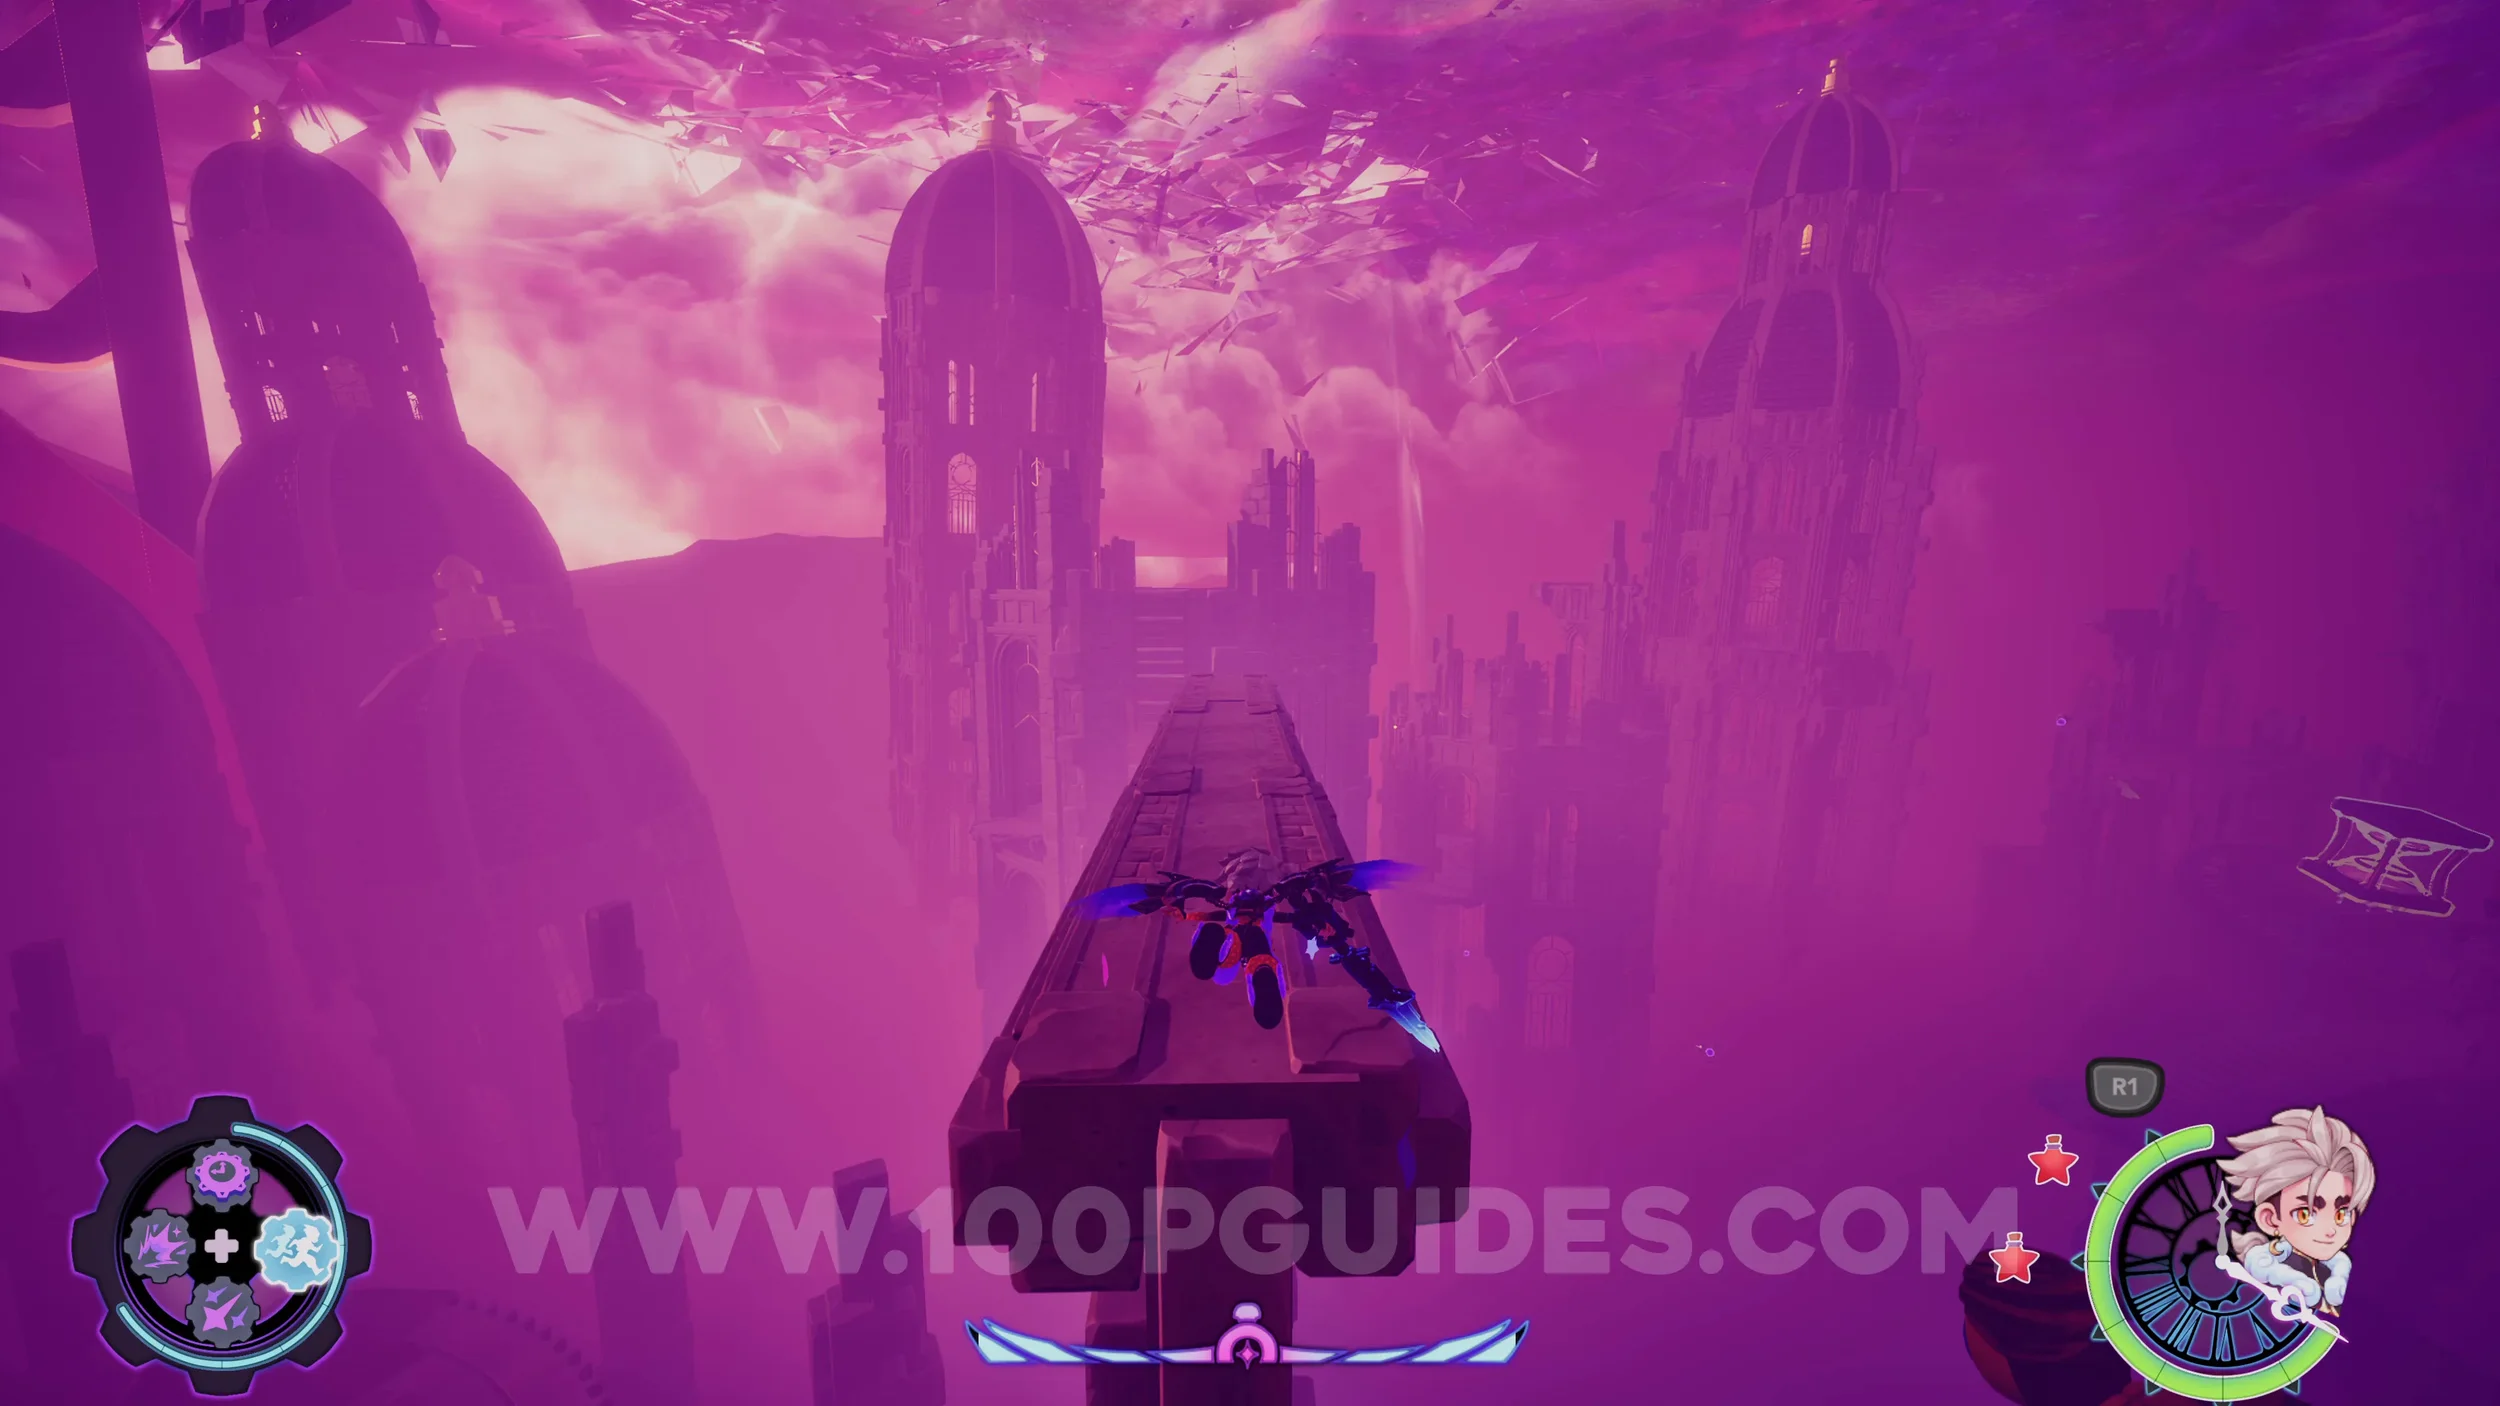
Broken Stained Glass #1. In the same building as the previous echo.